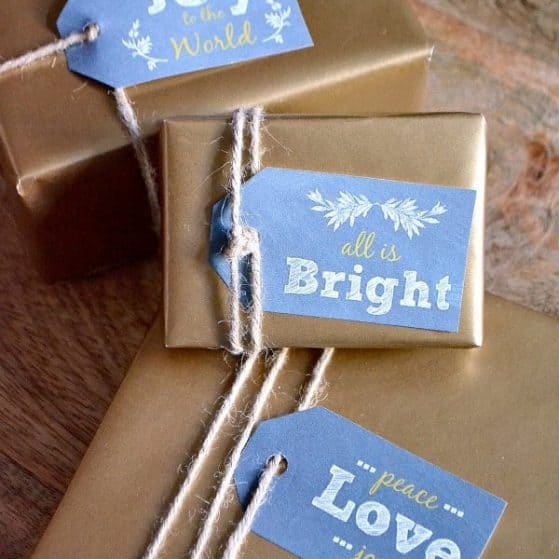
It’s easy to make fun personalised gift tags using scrapbook papers and the free photo website, Picmonkey.
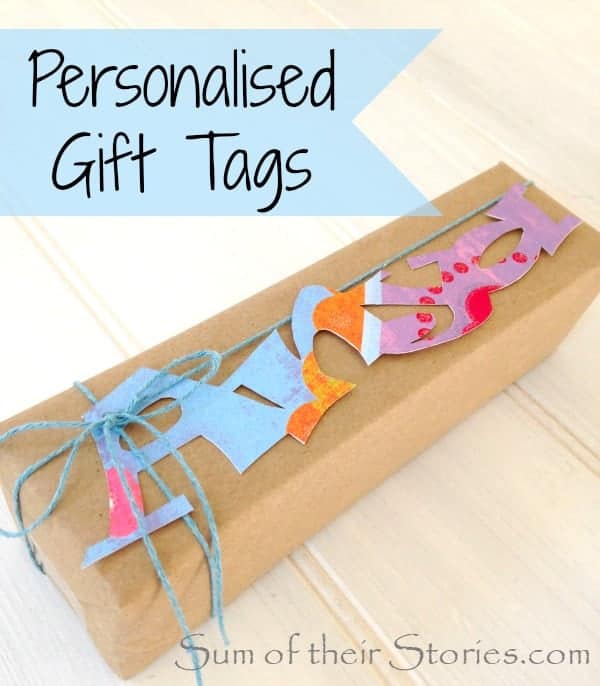
Hi, I’m Julie from Sum of their Stories and today I’m happy to be here to share how to make these cute name or initial gift tags.
I pin a lot of cute gift wrap ideas, you can see my “wrap it” board here, but sadly a lot of pinning and not a lot of doing! Recently I’ve been trying to put a little more effort into my gift wrapping and so I’ve been having fun making personalised gift tags.
Basically we are just printing the name or initial backwards on the reverse of scrap book paper and then cutting them out with a craft knife. If you know a different way to reverse writing on your PC and printer then do that. I used to be able to select “iron on transfer paper” as a print option in Publisher and my printer would automatically reverse any writing. We have a new printer and that doesn’t work any more so I set about finding a way I think will work no matter what set up you have.
Go to Picmonkey.com and click on Design. You will get a blank square on screen. Click the Tt option under basic edits, choose a super cute font (there are loads) and then click Add text. You will need to add each letter of your chosen name separately in it’s own text box and then overlap them. That’s so the name is all joined up and won’t fall apart when you cut it out later!
You can make your letters any size and rotate them slightly to find the best way of fitting them together. Once you are happy with the arrangement crop it as tight as you can.
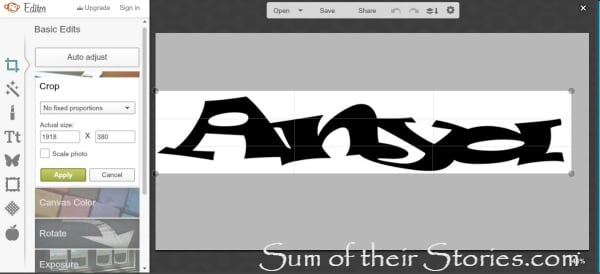
Next change the colours. You want the actual letters to be blank so you can write a message on the gift tag. Change the canvas to a pale colour (just so you use minimal ink) Click on each letter and change the font to white.

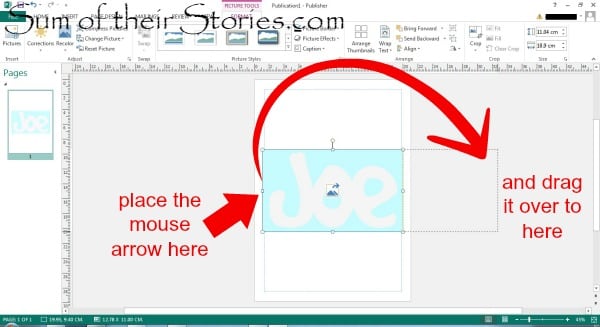
Save your picture, then open up Publisher and insert your picture. It’s now easy to reverse the picture just by grabbing it on one side with the mouse arrow and dragging it across, past the opposite edge and out the other side.
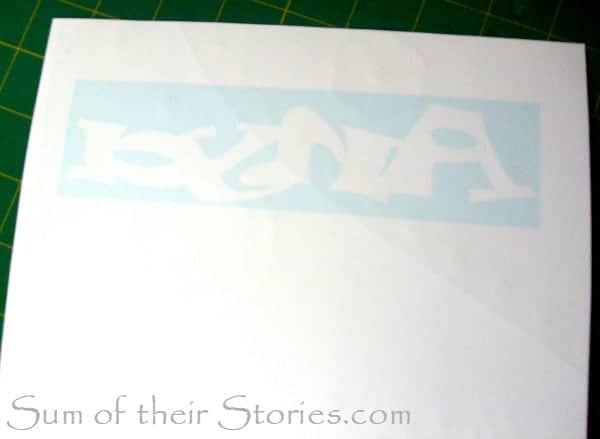
You can mess about with the size at this point, just by dragging from the corner. When you are happy print onto the plain side of scrapbook paper.
Then cut out. You could use a small sharp pair of scissors, I used my lovely X-acto knife.
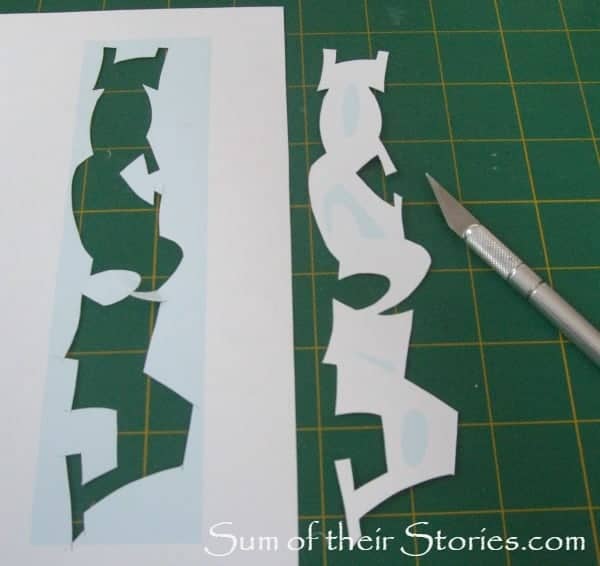


Punch a little hole in the corner for the ribbon, string or thread, and your ready to wrap.
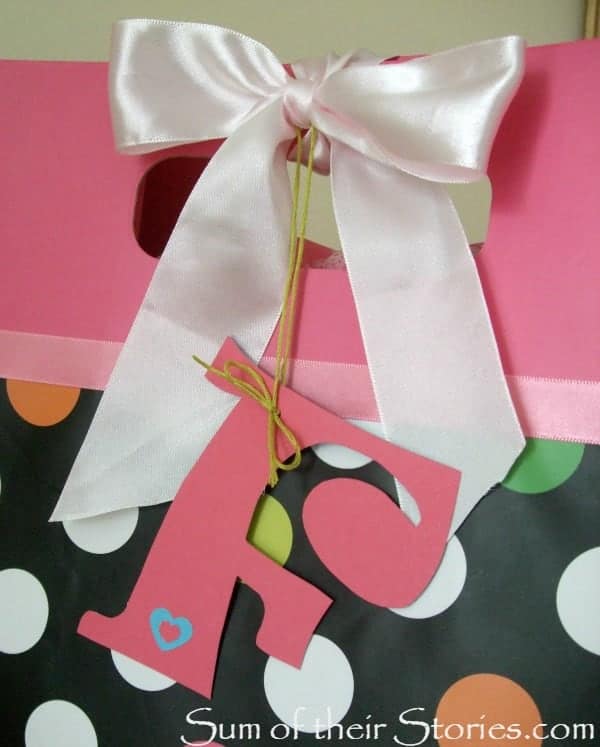
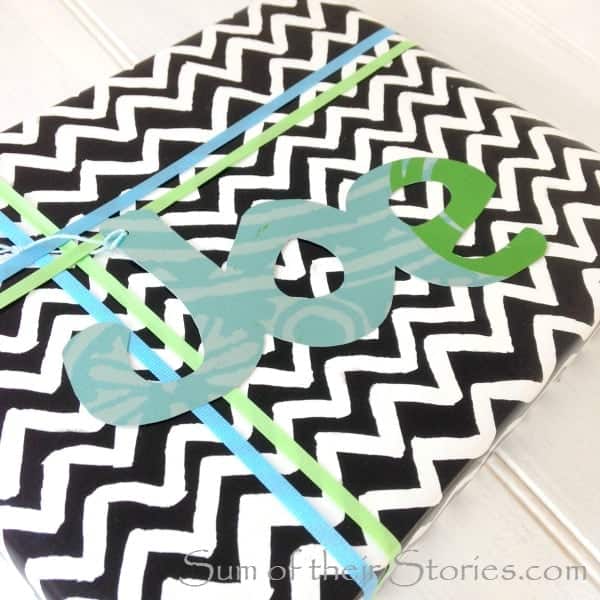
This is perfect for those unusual names that you can never get anything personalised for it the shops (I do realise of course that “Joe” is not especially unusual!) Even easier is to just do an initial letter, they can be bigger if you like, but you can create them in exactly the same way.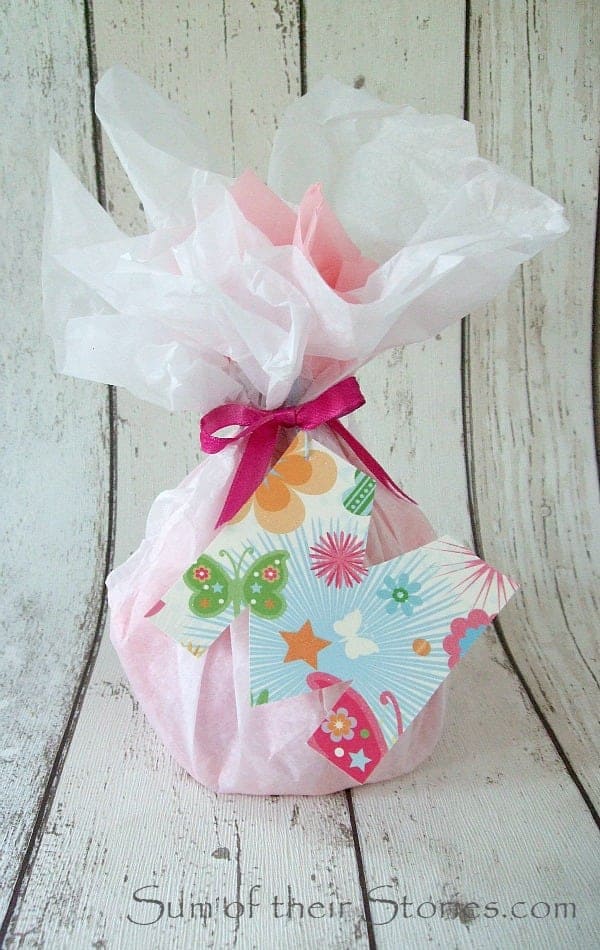
The back of the name or letter will be blank (as long as you used single sided scrap book paper) ready for your message.
I expect anyone lucky enough to have a fancy cutting machine could rustle these up in a flash too, but even with just a pair of scissors you can make these personalised gift tags.
I hope you enjoy making personalised gift tags and your friends and family enjoy receiving them!
Thanks for having me to visit today Kimber, it’s been an absolute pleasure.
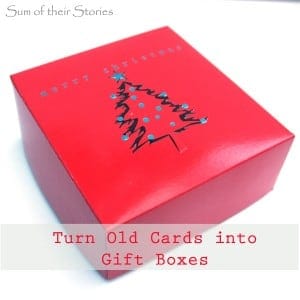
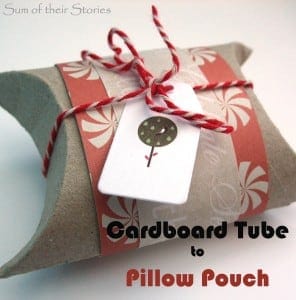
If you enjoy wrapping gifts you might like to check out some of my other ideas on Sum of their Stories.com


Leave a Comment