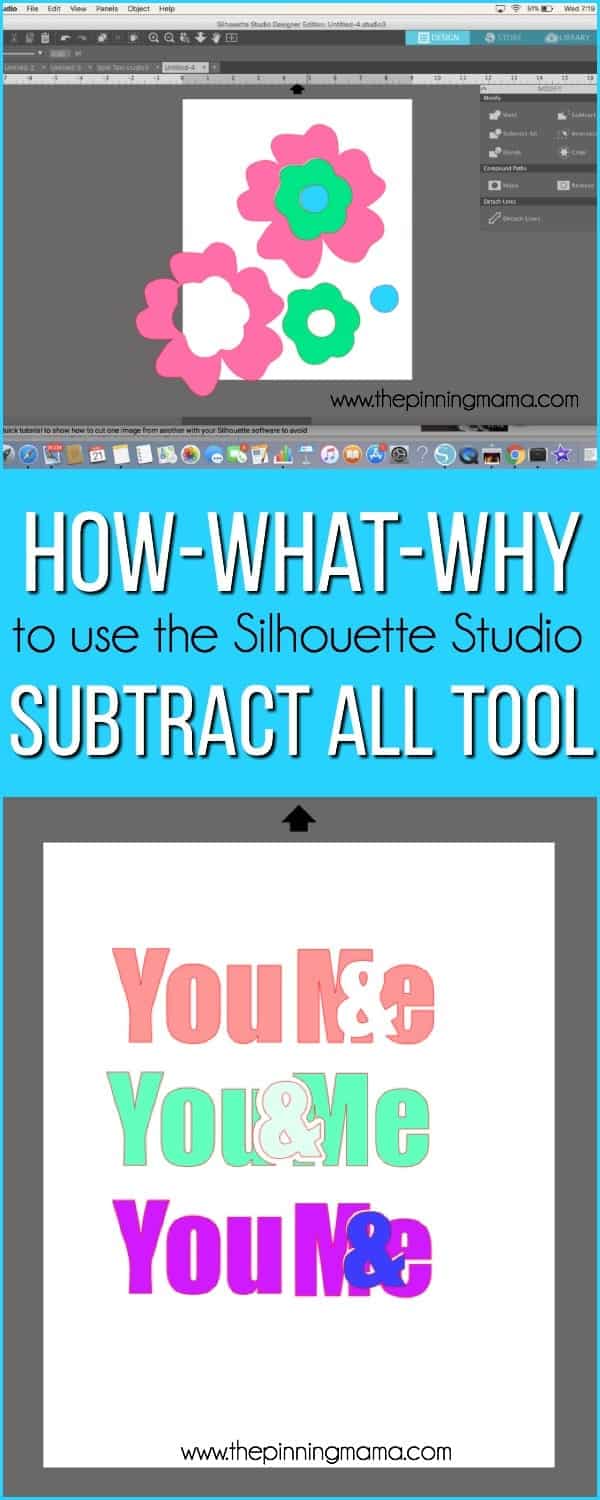
Here we are at Lesson 8! Today we will cover the Subtract All feature in Silhouette Studio, what it is used for and how it is different than the Subtract feature. If you are just joining us, Silhouette Boot Camp is filled with mini lessons that help us learn the terminology used in the Silhouette Studio software Version 4 so that we can create and cut any design we can dream up with ease!
In lesson 7 we learned all about the Subtract tool in Silhouette Studio. The Subtract tool is is a widely used feature that can help cut things out of a design, or fill a shape or text with a design so that it cuts in a pattern. You can read the whole lesson on Using the Subtract Function in Silhouette Studio here!!
Before we get started, there are a couple of things to help you get the most of the Boot Camp:
- If you are new here, take a look the Silhouette Boot Camp Welcome with all courses listed and catch up on any you missed.
- Sign up for my Silhouette Newsletter which will email you when the lessons are released each week.
- Pin this post! Each of these lessons takes me on average, 8-12 hours to create for you. I can do these lessons for FREE thanks to your support in coming to my site. By pinning this post or sharing it on Facebook with your Silhouette friends, it helps me spread the word so that I can keep the resources and freebies FREE to you!

Today we are talking all about the Subtract All feature included in the Modify Panel in Silhouette Studio. Subtract All can be confused with Subtract sometimes since they are so similar in name in task, yet they do have some really critical differences that can be very helpful if you understand what each function does. So let’s jump right in!
What Does Subtract All Do in Silhouette Studio?
The Subtract All feature allows you to stack two shapes and when used will “subtract” the part of the shapes that are overlapping each other. The key difference from the regular Subtract feature, is that the top shape will stay in tact in the design instead of being deleted completely, as it is when you use the subtract function. You can see a full tutorial on the Subtract tool here.
Where do I Find the Subtract Feature in Silhouette Studio?
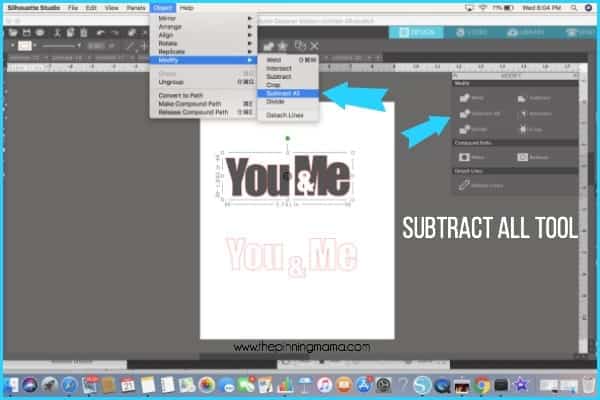
You can find the Subtract All Option in the modify panel, accessed in two main places:
- In the right icon menu bar of Silhouette Studio, click the button to open the modify panel. Then choose Subtract All in the menu
- From the pull downs at the very top of the screen in Silhouette Studio: Object –> Modify –> Subtract All
How do Use Subtract All in Silhouette Studio?
- Open up up two or more shapes.
- Move the shapes so that they overlap in one or more places.
- Move the shape that you want to stay complete to the front. This shape will subtract from the ones behind it, but the shape itself will stay in tact.
- Select all overlapping designs by clicking one, then holding shift and clicking the other(s), or by using the select tool to draw a box around all of them. (you will know they are selected if they have a light box around the shape)
- Open the Modify window in the top right tool bar and then click Subtract All in the menu options.
Note: To change which shape is on bottom or top you can right click the shape and the bottom of the menu will allow you to:
- Send to back
- Send backward
- Bring to front
- Bring forward
You can use these as needed to move your shape behind or in front of other shapes on the page to create the desired effect.
Example of Subtract All:
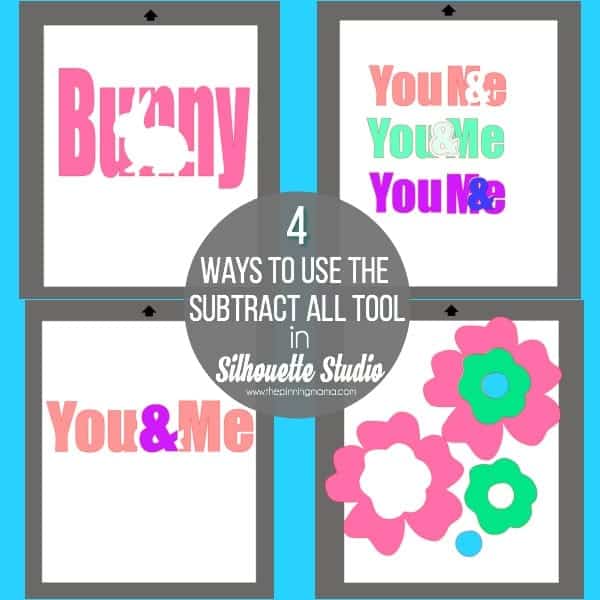
Some examples of using the Subtract All function in the Modify Panel are:
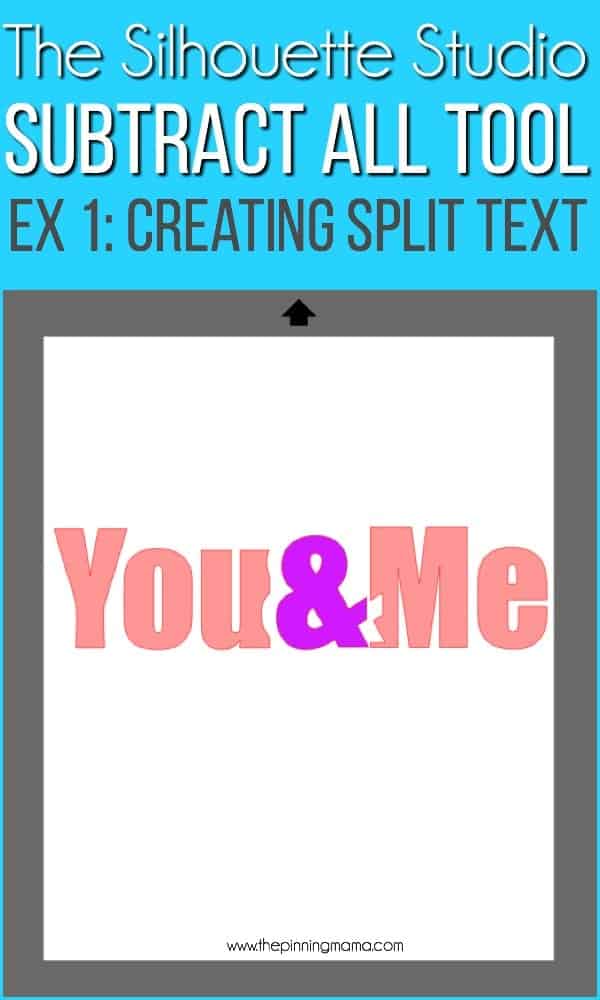
- Creating split text.

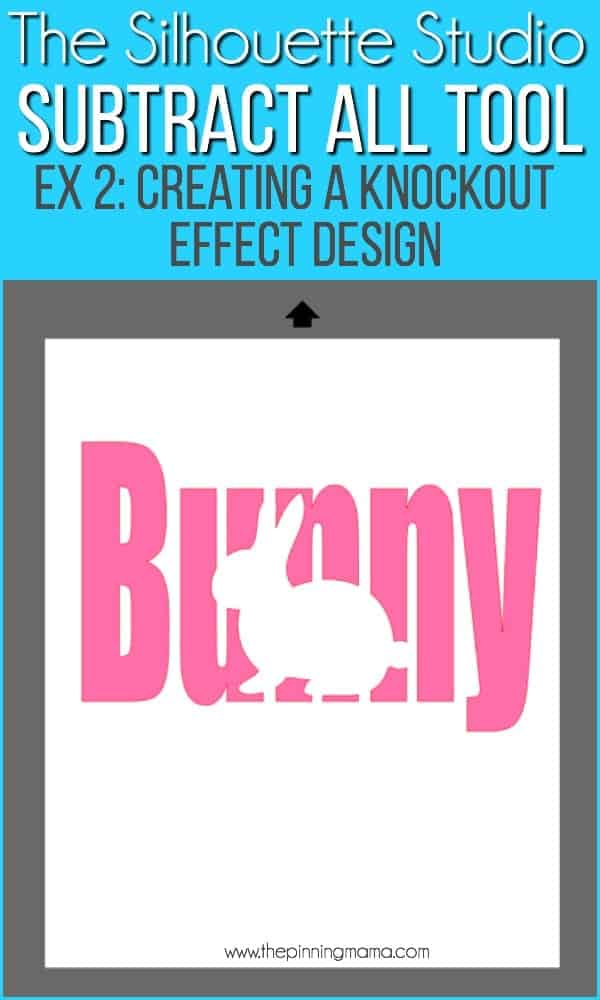
- Creating a Knockout effect in a design.
- Use when making multi-color designs so the areas that would be layered are removed and the layers of paper or vinyl do not build up in thickness.

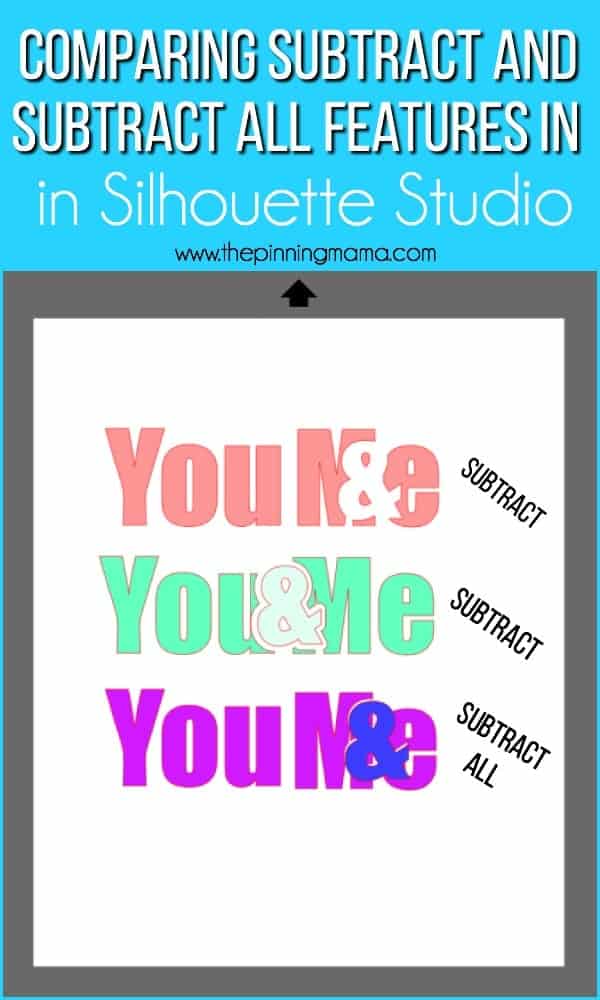
Comparing Subtract and Subtract All Functions
To bring it all together, even though both the Subtract and Subtract All functions remove the top image from the designs underneath, the subtract all leaves the top shape in tact, where as when you just subtract, it will remove the top image all together.
Im just sitting here next to my Hubby so I thought I would show you one design in three different ways where you can see how to use each function in the words using You & Me. See the difference in how subtract and subtract all was used in the example above.
- Steps to achieve Example 1: Negative Space Text
- Design text (Impact font used)
- Group “You” and “Me”
- Arrange “&” on top of the “Me”
- Bring “&” to front
- Select both
- Use Subtract function
- Steps to achieve Example 2: Offset Design
- Design text (Impact font used)
- Group “You” and “Me”
- Size “&” to the size you want
- Offset & to create a slightly bigger “&” (I used 0.1 offset)
- Place offset “&” on top of text
- Use Subtract function to remove
- Arrange original “&” inside the space
- Steps to achieve Example 3: Knockout Design
- Design text (Impact font used)
- Group “You” and “Me”
- Place “&” on “Me”
- Use Subtract All to remove the shape from “Me” creating a perfect pocket for “&”.
- Cut text in one color, and “&” in the other color then layer them perfectly back on your project.
I hope this lesson was useful! Now it is time to open up Silhouette Studio and try it out. Please make sure to leave me a comment if you have any additional great uses for the Subtract tool or if you have any more questions!


Jane says
When using “subtract all” and cutting top layer that has been subtracted – should I enlarge this piece a tiny bit to ensure opening is completely covered when assembling to avoid vinyl shrinkage?
Emily says
There is a lot of ways to do it, but I think I would keep it the same. I just wouldn’t want the layers to overlap at all. Let me if that helps or if you have more questions.
Tricia Chavtur says
Thank you! All of these boot camp videos are helping me understand things so much better. I really appreciate your taking the time to put them together and share them with us.
Emily says
You’re Welcome!!
Teresa says
Your BootCamp videos are great. You have gotten so much better since #1- I mean that as a very sincere compliment. thank you for sharing.