If you are planning a trip to Disney with kids, then add this to you list of musts! Use this adorable shirt to gather autographs from all of your favorite characters and princesses at Disney! Kids will love getting autographs and then showing them off when they get home to continue the Disney Magic a little longer! ….And make sure to skip down to the bottom of the post for a Southern California Vacation GIVEAWAY!!!

I am so excited to partner with my favorite craft vinyl supplier, Expressions Vinyl, and Getaway Today to bring you this fun Disney Silhouette project and a VACATION GIVEAWAY!!! Make sure to pin this project for your next trip and find the vacation giveaway at the bottom of this post.
We are super lucky that we have lived close to both Disneyland and Disney World so our kids have had the opportunity to go quite a few times already. There is so much magic on a trip to Disney, but one of my kids absolute favorite things each time we go is getting the character’s autographs. In the past we have just done a notebook for each kid which they have loved, but I decided the next time we go we are going to up the fun factor even more and do autograph shirts. I just know the kids are going to go nuts with getting their shirts signed, then when we get back they can wear it to school and show all of their friends the fun they had on their Disney vacation!

How to Make a Disney Autograph Shirt
Making this shirt is super simple!! I have a tendency to make things way harder than they have to be and double or triple the time it takes to do it by adding little extras, and after I finished this project I thought, “Wow, that was SO quick and easy and I love it SO much!” Even with letting my little guy help em do this project it was still done in about half an hour which is a huge win over here. So let’s talk details!
Supplies
Here’s what you need for this project:
- Cutting machine – I used my Silhouette CAMEO

- Heat Transfer Vinyl – I used Siser Easyweed supplied to me by Expressions Vinyl (I love them bc they are awesome to work with and ship SO FAST!!!)
- T-shirt – I used this Raglan shirt I got quickly with Amazon Prime (If you don’t have Amazon Prime I LOVE it for quick free shipping! You can get a 30 Day free trial here!)
- Iron – Anything that gets hot (Empty the water– No steam!!)
- Sharpies or Fabric Markers like these from Tulip

 I got quickly with Amazon Prime (If you don’t have Amazon Prime I LOVE it for quick free shipping! You can get a
  or
or  like these from Tulip
Instructions
To make this project just design, cut, iron, and go!
- Design the shirt. Here is a quick tutorial on how I did it in Silhouette Studio.
- Cut the design.
- Make sure you mirrored (flipped your design horizontally)
- Lay the HTV shiny side down on your cutting mat. (You can also cut HTV without a mat, but my preference is to use one for small designs that fit on a mat easily)
- Set cut settings to Heat Transfer- Smooth setting with a cutting mat. Do a test cut to make sure the settings are perfect! {If you don’t know how to do a Test Cut with your Silhouette, check here.} When the cut is perfect the HTV will be cut and the back will not be and you will be able to pull up the cut part off the clear backing without having to tear the vinyl. For more info on how to use HTV check out my Beginner’s Guide to HTV)
- Load cutting mat.
- Send to machine
- Unload
- Weed the design by removing excess vinyl that you do not want to iron on, leaving only what you want to iron to your shirt on the backing.
- Flip the design over shiny side up, position on your shirt, and cover with a piece of parchment paper.
- Use a hot iron on a hard surface or a heat press to press the design according to the manufacturer instructions. I did a hot iron, no steam for about 30 seconds pressing very firmly.
- Check that the design is adhered then peel the backing up slowly.
- Pair with sharpie markers or fabric pens for your trip!

I partnered with 25 other bloggers for this fun giveaway and we all made Disney themed crafts! If you L-O-V-E Disney, make sure to pin some of these to make!
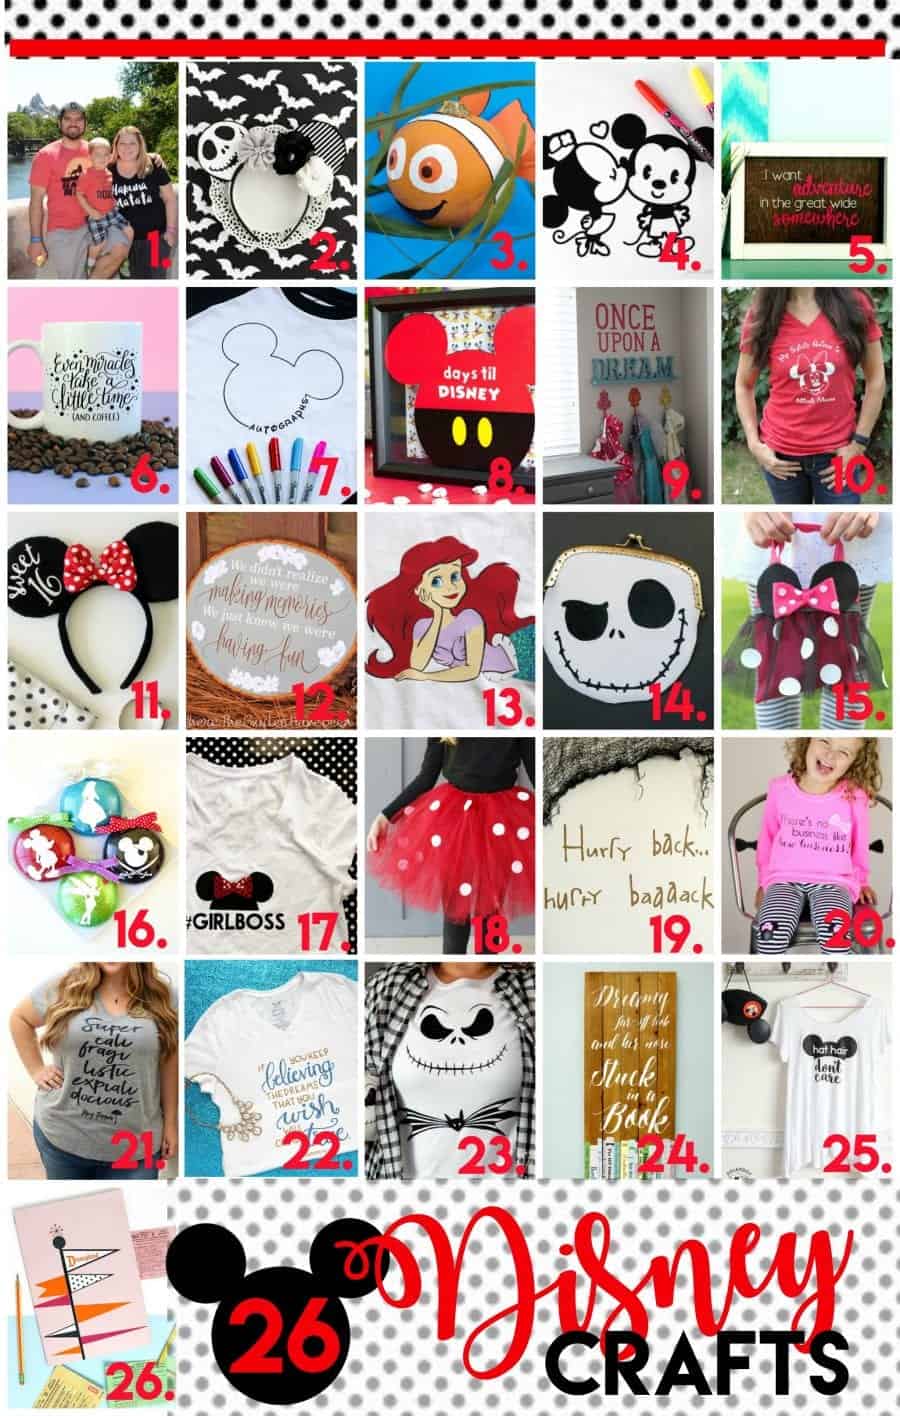
1. Lion King shirts by Play Party Plan
2. Jack Skellington Ears by A Pumpkin and a princess
3. Nemo pumpkin from C.R.A.F.T.
4. Disney coloring shirt by Artsy Fartsy Mama
5. Belle framed art by Crafting in the Rain
6. Miracles free cut file By Dawn Nicole Designs
7. Autograph shirt by the Pinning Mama
8.Disney countdown by Frenchi Wraps
9. Girl dress up by Over the Big Moon
10. Spirit animal shirt by Smashed peas and Carrots
11. Customized Minnie Ears by Inspiration Made Simple
12.Winnie the Pooh quote from Where the Smile Have been!
13. Modest ariel from Kiki & Company
14. Jack Skellington coin purse by Tried and True
15. Minnie Mouse purse by A girl and a glue gun
16. Disney ornaments by Happiness is Homemade
17. Girl Boss shirt by Sweet Rose Studio
18.No Sew Minnie tutu by Sugar Bee Crafts
19. Haunted Mansion door design by Simple simon and Co.
20. Minnie Mouse bow shirt by Girl loves Glam
21. Mary Poppins design by the Crafted Sparrow
22. Cinderella hand lettered shirt by Pitter and Glink
23. Jack Skellington shirt and pumpkin by the Scrap Shoppe
24. Beauty and Beast book sign by Flamingo Toes
25. Hat hair shirt by Polka Dot chair
26. Vintage Disneyland by Persia Lou
DISNEY GIVEAWAY!
Now for the GIVEAWAY!!! Who wants a vacation package to Southern California? Me, me, me!!!! The details are below, and use the rafflecopter widget to enter! And if you don’t win, make sure to bookmark Getaway Today for planning your next Disneyland Vacation!


Rosemary says
This is so adorable! I heard that they aren’t allowed to sign any garments that people are wearing. Is this a new rule?
Kimber says
They aren’t but you can bring the shirt for them to sign and wear it another day fully autographed!
Tracy Quamme says
Good morning! Your design is fantastic and I just love it. I showed this to my daughters and they want me to make it for our upcoming Disney trip over Halloween. Unfortunately my design skills aren’t top notch just yet. Would you share or sell the svg file of your design?
Anndrea Marchand says
How would I make this shirt without a cutting machine like a cricut?
Rachel says
Hi, I am new to the vinyl cutting world amd and can’t quite figure this project out. I am working in cricut design space and can’t get the word autographs onto the outline like yours. Any advice? Thanks in advance!
Kimber says
I am sorry! I don’t have any experience in the Cricut Design space. Go check out my friend Cori at Hey Let’s Make Stuff. She is a Cricut expert!