*****If you are new here, welcome! You might want to follow us on Facebook so you don’t miss out on any of our fun creations. We also share lots of freebies there, so hurry over and like the page! Also, find us on Pinterest pinning the best crafts from across the web
*****BREAKING NEWS: For all of you Silhouette lover’s out there, we have created a Facebook Group where you can share what you are working on, get inspired by others, and ask all the questions you have- no matter how basic or complex! Our goal is to be a community for the crafty where we can learn and be inspired! If you would love to learn more about your Silhouette, share what you are up to, and find new project inspiration then come hang out with us by requesting to join the Silhouette Facebook group here. And…. did I mention we give a FREE Silhouette cut file EVERY Friday!? Can’t wait to see you there!*********
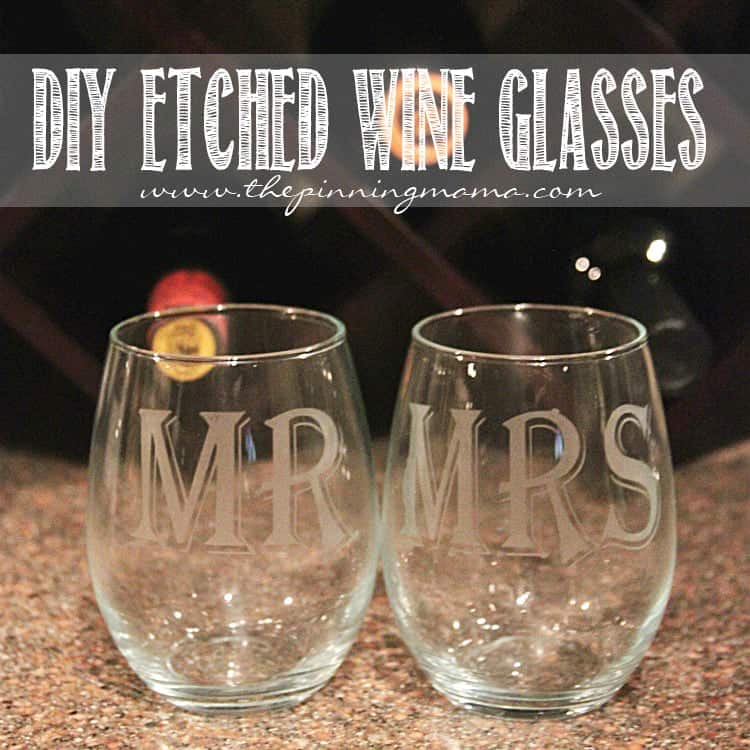
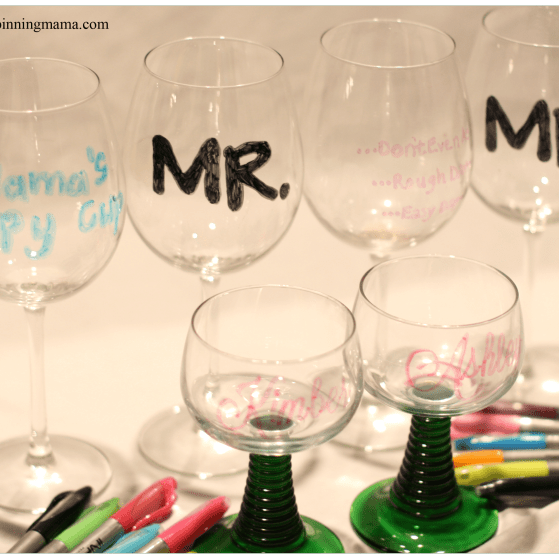
Today I am excited to share with you how to make a gift that looks super fancy but {it’s our little secret} is really pretty simple to make. I fell in love with the idea of wine glasses with Mr and Mrs etched into the glass. I saw them on Etsy as gifts and wedding accessories, but at as much as $20 each, I knew I could easily whip these up more affordably. It was quick, easy and adorable, so I am excited to share the step by step on how to make these adorable little Mr and Mrs etched glass wine glasses.
DIY Etched Wine Glasses
Supply list: {Contains affiliate links that take you directly to products referenced}
- Stemless wine glasses – I got these Libby wine glasses inexpensively
- Silhouette or other cutting machine {Don’t have one? Grab a Silhouette machine here or on Amazon here}
- Vinyl {Individual- any color OR if you are new to etching grab the glass etching starter kit OR Amazon here}
- Transfer paper {Transfer paper OR included in glass etching starter kit OR Amazon here}
- Etching Cream {Etching cream OR included in glass etching starter kit OR Amazon here}
- Optional: Silhouette Hook
- Optional: Silhouette Scraper
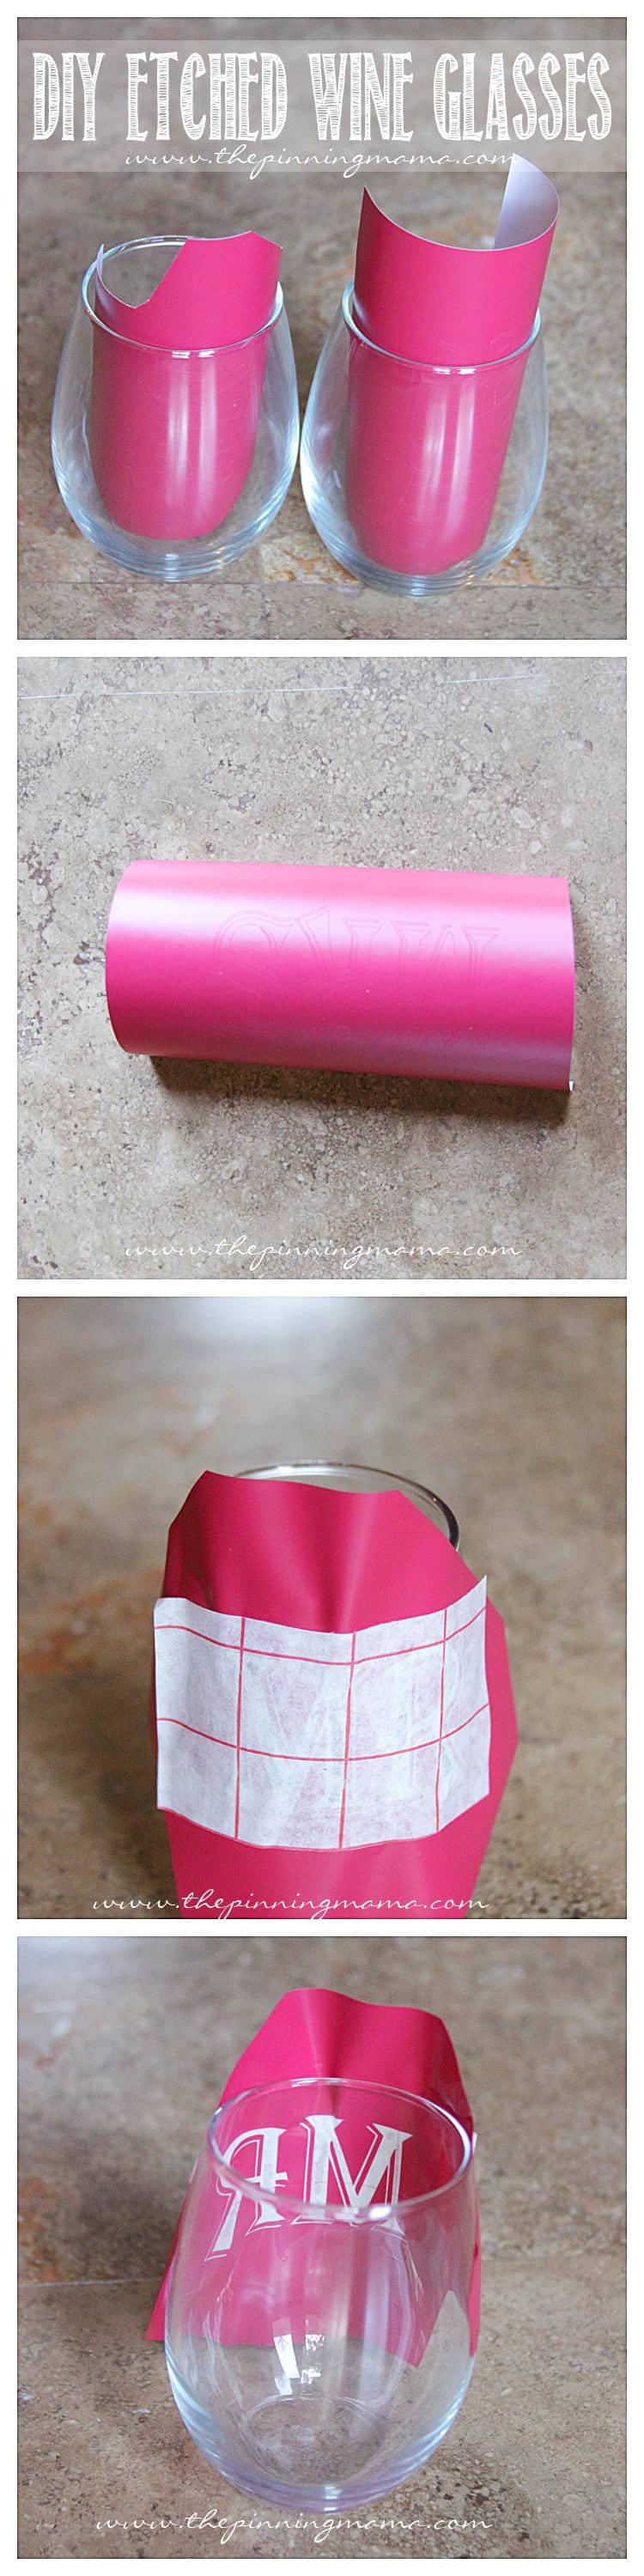
First you will want to pick out your glasses. I used these stemless wine glasses I got at Target. You could also pick up wine glasses at the dollar store, or even just use some pretty tumblers for a fun every day glass. Make sure they are clean and dry.
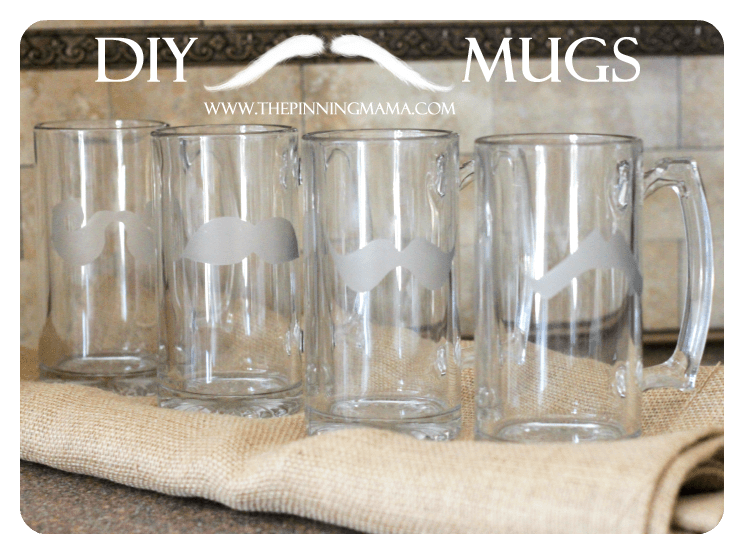
I then used my Silhouette Design software to make Mr and Mrs in just the right size and I cut them out on vinyl. You can download the Silhouette Studio Design software FREE even if you don’t have a machine to see how it works and start designing! If you don’t have a cutting machine you can see how I did the same effect on my etched glass mustache mugs here earlier this year. I used a bold and chunky font to make a statement on the glasses but you could do so many different looks with these!
I then used transfer paper to move the vinyl over to the perfect spot on the mugs and peeled off the paper leaving the vinyl. Now, this is the trickiest part. Since the glasses are curved, the vinyl has a tenancy to want to pull and bubble in certain spots. You MUST make sure all of the edges are very securely and firmly adhered to the glass. I did this by scoring it down over and over again until I finally won!! You can’t skimp on this step or you will end up with a big, fat, mess and nothing you could gift. So, again, make sure all of the edges of the cuts of vinyl are very firmly adhered.
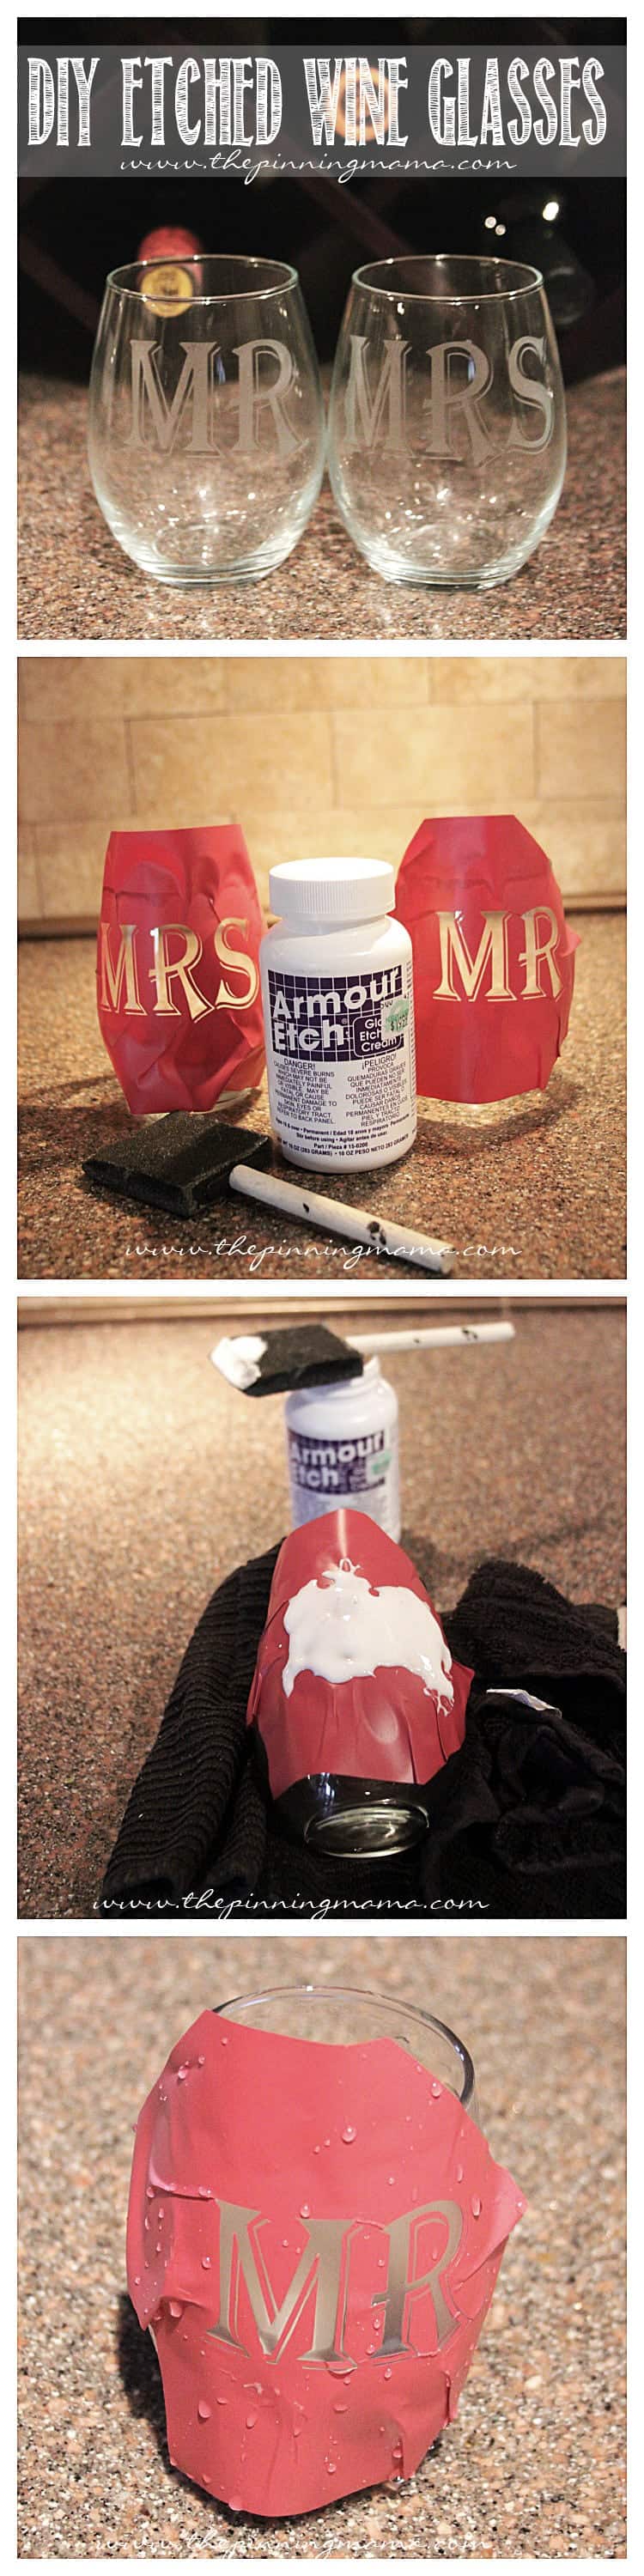
Next you will put a generous layer of etching cream on your vinyl. I made sure to leave extra vinyl around the edges of my design because since the glass is rounded it has a tendency to run, so giving yourself the extra vinyl allows you to be a little lazier while you are waiting for it to etch. As far as etching cream goes, I used Armour Etch that I got at Hobby Lobby and have always been very happy with its results. Once you have all of your design covered, you will want to let it sit {making sure it doesn’t run onto a non covered area} for about 10-12 minutes. Then rinse it thoroughly under cool running water until all of the cream is rinsed away.
Peel back your vinyl and dry off your glass and you have a beautiful and professional looking result.
These Mr and Mrs etched wine glasses are just one of so many cute things you could do with glass etching! I think they would be great for an adult gift for so many occasions. It would be a fabulous hostess gift, a fun Valentine’s day gift, and a great birthday gift for a man or woman. It could even make a great Christmas gift for friends and neighbors!
So all I am left with to say is, “Cheers!” enjoy making this fun project!
Make sure to follow The Pinning Mama on Facebook and Pinterest for more fun projects and crafts.
See our other fun glass etching projects here:
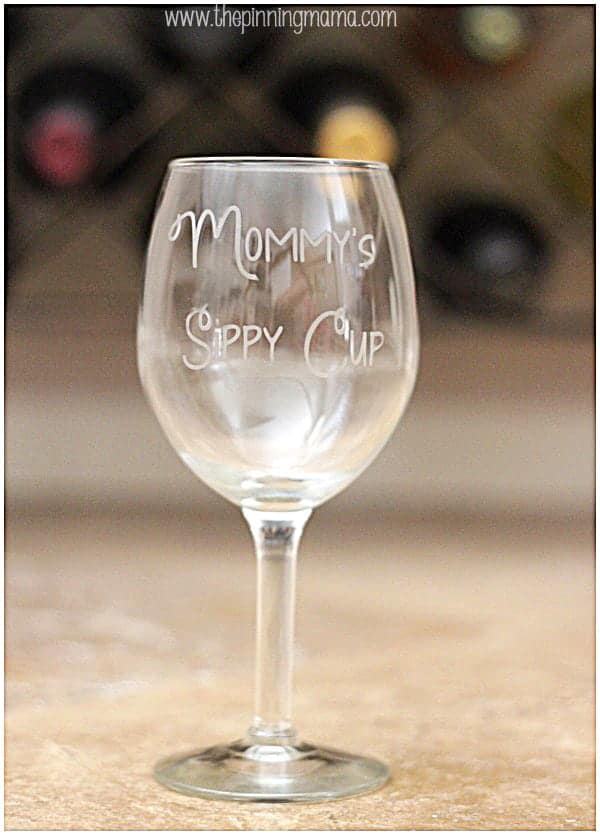
Mommy’s Sippy Cup Etched Wine Glass

MH says
so do i cut out what i want then stick the transfer paper on top of the outline? i want to do my monogram but am confused bout transfering the little parts that arent ‘connected’
Kimber says
You will cut the design then take out all of the parts that you want to show up to etched. You will then have connected and “not connected” parts left on the backing of the vinyl. At this point put your transfer paper onto the design and carefully peel it from the backing making sure each piece sticks to the transfer paper. You then have the non sticky side of the vinyl stuck to the transfer paper and the sticky side facing out. You can carefully take it and stick the vinyl to the glass or surface you are etching and then peel off the transfer paper. It should leave all of the parts that will be blocked from etching behind! I hope that helps!
jennifer says
Is etching cream/paste sold in colors? this may be a dumb question but……… making prom keepsakes on a budget.
Kimber says
No it is actually a chemical reaction with the glass however you could experiment with coloring with sharpie or dye after etching.
ShawnMarie says
HI, I see multiple people have asked you what font you used for this but I do not see an answer. Can you please tell us?
aryn hays says
So cute! Where did you get this font?
Alicia says
i noticed on the tutorial pictures you only had transfer tape on the letters. Do you wait and weed the letters after applying to the glass? Does that make it easier to smooth the inside edges so they don’t bubble as bad on such a rounded surface, especially if using a “bigger” letter?
Thank you.
John says
Quite impressive project. After looking this kind of project, definitely I am so happy because of I am looking special gifts for my dad. I think this is a much better gift than another for my dad. Thank you so much for sharing great etch glass project with us here.