Learn my technique for layering chalky finish paint and soft creme wax to get a distressed white wash finish on anything!

Affiliate links have been including in this post for your convenience in finding the products. For more info see our disclosure policy.
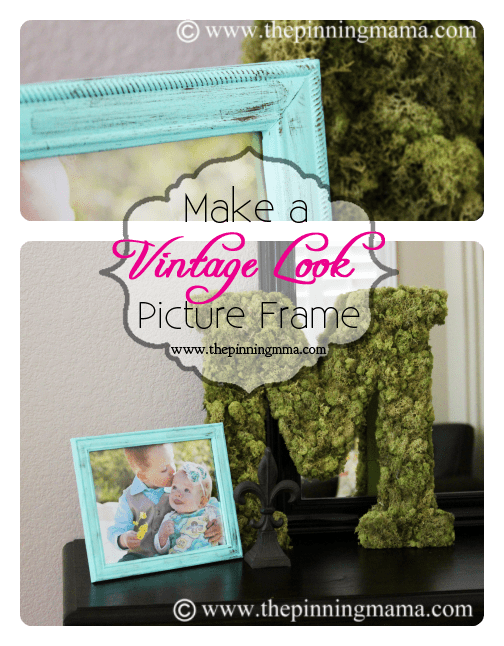
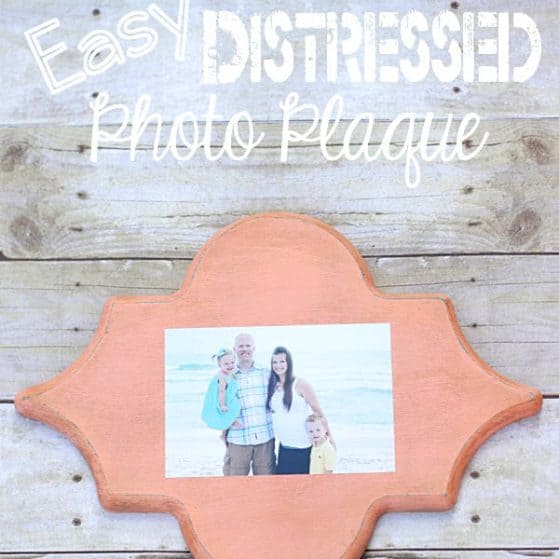
I love the look of distressed anything! As a matter of fact, my husband has joked that he doesn’t know why we spend money on things because if he picked something up out of a dumpster and drug it home behind his car I would love it far more than something new. To avoid the whole dumpster diving thing, I have been experimenting lately with all sorts of different paint techniques to make fun distressed projects. I am far from an expert but I am kind of in love with this wish washed technique I used to make this picture frame.
I will be sharing part two of this tutorial soon to tell you all about how to make the rustic 3 board wooden frame, but today we are just going to break out how to get this dreamy finish on it.
So let’s start with what you need:
- A wooden surface
- Americana Decor Chalky Finish paint in a bright fun color – I used Treasure
- Americana Decor Chalky Finish paint in Lace
- Americana Decor Dark Creme Wax
- Fine grit sand paper
- 2 inch flat paint brush
- Waxing Brush
- Lint free cotton rag
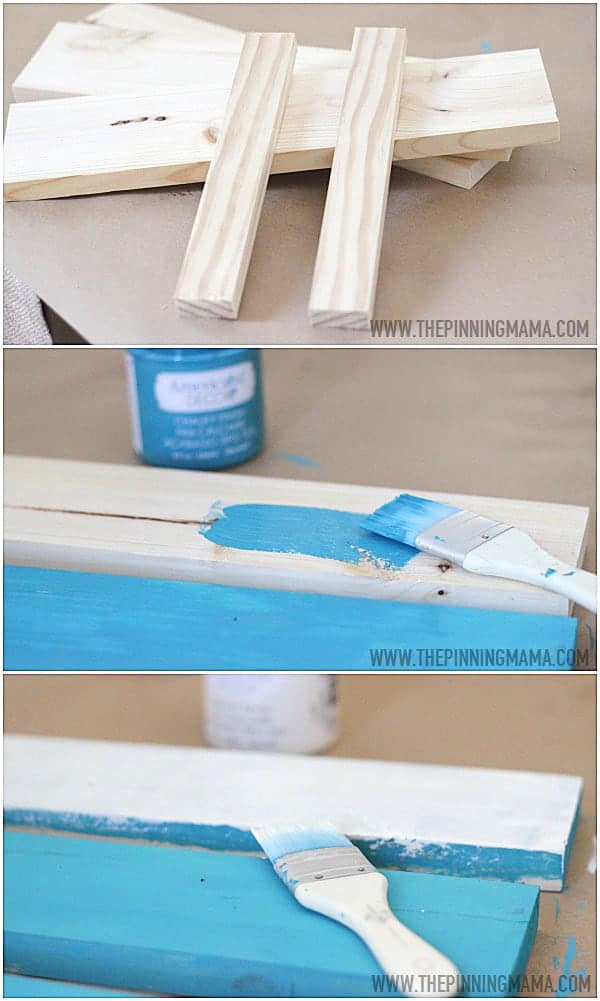
To start your project, make sure your wooden surface is prepped, clean, and clear of any debris. I was using raw wood so I just wiped it down. If you are doing a furniture refinishing project you may need to sand and prep your surface.
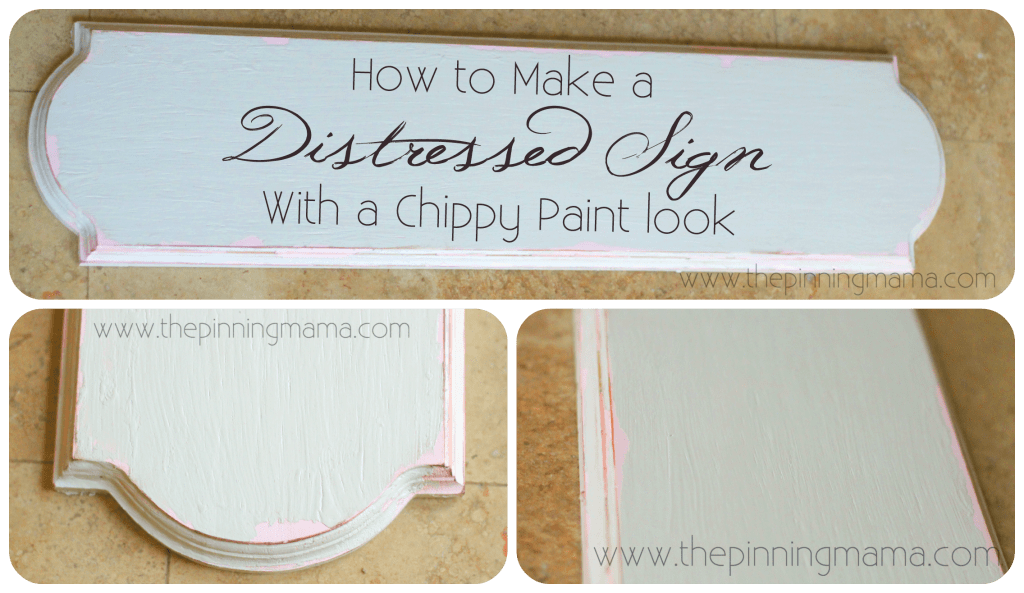
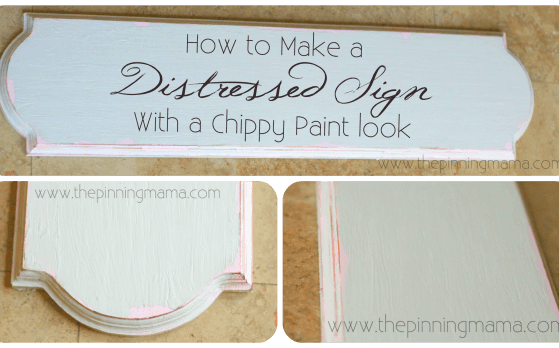
After your surface is ready, paint your first, brighter color over the entire surface of the wood using your flat brush. You will want complete coverage on this coat so if you don’t get it completely covered with the first coat, let it dry and paint a second coat of your bright color.
Next, wash out your brush and use your Americana Decor Chalky finish paint in Lace to paint a thinner layer over the bright color. You will cover the entire surface with the Lace color, but make the coat thin. Also, it is okay to leave imperfections and places with less than perfect coverage because it will just add to the perfection of the imperfect look we are going for.
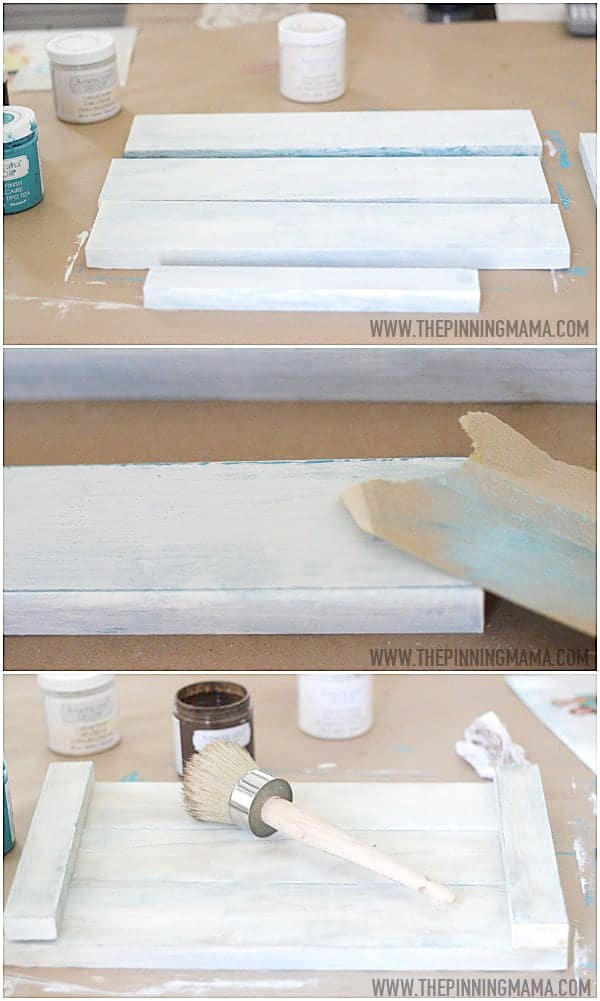
Once the Lace (white) layer is dry, use a fine grit sand paper to go over all of the corners and edges of the wood surface. You can use it more heavily in some places than others, but the goal is to take off the white paint around the edges and thin it increasingly toward the edges so your brighter under coat peeks though. when you have the amount of distressing you want, wipe the wood down with a damp cloth to remove the dust from the sanding and let it dry.
Your last step is to add Americana Decor Creme Wax in dark brown. When I first finished the sanding I wasn’t sure if I wanted to add the wax because I was really loving the look so much already. I knew I wouldn’t regret it in the end though so I did the wax and haven’t looked back!
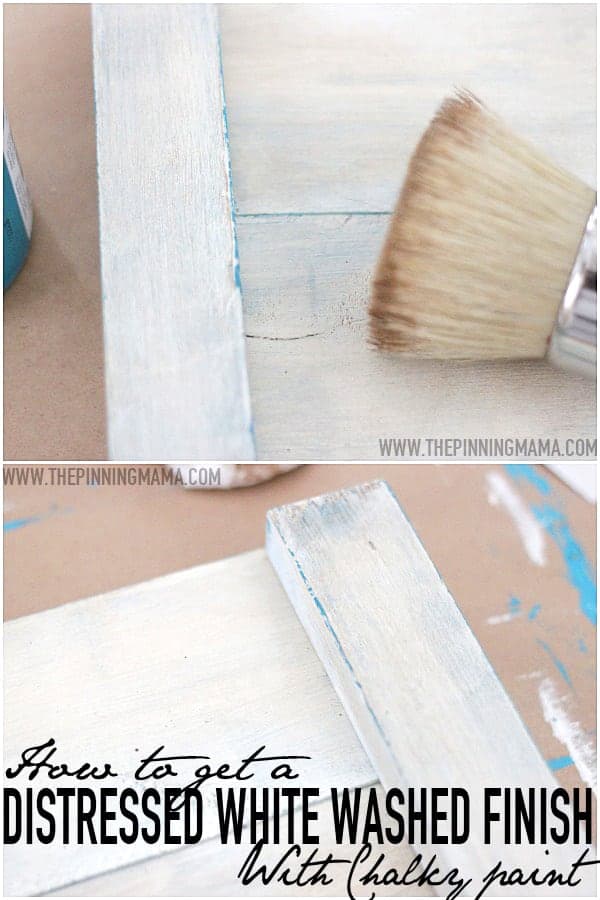
The wax will make the entire project much warmer and really add to the distressed look of the project. The wax is great for settling in all the nooks and crannies and really bringing out the imperfections that make a distressed piece look so realistic! The waxing step is so simple too! Just take your waking brush and lightly dip it into the creme wax (make sure you shake the wax well before using.) Then since we are using such a dark wax on such a light surface, I scraped off as much of the wax as you can on the edge of the jar then use round strokes to cover the surface of the piece with a light layer of the wax. Immediately use the rag to buff down the surface after you finish with the brush. This tones down the color a bit as well adds an additional bit of blending to it all.
That is all there is to it! At this point you can add a varnish if you are done with your piece or if you are adding to it like I was with this picture frame you can move on to whatever your next steps are.
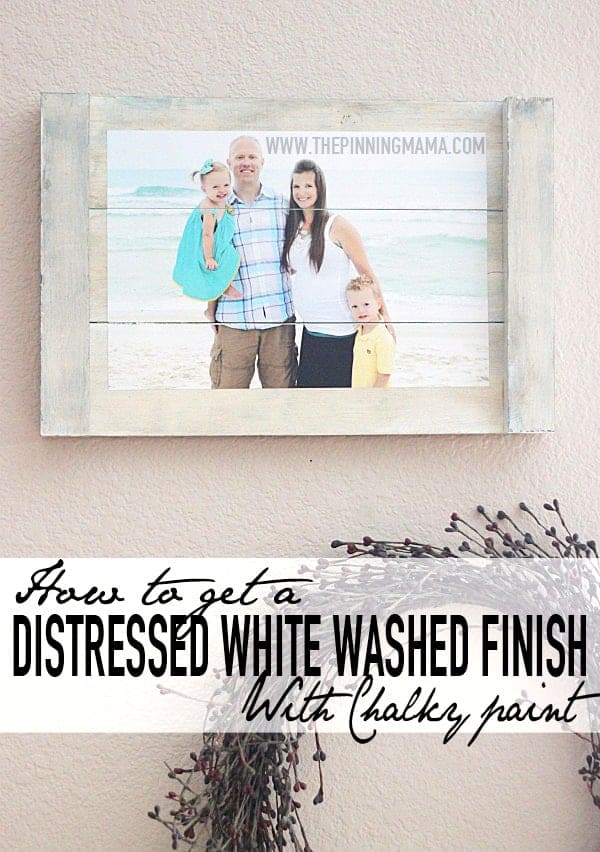
Making the finish is really easy and the chalky finish paint provides the perfect vintage feel that I always love in a distressed piece. If you like easy home decor projects make sure to follow The Pinning Mama on Pinterest and Facebook to see our latest posts!
![]()
![]()
Here is some more home decor and painting projects you may like!
How to get a distressed look with a dry brush technique


Layne says
I love this – what a fantastic way to decorate!
Cristin @ Dollhouse Love says
I love the blue undercoat – it really adds to the beachy feel. you’ve got some really cool brushes, too. Nice work!
Lindsay says
i love this – and how did you put the picture on it?
Kimber says
Great question! I have an entire post explaining the exact steps I used. You can find it here: http://www.thepinningmama.com/2014/09/07/quick-easy-planked-picture-frame/
pamela hanick says
I love what you can do making painted looked old,