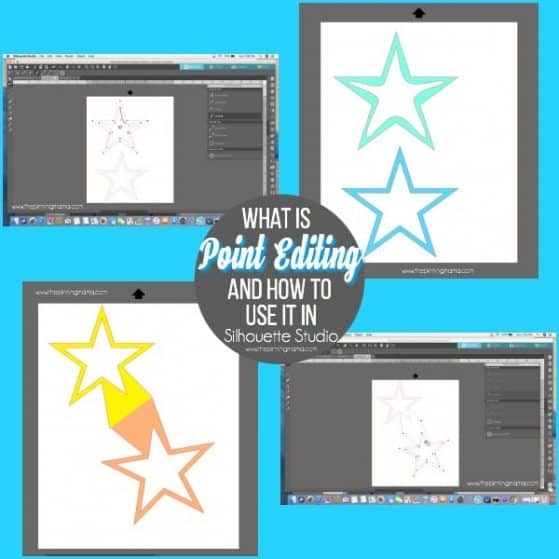
Welcome to Lesson 15!! We are almost through our Bootcamp series!! Today we are learning all about the Align tool and how to use it. Last week we learned about Point Editing and how to use it in Silhouette Studio. Silhouette Boot Camp is filled with mini lessons that help us learn the terminology used in the Silhouette Studio software so that we can cut any design we can dream up with ease!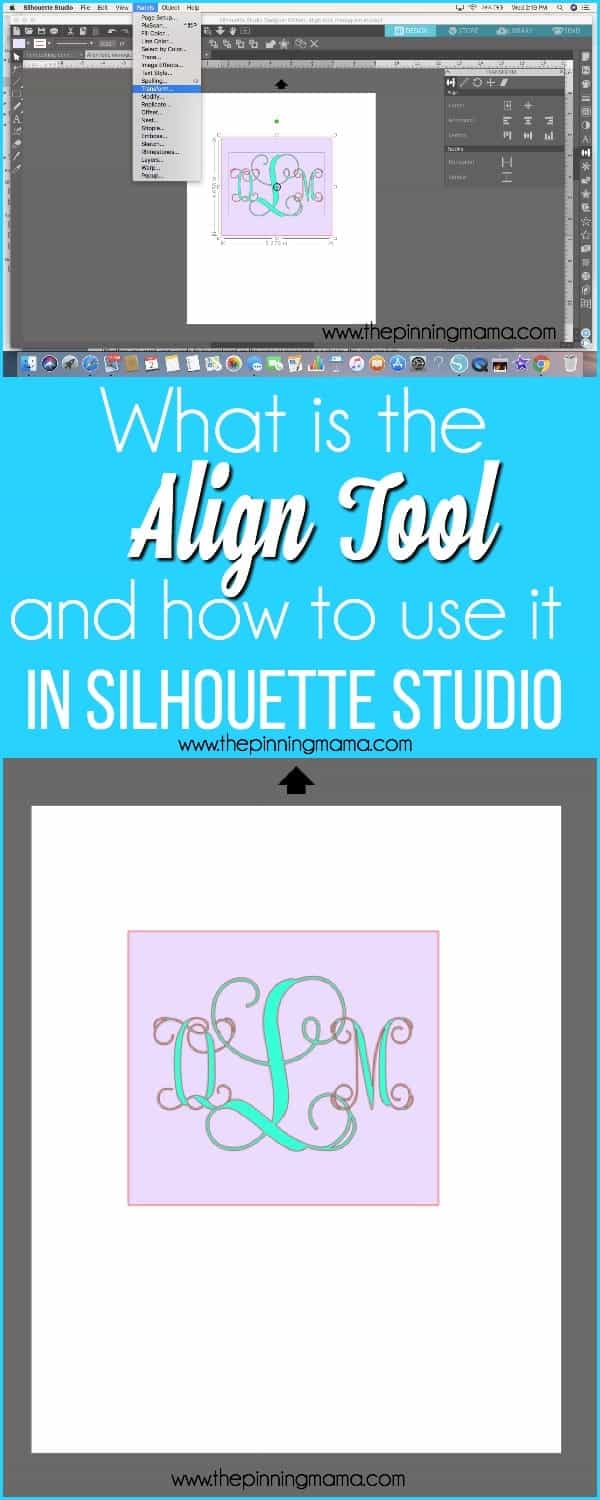
Before we get started, there are a couple of things to help you get the most of the experience:
- If you are new here, take a look the Silhouette Boot Camp Welcome with all courses listed and catch up on any you missed.
- Sign up for my Silhouette Newsletter which will email you when the lessons are released each week. {click HERE to sign up!}
- Pin this post! Each of these lessons takes me on average, 8-12 hours to create for you. I can do these lessons for FREE thanks to your support in coming to my site, reading the tutorials and sharing it with your friends. By pinning this post or sharing it on Facebook with your Silhouette friends, it helps you know where to find it if you need to reference it again, and it helps me spread the word so that I can keep the resources and freebies FREE to you!

What does Align mean in Silhouette Studio?
The Align tool gives you the ability to correctly align different parts of your your design. Whether you want your words to be centered on the page or centered in a shape, this tool can help you with all of your needs. If your eyes are like mine, eyeballing it doesn’t usually work. I hope my tricks help you so you can be a master designer too.
How do I use the Align tool?
First you need to highlight all the objects you want to Align together. Then select on the right side of your screen the transform panel. (3 rectangles with a line) The first section of the transform panel is the Align tool. All your options are here to Align your design/words or letters the way you want.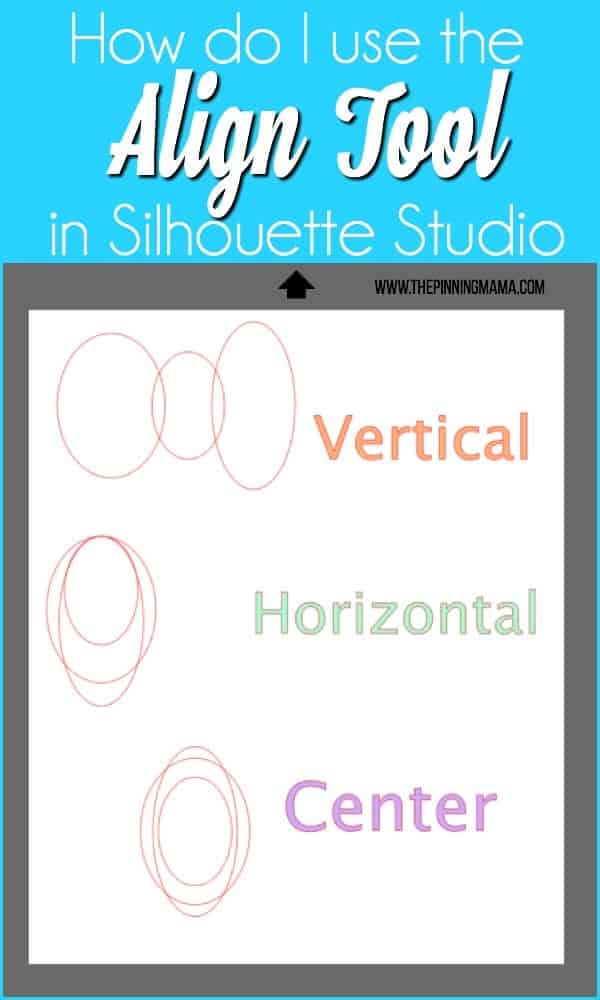
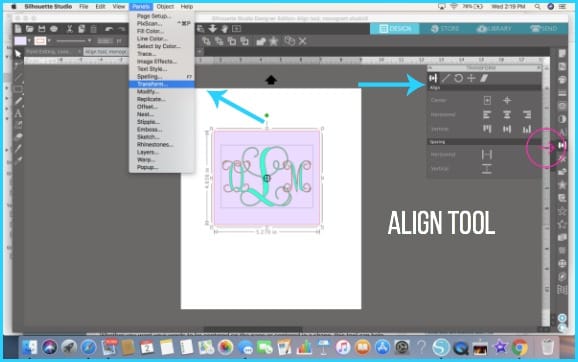
Where do I find the Align tool in Silhouette Studio?
The Align tool can be accessed in a few different places.
- Right hand side of the screen, select transform icon (3 rectangles horizontal with a line), Align is the first box that will open up.
- In the top menu, click Panels, select Transform. This will open up the transform panel and the Align feature is in this panel.

Examples of using the Align tool:
I decided to create a Monogram for the back of my little girl’s iPad. I want the monogram to be perfectly even, and I also wanted it to be centered in a box. The Align tool is the perfect thing for this job.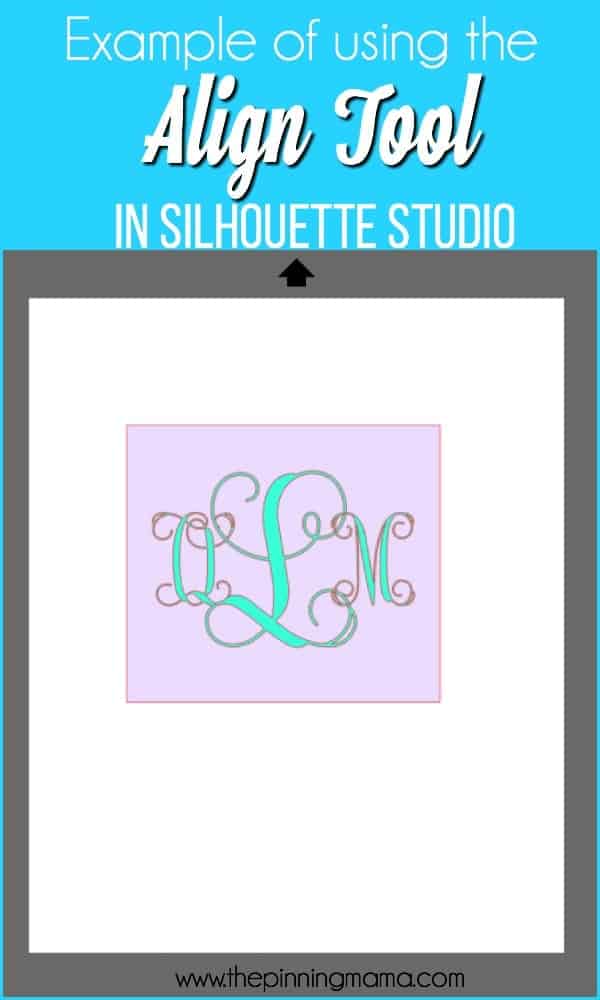
When to use the Align tool:
Trying to get items perfectly spaced or placed in center or middle of something is hard to accomplish. The Align tool is a great tool in helping place your design exactly even with other designs or shapes.
Special Notes on using Align:
If you are trying to Align a monogram in the center of a circle, square or any shape…. make sure your monogram is grouped together otherwise it will align all the letters on top of each other.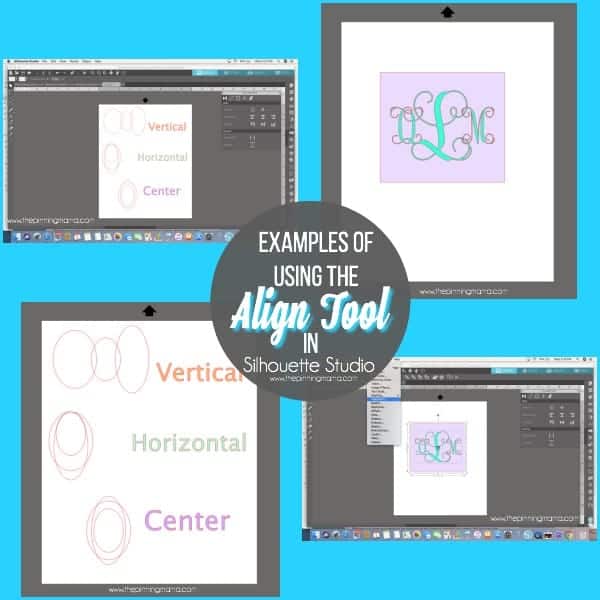
This lesson is quick but very useful information. Looking back I wish I would’ve known about this tool in my earlier stages of designing projects. Tune in next week to learn all about Replicate and how to use it in Silhouette Studio.


Dianna Ramos says
Pinned! Thank you so much, I have learned so much from you!
Emily says
Thank you!!