******* BREAKING NEWS: I have been so overwhelmed at the response to this post and all the people who have told me that they LOVE this project that I decided to start an Instagram account (like today) dedicated to bringing you craft and DIY project inspiration right in your Instagram fedd! Find me on IG as @CraftInspired *******
Do you ever have those DIY projects that seem to never make it off the to do list? For years I have wanted to make a wooden growth chart but it is just one of those projects that never made it to the top of my list. I figured now that my youngest is 3.5 (today!) I better get on it before I miss all those marks of him shooting up at every growth spurt.
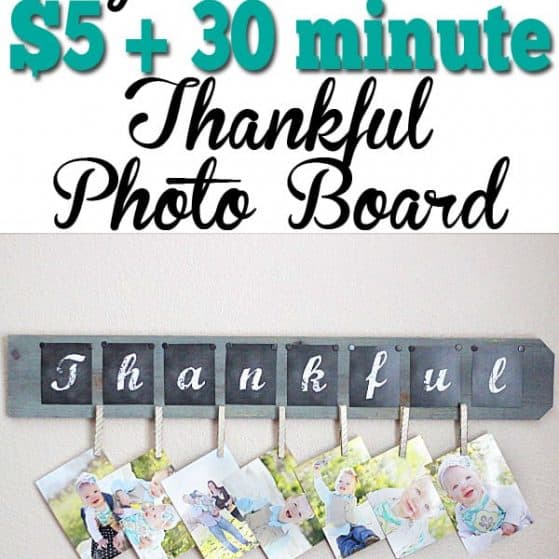
Well, I can report back now that this growth chart is checked off the list and the best part is it cost me under $5 and about 30 minutes to complete! Now that’s a project! (time calculated excludes drying time)
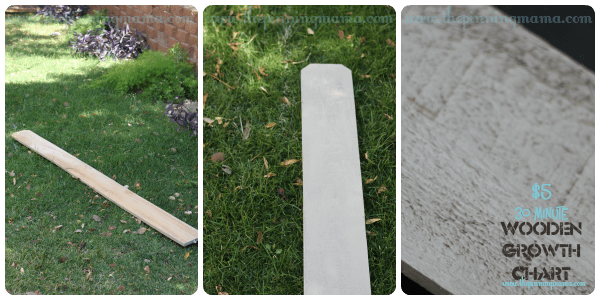
I decided to use a fence post I bought at Lowe’s Home Improvement for right round $2 The fence posts are the perfect size for the growth chart and are super affordable so it seemed like the perfect option!
I also picked up a quart of gray paint in the mis-tint section for only $0.50! Great find! It seems that they always have a selection of neutrals on clearance for mis-tint. I always like to check it out when I am browsing through and pick up any extra good deals.
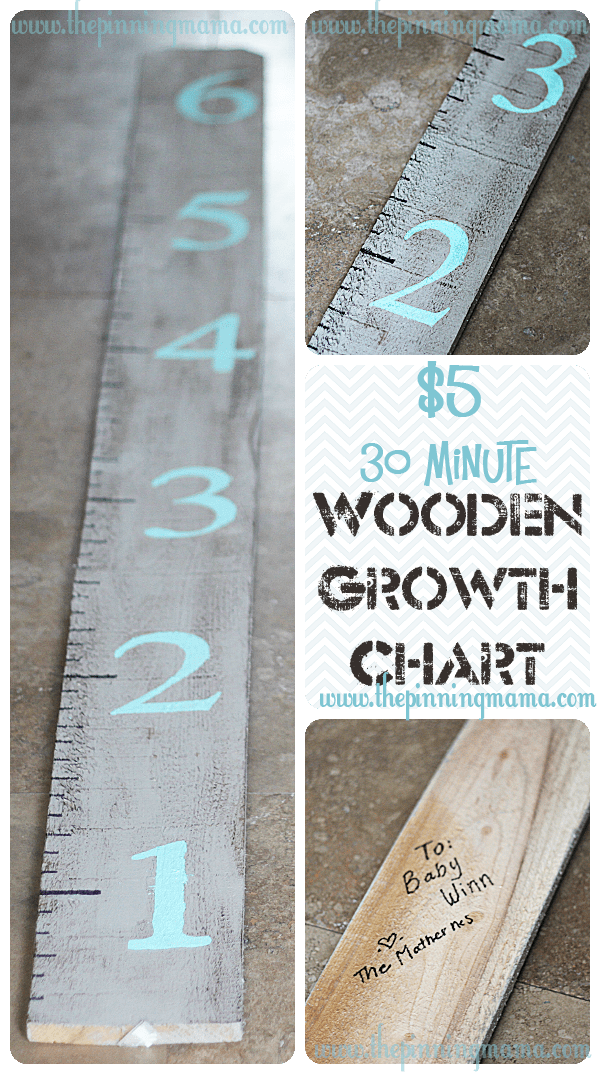
The last things I needed was two small bottles of acrylic paint that I got at the craft store for $0.59 each. I chose dark brown for distressing and a Tiffany blue for the numbers.
That means my total with tax was just under $5!
To make the growth chart I took my fence post outside and painted on a nice thick coat of the gray paint (5 min) and let it dry.
After it was dry, I brought it in and used the dry brushing technique you can see here to distress it with the dark brown acrylic paint (about 3 minutes).
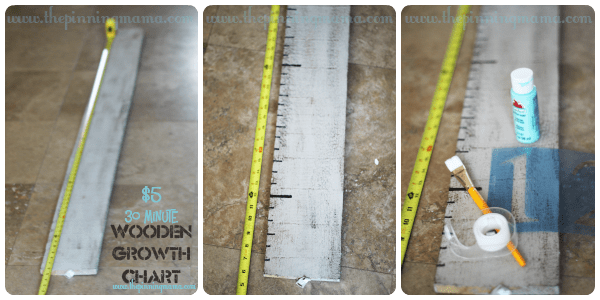
Next I pulled out the tape measure to 6 feet, which is the height I wanted my finished chart to go to. I lined up the bottom of the board with the 6 inch mark because I knew I would want to leave some room to hang the board above the base boards and such. If you have larger base boards you might want to leave 8 inches. Since my baseboards are only 2 inches, I had plenty of room!
I used a black sharpie to mark the foot and inch markers down the side with a ruler to keep the likes straight and even. You could also use your brown paint for this if you prefer. (10 min)
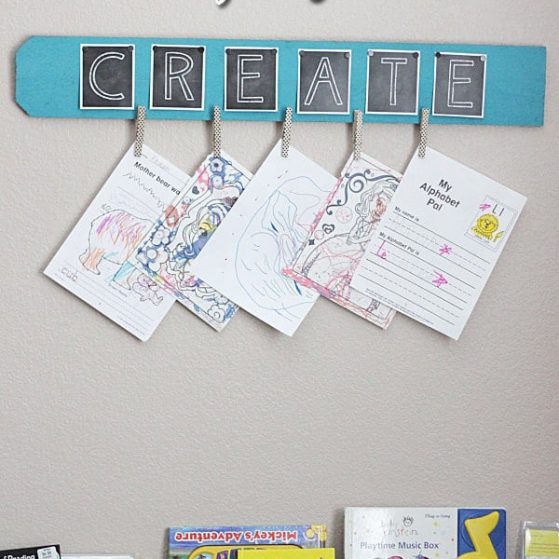
After the markers are drawn in, I used a stencil to add the numbers 1-6 at the foot markers.(5 min) If you don’t have a stencil, you could use the carbon transfer technique shown here to easily add numbers to your chart.
To finish, I dry brushed over the numbers to help them blend in to the distressed look (2 min.)
See how easy that was? No more excuses to put off this project!
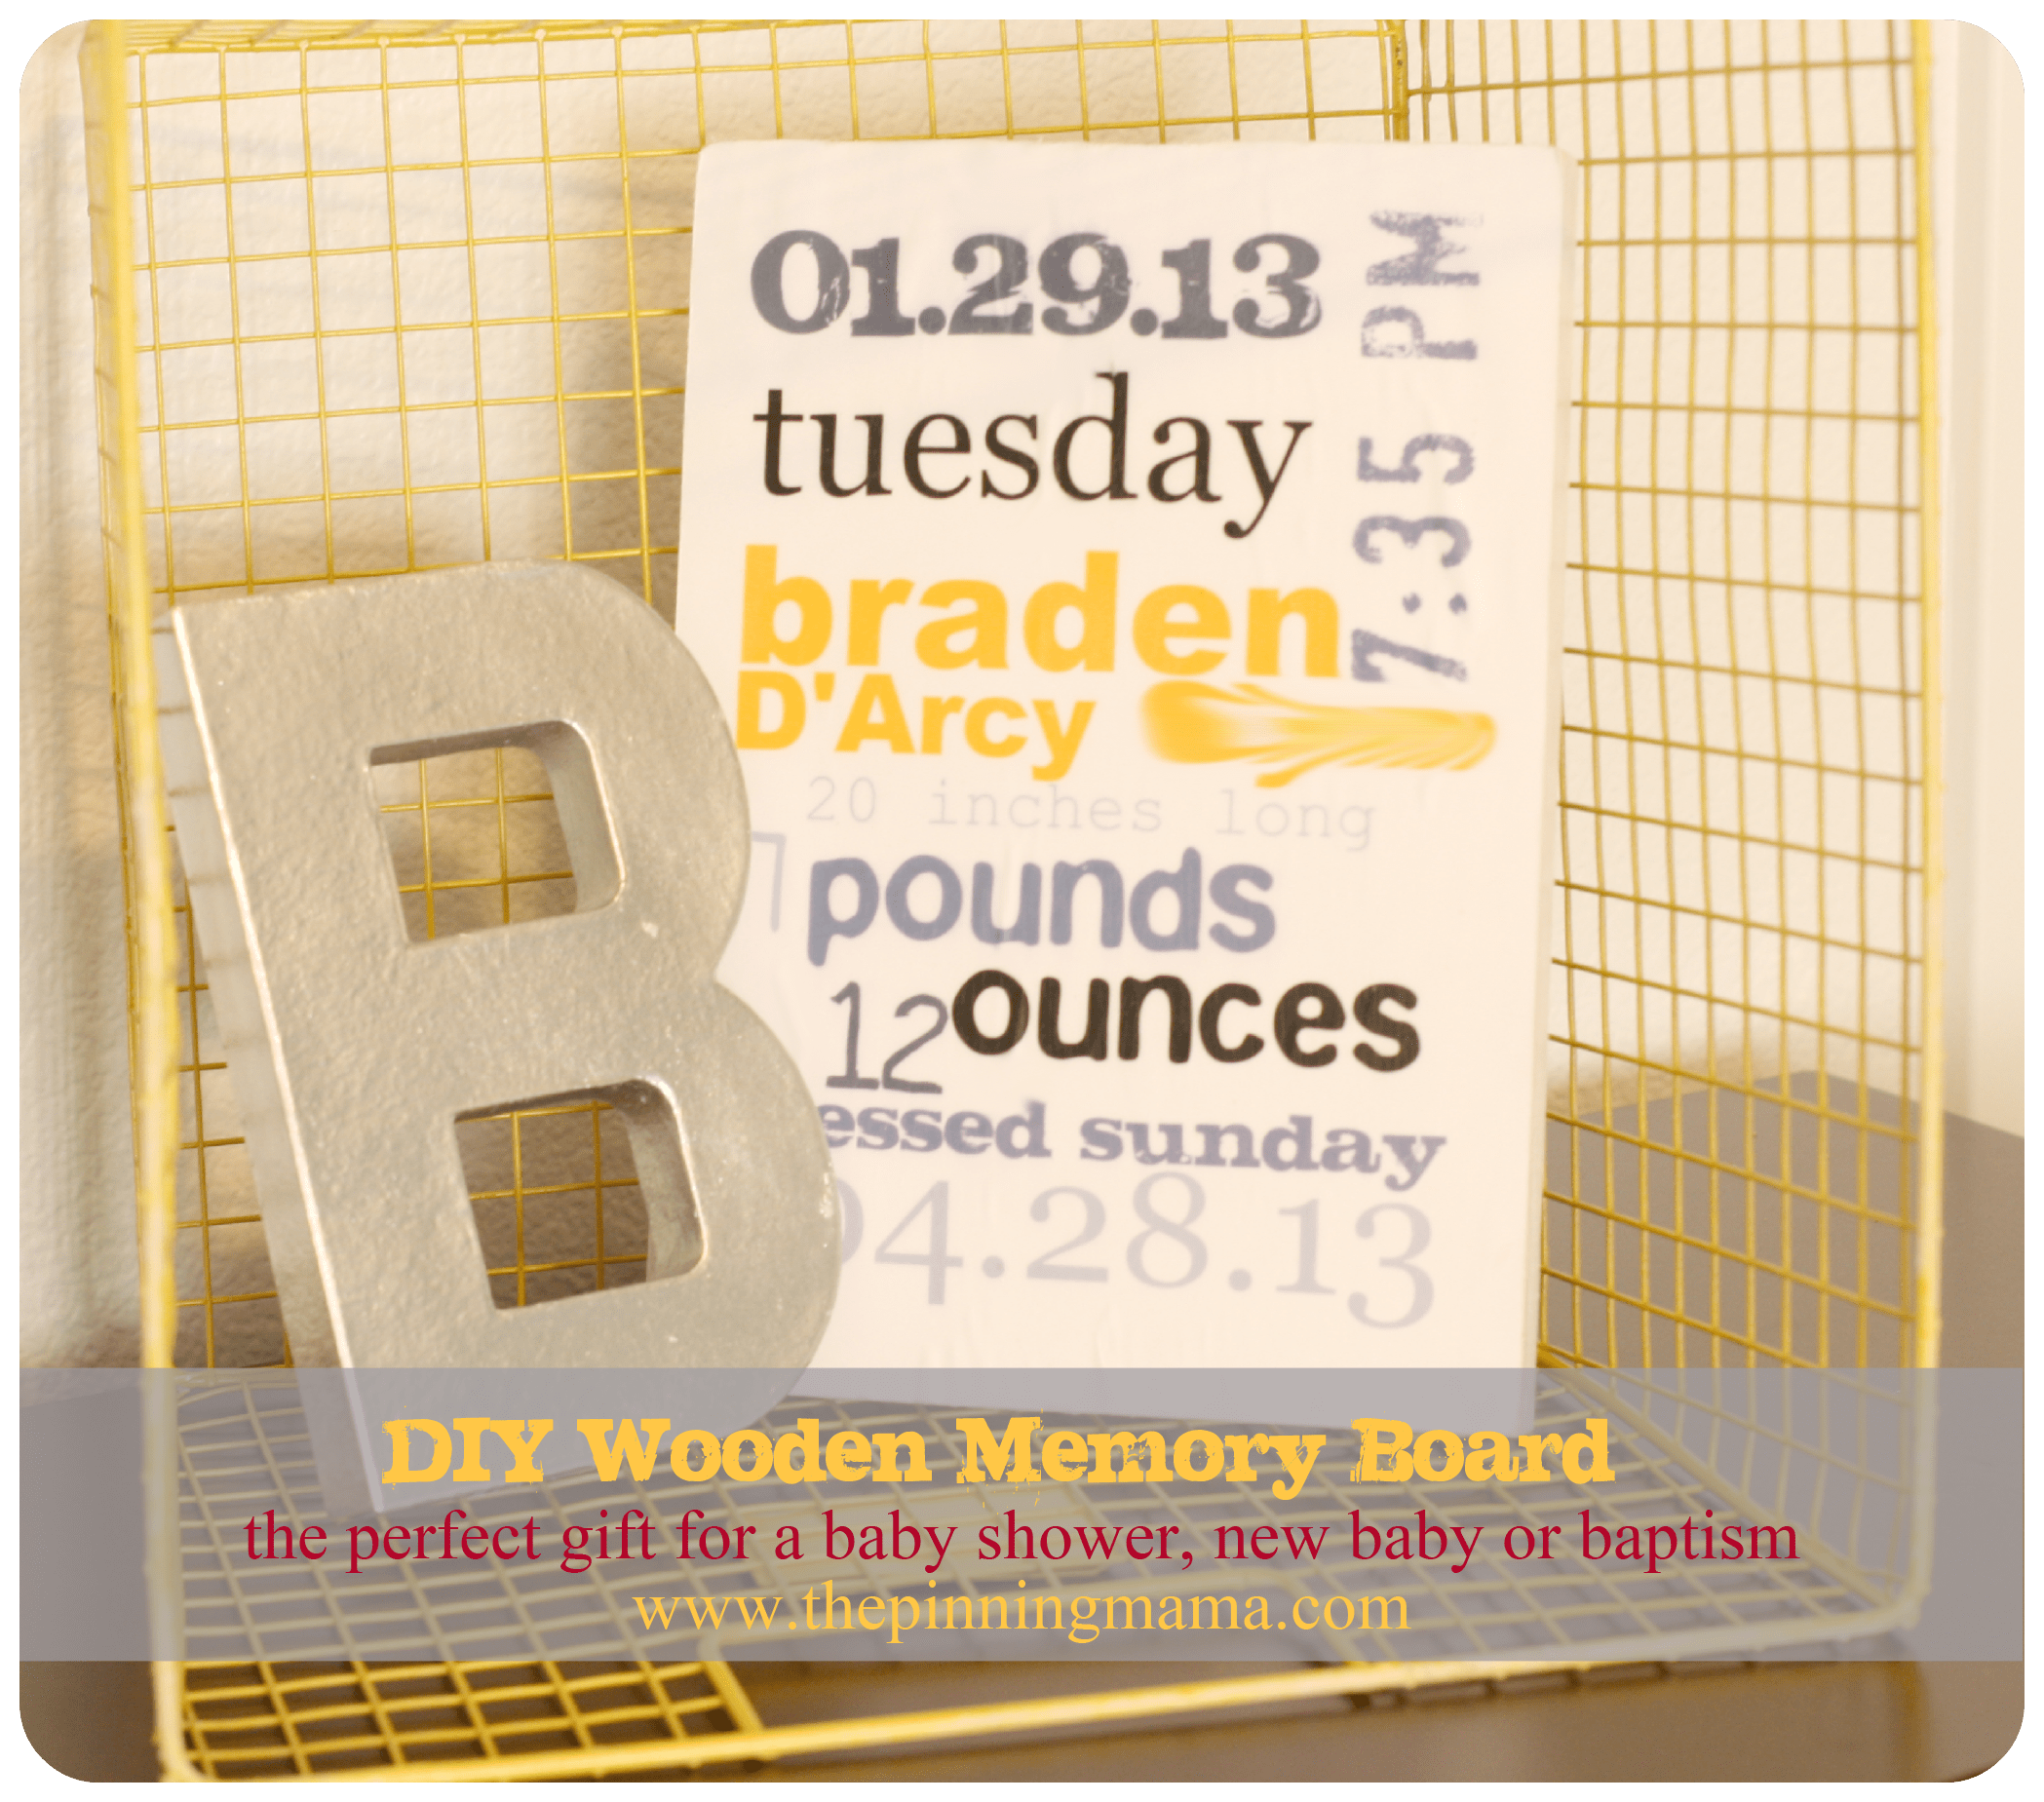
And now a confession… I was so in love with this, I had to give it to my dear friend for her baby shower! It makes a perfect personalized gift. I really appreciate getting handmade items, so I also like to give them when I can. And with the inscription on the back, I think it was a perfect gift for the new little man!
What do you think, would you keep it or give it away as a gift?
Have you followed The Pinning Mama on Pinterest? See all of the fun projects we pin from around the web! Also, Make sure and check out some of our other fun crafts like this Modge Podge Baby Stats Board or you can see all of our crafts here.


Kelly K says
Thanks for making this look so easy. Could you tell me exactly what color that blue is?! I love it!
Kimber says
Thanks Kelly- It really is! We have had several people post theirs on our FB page so definitely doable! The paint is Apple Barrel Brand and the color is Key West. I bought it at Walmart for a whopping 59 cents!
Cynthia says
Love this project! I just made own, what do you recommend for hanging them up?
Kimber says
Hi Cynthia! I am glad you love the project as much as us! There are quite a few options for hanging. You could attach a picture hanger to the back, or carve a few notches in the back and hang with nails. Or you could use a few command strips to hold it up as well. Fence posts are pretty light so I am sure that would work!
Nicole says
Where did you get the number stencils?
Kimber says
I have made this a few times now and I made some of the stencils on my Silhouette, I have also bought them pre-made at Hobby Lobby.
Ashley says
Thanks for the tutorial! I’ve been wanting one of these but they are so expensive to buy! I’m in the process of making mine now!
Kimber says
I am so glad it was helpful Ashley!! I would love for you to post pics of it on our FB wall once you are done so we can see! Happy crafting!
Geneva Early says
Love this! Do you know what size stencil you used?
Abby says
Did you sand the wood at all?
Kimber says
I didn’t. It makes stenciling a bit more challenging, but with the size of the numbers it isn’t too bad. If you want it to be smooth, I would just invest in a higher quality board rather than spend the time and effort sanding.
Emily says
Can you tell me how tall the numbers you used are?
Alison says
So cute! Can you tell me how tall your numbers are?
Stephanie says
I created one not long ago, but was a little more complicated than yours. Wish I’d seen this one first. Here’s my blog post about how I did mine. http://1organizedmomma.blogspot.ca/2014/11/inexpensive-personalized-growth-chart.html