******* BREAKING NEWS: I have been so overwhelmed at the response to this post and all the people who have told me that they LOVE this project that I decided to start an Instagram account (like today) dedicated to bringing you craft and DIY project inspiration right in your Instagram fedd! Find me on IG as @CraftInspired *******
Do you ever have those DIY projects that seem to never make it off the to do list? For years I have wanted to make a wooden growth chart but it is just one of those projects that never made it to the top of my list. I figured now that my youngest is 3.5 (today!) I better get on it before I miss all those marks of him shooting up at every growth spurt.
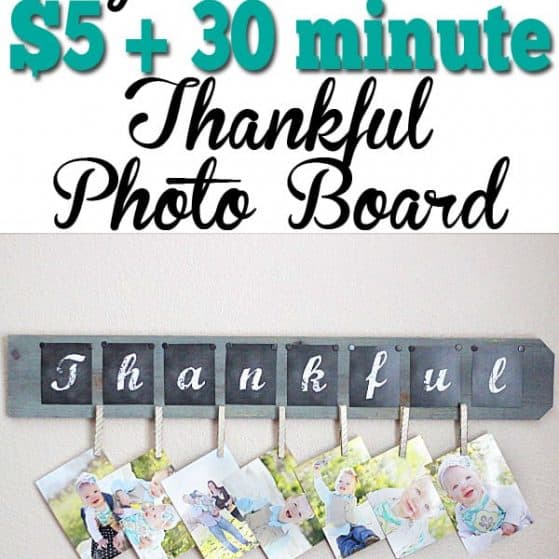
Well, I can report back now that this growth chart is checked off the list and the best part is it cost me under $5 and about 30 minutes to complete! Now that’s a project! (time calculated excludes drying time)
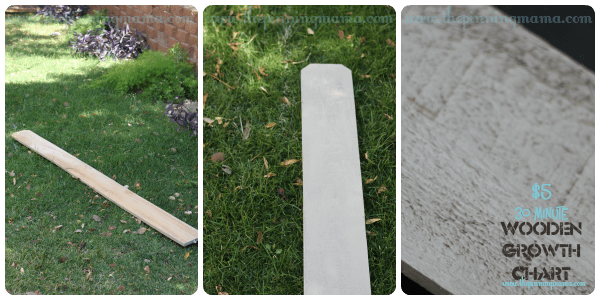
I decided to use a fence post I bought at Lowe’s Home Improvement for right round $2 The fence posts are the perfect size for the growth chart and are super affordable so it seemed like the perfect option!
I also picked up a quart of gray paint in the mis-tint section for only $0.50! Great find! It seems that they always have a selection of neutrals on clearance for mis-tint. I always like to check it out when I am browsing through and pick up any extra good deals.
The last things I needed was two small bottles of acrylic paint that I got at the craft store for $0.59 each. I chose dark brown for distressing and a Tiffany blue for the numbers.
That means my total with tax was just under $5!
To make the growth chart I took my fence post outside and painted on a nice thick coat of the gray paint (5 min) and let it dry.
After it was dry, I brought it in and used the dry brushing technique you can see here to distress it with the dark brown acrylic paint (about 3 minutes).
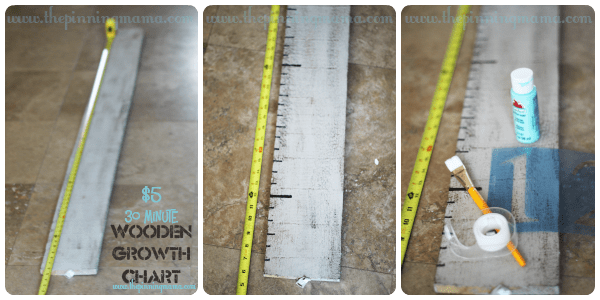
Next I pulled out the tape measure to 6 feet, which is the height I wanted my finished chart to go to. I lined up the bottom of the board with the 6 inch mark because I knew I would want to leave some room to hang the board above the base boards and such. If you have larger base boards you might want to leave 8 inches. Since my baseboards are only 2 inches, I had plenty of room!
I used a black sharpie to mark the foot and inch markers down the side with a ruler to keep the likes straight and even. You could also use your brown paint for this if you prefer. (10 min)
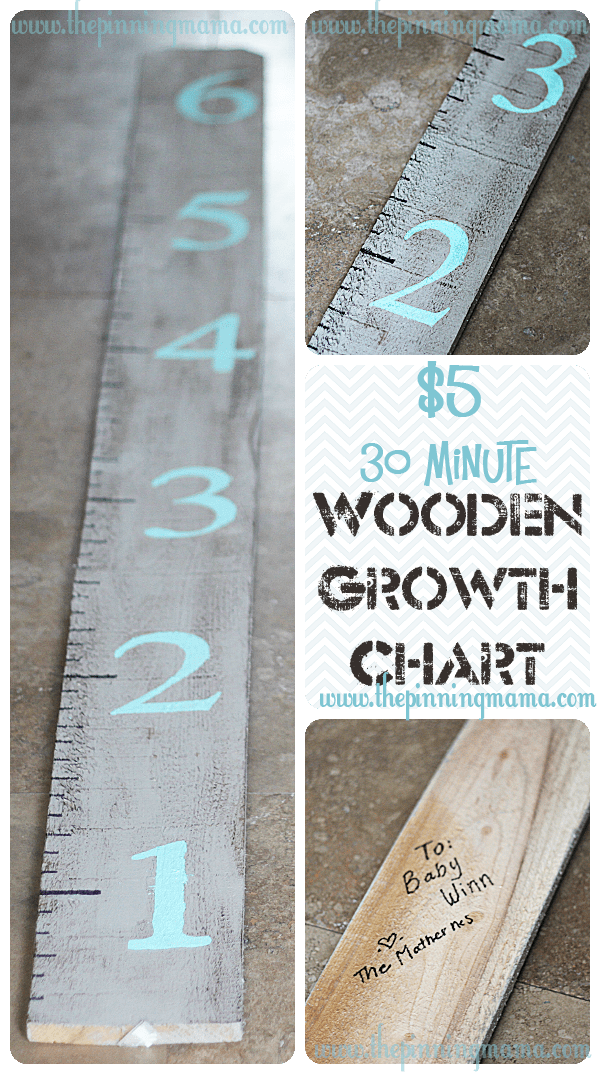
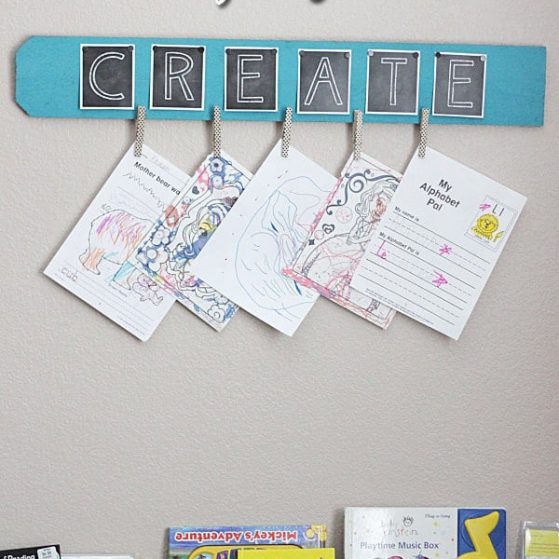
After the markers are drawn in, I used a stencil to add the numbers 1-6 at the foot markers.(5 min) If you don’t have a stencil, you could use the carbon transfer technique shown here to easily add numbers to your chart.
To finish, I dry brushed over the numbers to help them blend in to the distressed look (2 min.)
See how easy that was? No more excuses to put off this project!
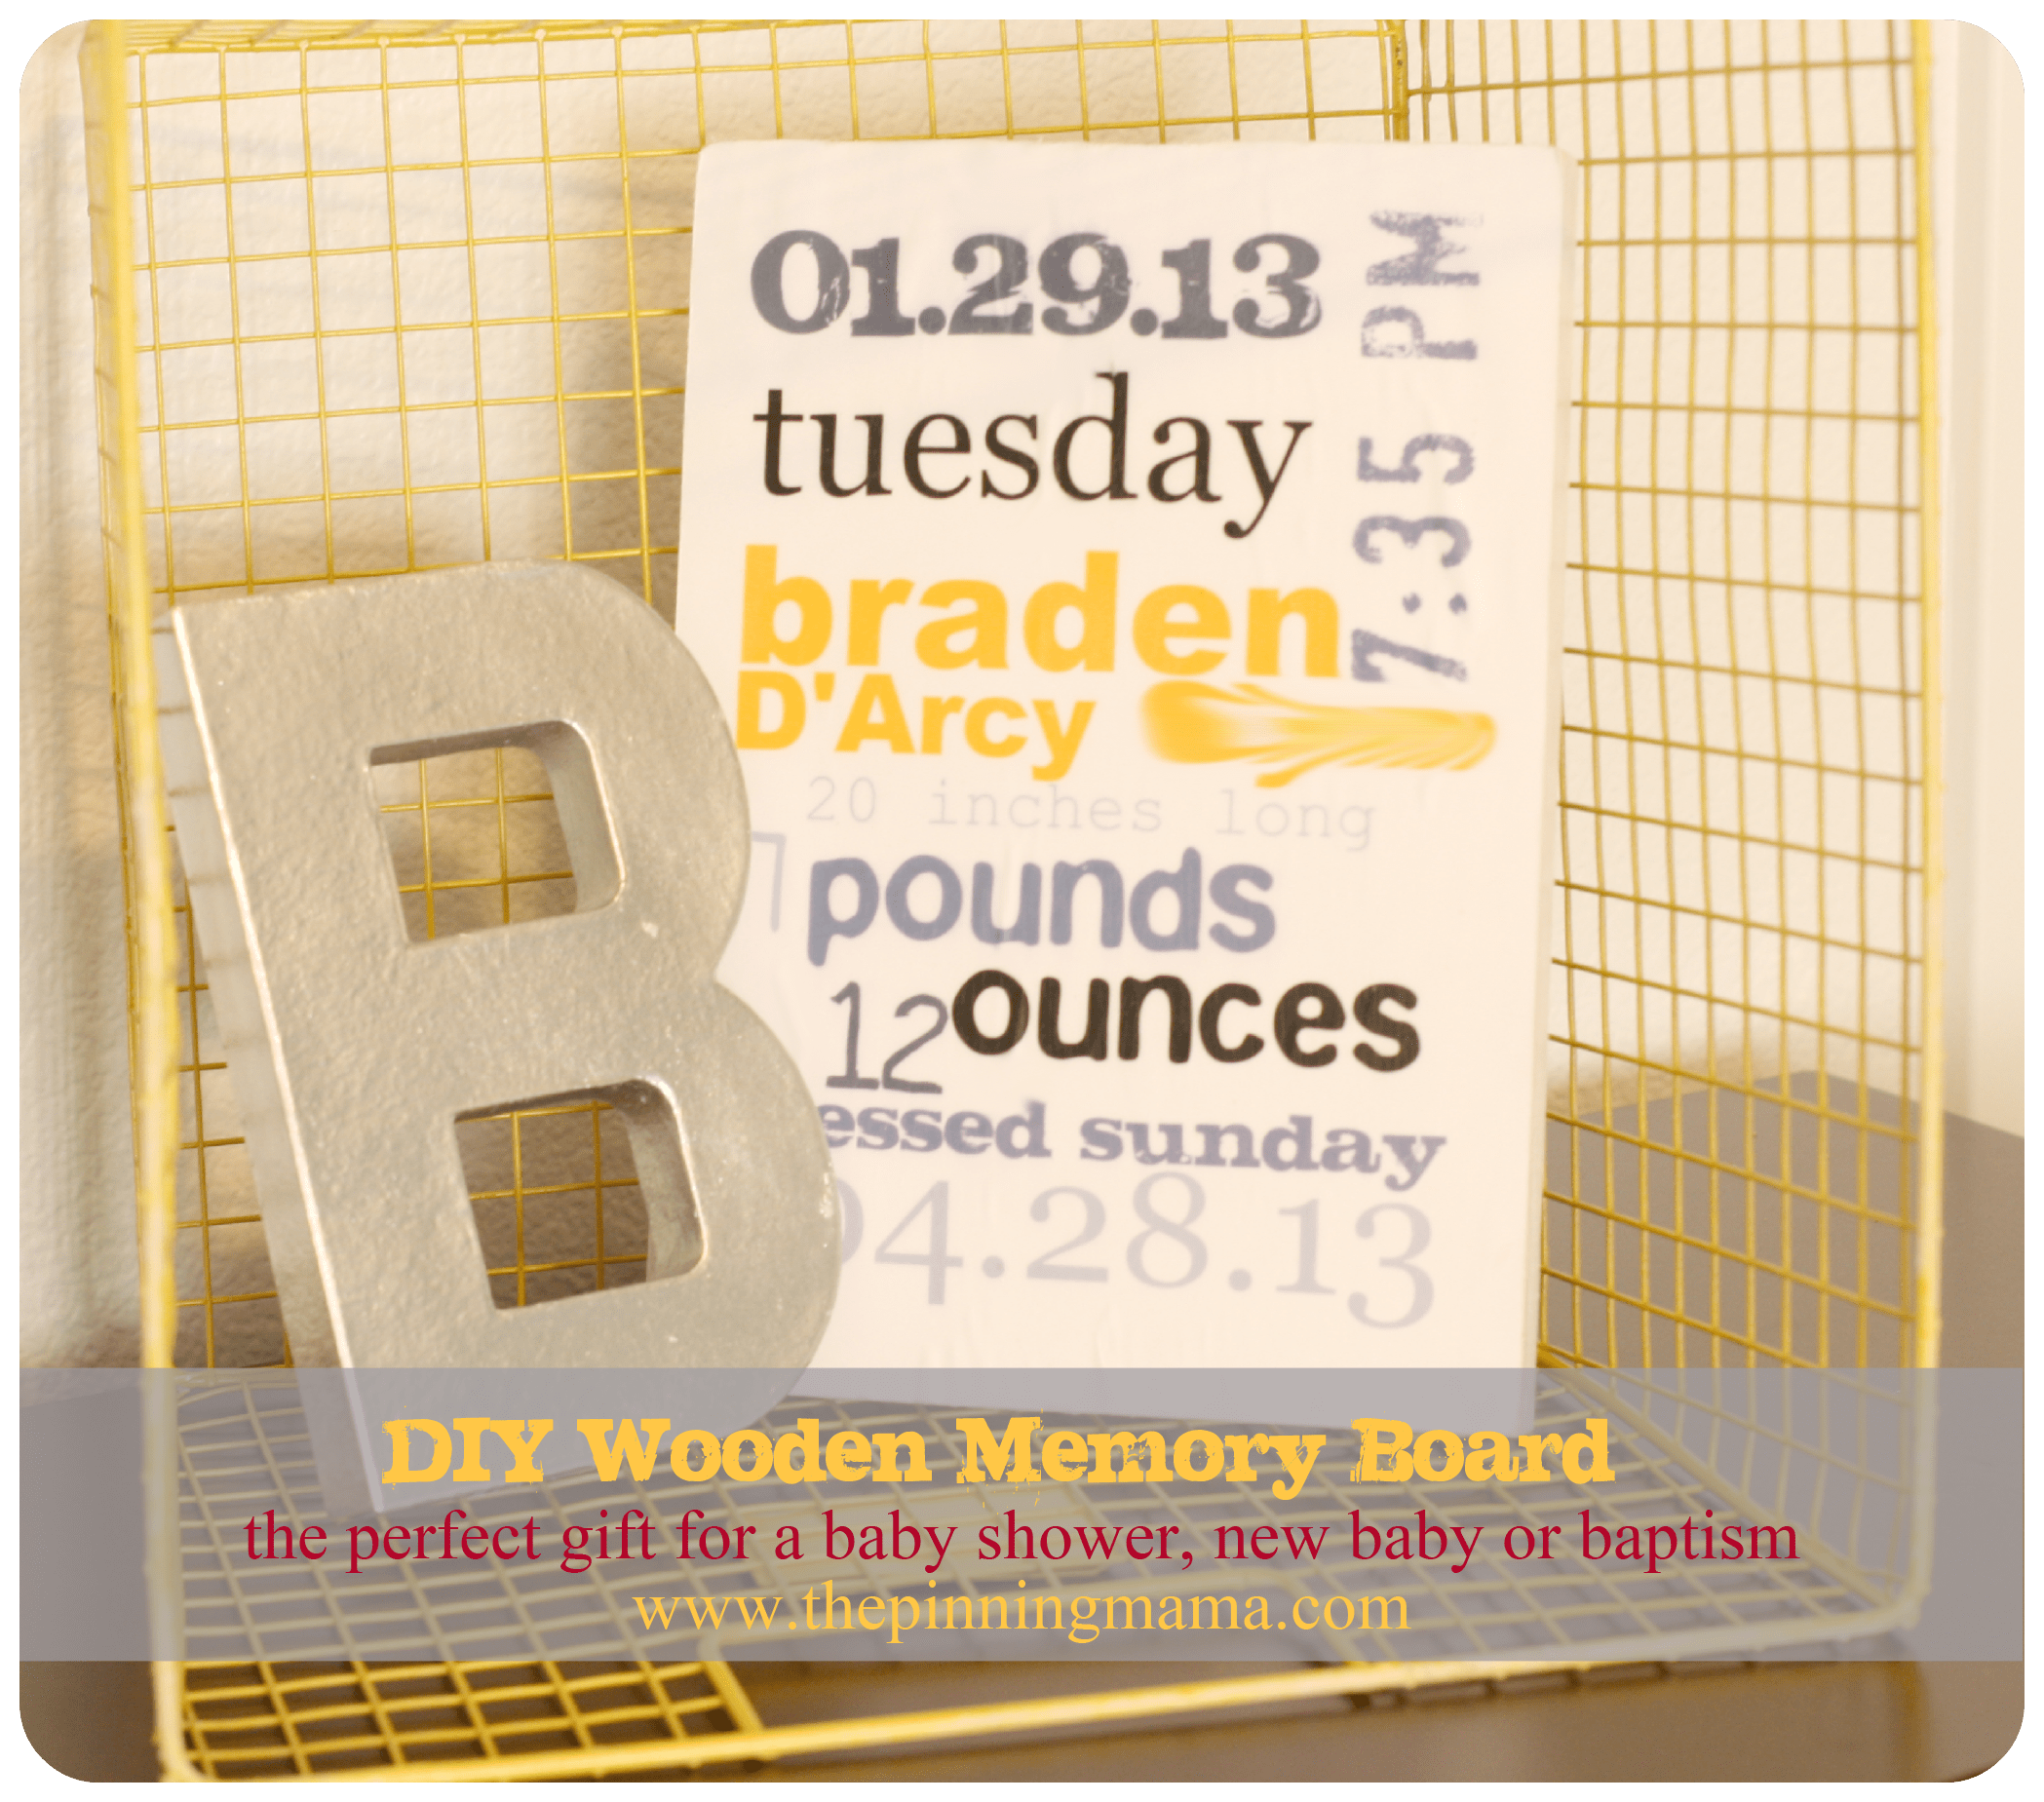
And now a confession… I was so in love with this, I had to give it to my dear friend for her baby shower! It makes a perfect personalized gift. I really appreciate getting handmade items, so I also like to give them when I can. And with the inscription on the back, I think it was a perfect gift for the new little man!
What do you think, would you keep it or give it away as a gift?
Have you followed The Pinning Mama on Pinterest? See all of the fun projects we pin from around the web! Also, Make sure and check out some of our other fun crafts like this Modge Podge Baby Stats Board or you can see all of our crafts here.


Bettina says
I love this project and have made 2 growth charts, one four our family and one as a gift. My only problem was that the paint would bleed when using the number stencils. Any tips on how to avoid ?
Leana Ott says
I found this post this morning and it beautiful. I am getting ready to make one too, so thank you for the inspiration. I noticed you used a fence post and wondered if it’s treated lumber? Please
understand I’m posting only because you likely know but treated lumber can be dangerous indoors because of the chemicals it releases. I just wanted warn your readers before they make one to make sure they used untreated lumber, especially in a nursery.
carrie says
Be careful with the fence posts bc they are treated wood and have arsenic in them
Christina says
I love this post! This will be the perfect gift for my best friends baby shower! Can you please share a list of the paints you used? They will tie in perfectly with the nautical nursery she is in the process of creating…
blackpearlcustomhomes says
Every Lillian Custom Home is Energy Superstar Qualified and
mades available a large variety of common features.
Amy says
I went and bought the fence post today and am so excited to start this project! The wood is rough and coarse to touch:( Any advice on how to make it smooth?
Kimber says
You can try to sand it a bit. Fence posts are cheap but the trade off is definitely the finish. You can get much smoother wood for a few dollars more to save you time.