Hey Everyone, welcome back to Lesson 26. We are just a few short lessons form completing our Bootcamp journey. Last week we learned all about Cut Lines in Silhouette Studio. This week we are going to learn about Overcut. Silhouette Boot Camp is filled with mini lessons that help us learn the terminology used in the Silhouette Studio software so that we can cut any design we can dream up with ease!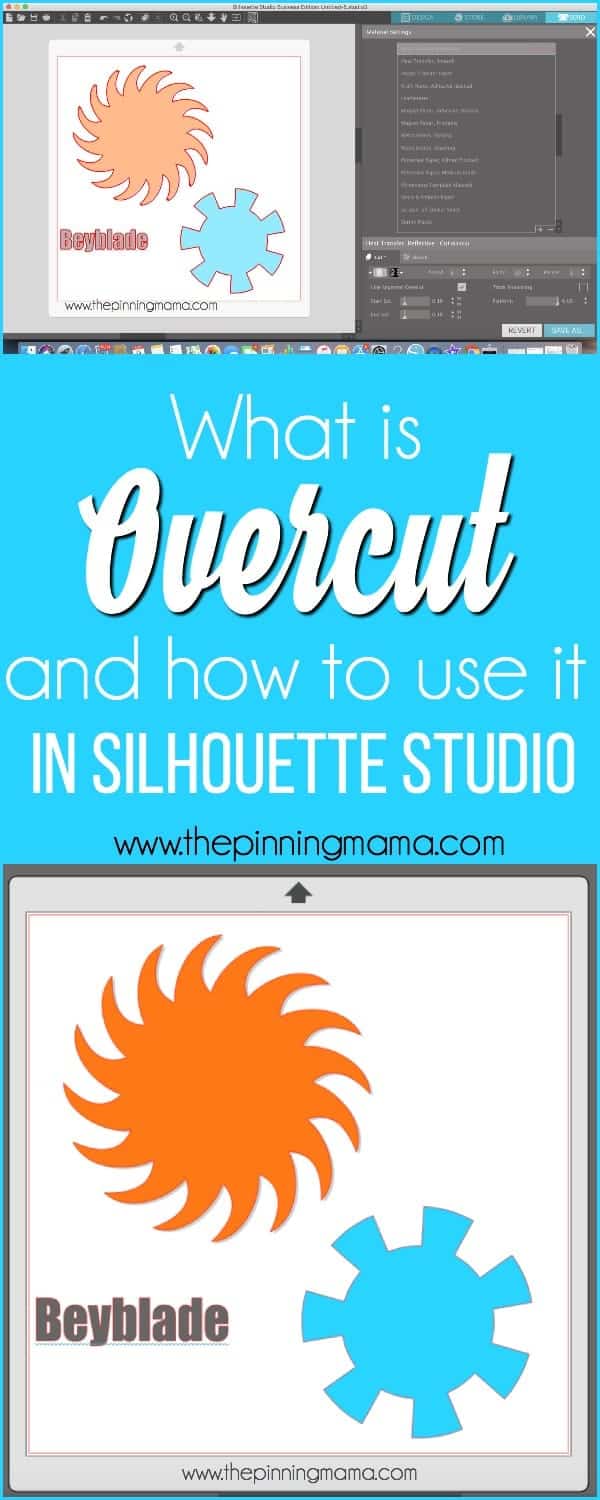
Before we get started, there are a couple of things to help you get the most of the experience:
- If you are new here, take a look the Silhouette Boot Camp Welcome with all courses listed and catch up on any you missed.
- Sign up for my Silhouette Newsletter which will email you when the lessons are released each week. {click HERE to sign up!}
- Pin this post! Each of these lessons takes me on average, 8-12 hours to create for you. I can do these lessons for FREE thanks to your support in coming to my site, reading the tutorials and sharing it with your friends. By pinning this post or sharing it on Facebook with your Silhouette friends, it helps you know where to find it if you need to reference it again, and it helps me spread the word so that I can keep the resources and freebies FREE to you!


What is Overcut in Silhouette Studio?
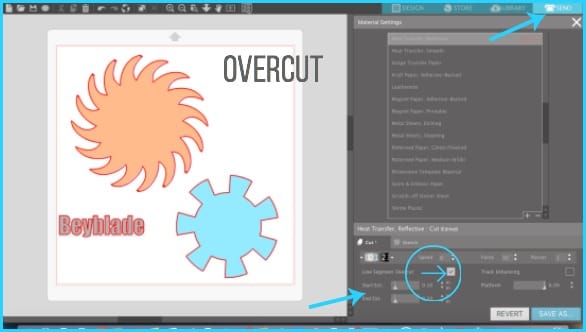
As defined in Silhouette Studio Overcut is a feature used to cut the design a little outside of the lines. You can adjust the width of the overcut if you would like it smaller or larger. This option to overcut is beneficial in a few different ways…. when you are cutting thicker/denser material, cutting sharp edged images or block fonts. This option will not work on rounded edges, it only works on sharp edges.
How do I use Overcut?
Once you have made your design and have to the size of your liking now is the time to use the overcut feature. Remember this feature only works for sharp edges. Rounded edges are not going to be detected. Overcut is in the send tab of Silhouette Studio. In this tab you will find a square and triangle next to each other….next to that is 3 dots …click on those three dots. This will open the Advanced Material Panel. Overcut is found in this panel. Click the box that says line segment overcut. You can adjust the width of your overcut to your desired size. Make sure to click save as when you are done to save the changes you have made.
Where do I find Overcut in Silhouette Studio?
You can access Overcut in one main place.
- Go to the send tab in Silhouette Studio, find the 3 dotted lines next to the square, click on it. Now you are in the Advanced Material Panel. Check the box labeled line segment overcut. You can adjust your overcut size here as well.

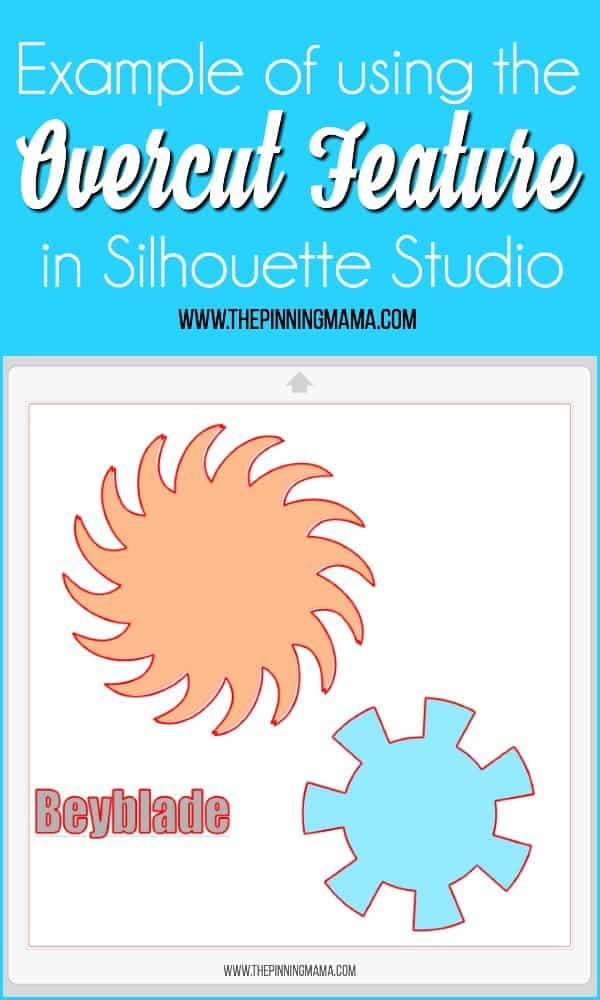
Example of using Overcut:
My youngest boy is into Beyblades and wanted me to print out shapes that looks like them. I found these shapes in Silhouette Studio and decided to give them a try. I want to use the overcut feature to not miss any parts of this design.
When to use Overcut:
It is best to use overcut when using a denser material sun as chipboard. Also use it if you are cutting an image with sharp edges or using a small block font.
Special Notes on using Overcut:
You can only use this feature with sharp edges it will not work on rounded edges.
That’s all I have for you this week, tune in next week to learn all about Image Effect in Silhouette Studio. We only have a few short lessons left on our bootcamp journey so make sure to stick around for a few more weeks.


margie says
I find your work helpful. MK
Emily says
Thank you! I appreciate your feedback.
dandy calliham says
I had almost given up on my silhouette cameo3 until I came across Silhouette Boot camp. And now I cant pull myself away from it. I thank u so much!! (my husband not so much…lol)
Emily says
Im so glad these lessons helped.