It is time for Lesson 4 in the Silhouette Boot Camp, all about the Crop feature. Silhouette Boot Camp is all about learning the terminology used in the Silhouette Studio software version 4 so that we can cut any design we can dream up with ease! Use the crop feature to help combine images, shapes, and patterns to make beautiful designs!

In lesson 3 we talked all about convert to path aka text to path in Silhouette Studio. That allowed us to start forming our lines of text into curves, waves, or any shape you want it to take on. The best part is that it really is quick and easy to make your shapes into even more complex shapes with this feature. The crop feature is one of the most useful tools and I had so much to put together.
Before we get started, there are a couple of things to help you get the most of the experience:
- If you are new here, take a look the Silhouette Boot Camp Welcome with all courses listed and catch up on any you missed.
- Sign up for my Silhouette Newsletter which will email you when the lessons are released each week.
- Pin this post! Each of these lessons takes me on average, 8-12 hours to create for you. I can do these lessons for FREE thanks to your support in coming to my site. By pinning this post or sharing it on Facebook with your Silhouette friends, it helps me spread the word so that I can keep the resources and freebies FREE to you!
Today’s lesson on the crop tool begins our lessons on the features that allow you to combine shapes to change them into a new design. The crop feature is one I use often and I find especially useful for filling my designs with patterns like stripes or polka dot, or to turn words into a shape.
What Does Crop Mean in Silhouette Studio?
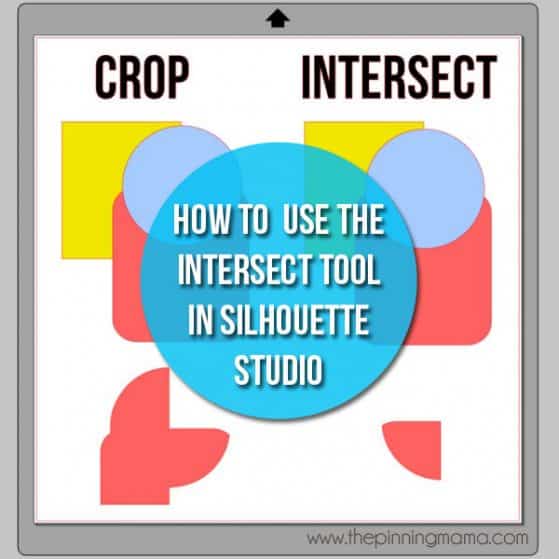
Cropping is useful when creating designs. It allows you to stack shapes on top on one another to create another shape. When one or more shapes are placed on top of each other and then crop is applied, any side of an object not overlapping will be “cropped” out. Leaving behind a new shape.
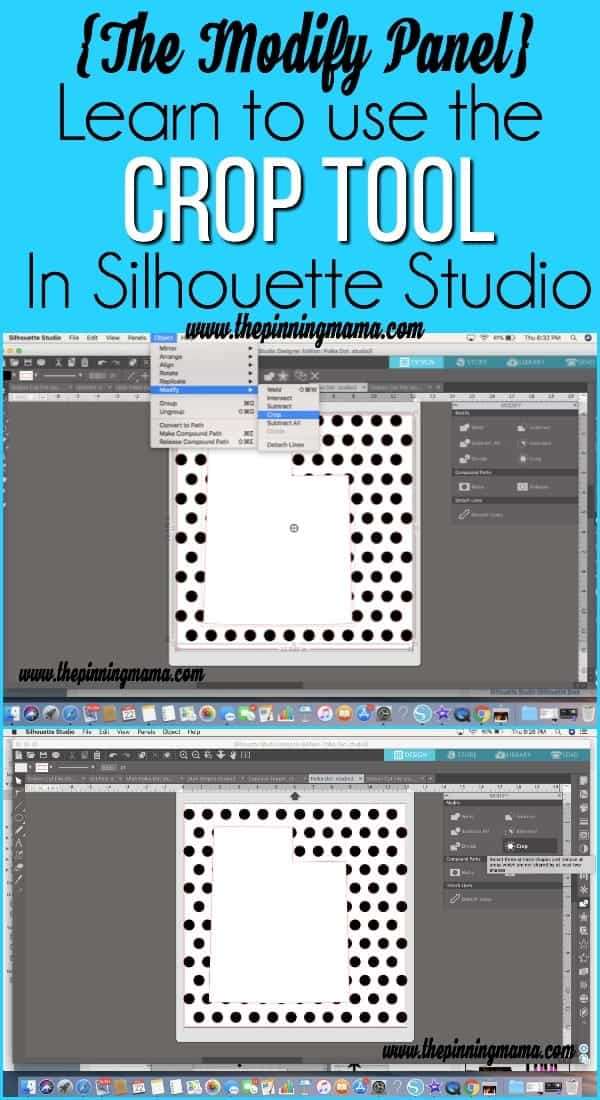
Your crop tool is located under the modify tab on the right icon bar in the software.
Where do I Find the Crop Feature in Silhouette Studio?
You can find the Crop Feature in the modify panel, accessed in two main places:
- In the right side menu bar, click the button to open the modify panel. Then choose Crop in the menu
- From the pull downs at the very top of the screen: Object –> Modify –> Crop
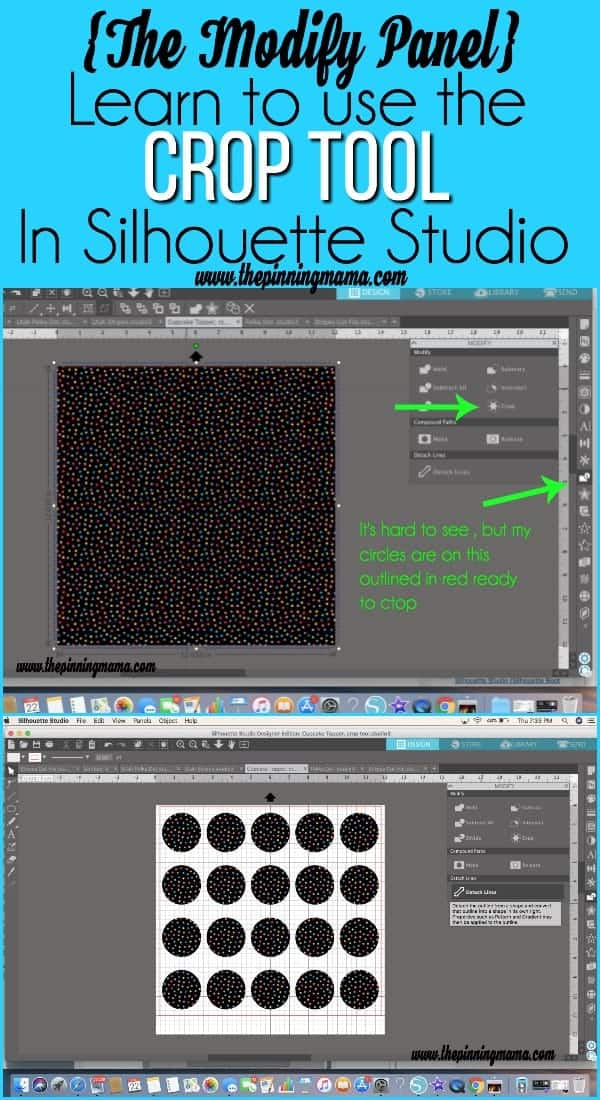
How do I Crop in Silhouette Studio?
- Open up up two or more shapes.
- Place the shapes on top of each other
- Move the shape which you want to create the border of the design on top (right click –> bring to front)
- Select both designs by clicking one, then holding shift and clicking the other (you will know they are selected if they have a light box around the shape)
- Open the Modify window in the right tool bar and then click Crop in the menu options.
Example of Cropping:
Some examples of frequently used applications for cropping are:
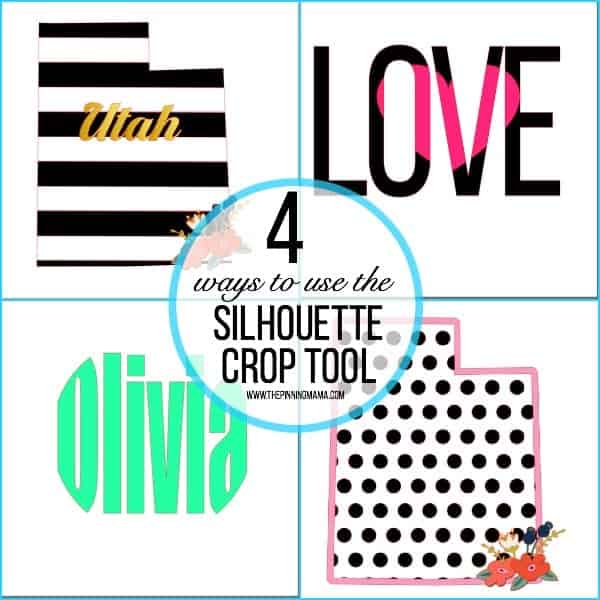
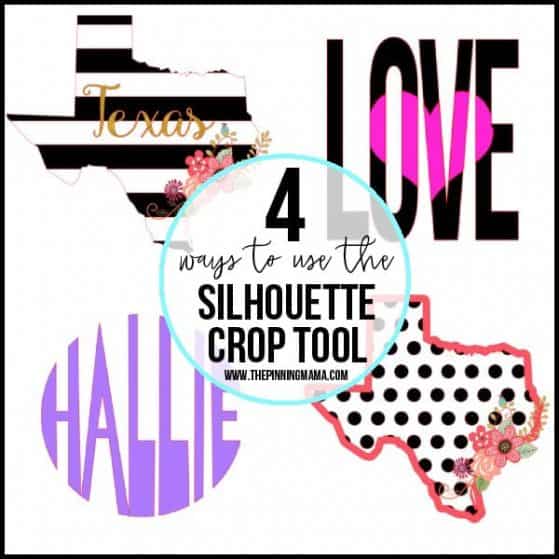
- Filling a design with a pattern like stripes or polka dots. See the video on how to create the featured Striped State Desgins here OR Polka Dot State Designs below. They both use the crop tool to achieve the final design but it is a slightly different method of each so I made you two videos to better show how to do each. Grab the free Stripes and Polka Dot cut files for making your own state or other designs here!
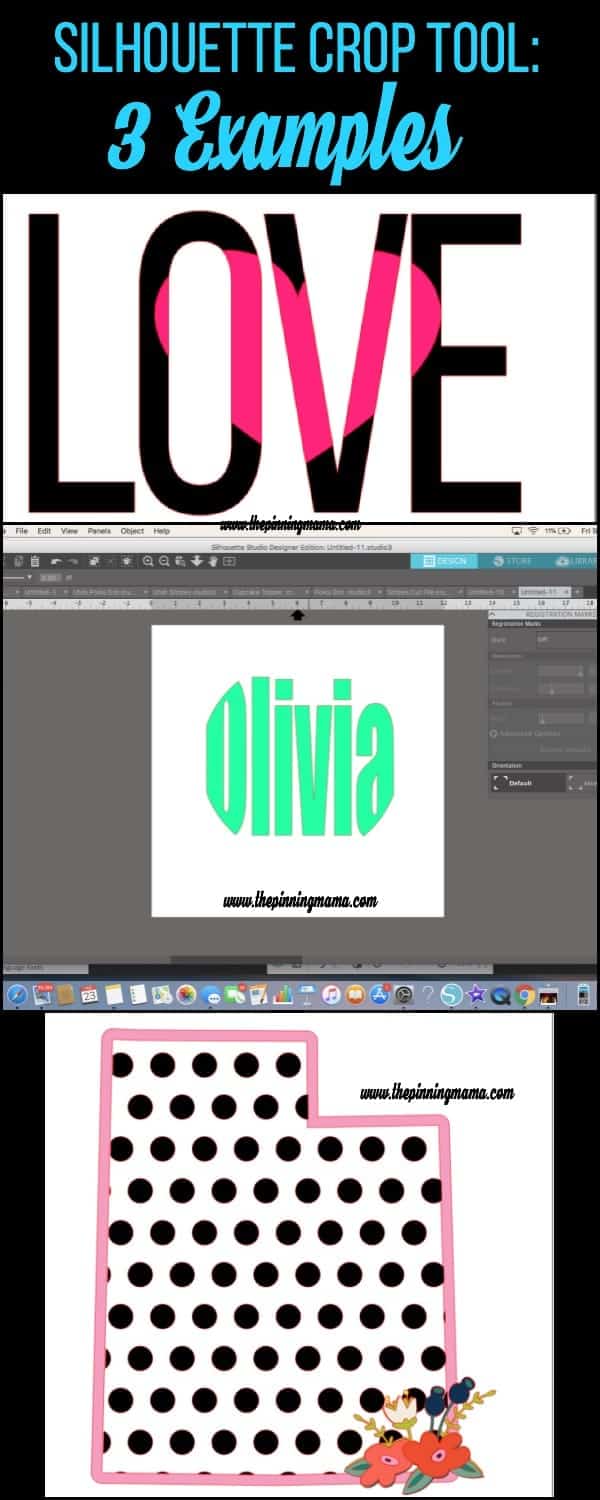
- Making words into a shape, like forming Olivia into a circle as pictured above.
- Part of creating a complex knock out design (usually a picture inside words) – You can see the example I made with the word LOVE in the image above, check out the video to see how you can do this easily with the crop tool!
- Filling in patterns for a print and cut project. Two pictures above you can see where I filled my screen with 2 inch circles, then put the Gum ball image under them. I used the crop tool to get rid of the excess gum ball image outside of the circles, leaving only the gum balls design inside the circle. I would then go on to add text or clip art inside the circles, then add the registration marks for print and cut, send them to my printer then cut them on the Silhouette. You can see how to make custom cupcake toppers using this method here!
Tips & Tricks for Crop Tool:
The Crop function is pretty straight forward. When I have been designing with it the only snag I have run into is when cutlines are right on top of each other, it doesn’t always crop as you would want. For example, the reason I separated the stripes in the state decal project was that when you crop with the black and white lined up perfectly, it doesn’t exactly know where to crop since the cutline from the black and white share the same horizontal points. To solve this I grouped the black together, then the white together, duplicated the black with the state on top of it so it would stay in the exact same spot, then cropped each one, and recombined them to align. It is a couple extra steps but eliminates endless of frustration trying to crop when the lines are so close!
******Grab the free stripes and polka dot cut files here!******
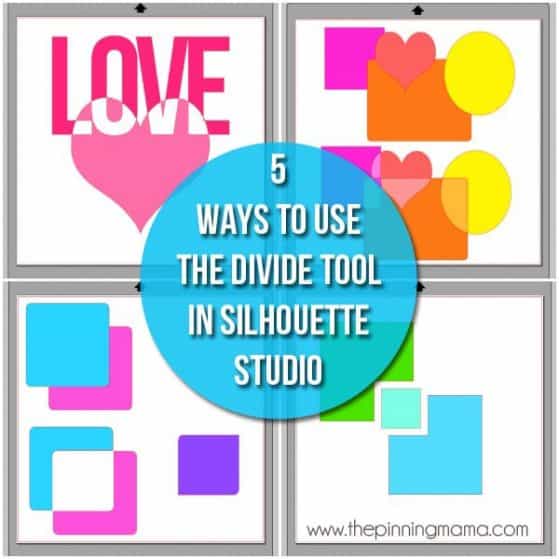
That wraps up our Crop Tool tutorial! Hopefully you feel armed and ready to design with this sweet tool! Make sure and pin this post so you can come back for the next in the Silhouette Boot Camp Series and refer back to this post next time you have a project or craft idea you can use the crop tool on. Lesson 5 will be all about the Divide Tool and I will show you different ways to design using Divide and why you might want to!


Jill Benedict says
Thank you! I tried this and it is as easy as you say it is!
Emily says
I’m so glad you tried it.. the crop tool is so fun!!
Tricia Chavtur says
Hi there! Thanks for all the great videos. I am learning so much and having a great time.
Emily says
That makes me so happy!! Stay tuned for more.
Diane Robinson says
I can’t seem to change the font of a piece. I wrote the quote out in one font and don’t care for it. I don’t understand how to change to another font. I’ve tried so many different things. Please help
Joslyn Huntsman says
I am a VERY new Silhouette user. When you color the shapes, is that just so you can visualize what the final cut product will look like? Because we are still using two different colors of vinyl/paper to make the cut, correct? I haven’t watched the rest of the videos, but am getting there! Thanks for doing these vids for people like me!
Kimber says
Yes the colors help you to just visualize what is going on in the design. They will not effect the cuts, however can be used for print and cut designs.