It only takes the simplest embroidery stitch to turn a plain ready made pillow cover into something special and unique.
Hi I’m Julie from Sum of their Stories and I am excited to be back here on the Pinning Mama today to share a really easy embroidered pillow cover idea.
Don’t let the word “embroidered” scare you away – this is just a simple running stitch, I promise it really couldn’t be easier!
I love embroidery. Well, I love to pin other people’s beautiful embroidery on my pinterest boards I don’t actually DO very much. However this idea had been floating around in my head for a while, I had a very plain cream coloured cushion/pillow cover which I wanted to liven up a bit. I’ve done it yet again with the English/American language thing. Here in the UK a pillow is what you put your head in bed, a cushion goes on the sofa. As I’m a guest here on The Pinning Mama I will try to remember to say pillow. (In my previous projects here I’ve struggled with the “across the pond” vocab with things like popsicle/lolly sticks, napkins/serviettes, nail polish/varnish and now cushion/pillow!)
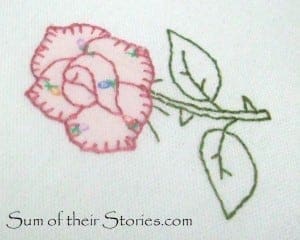
Ok, back to the pillow cover… I had a few different design ideas, you might prefer one of these to the leaves I ended up going with. All really simple to copy.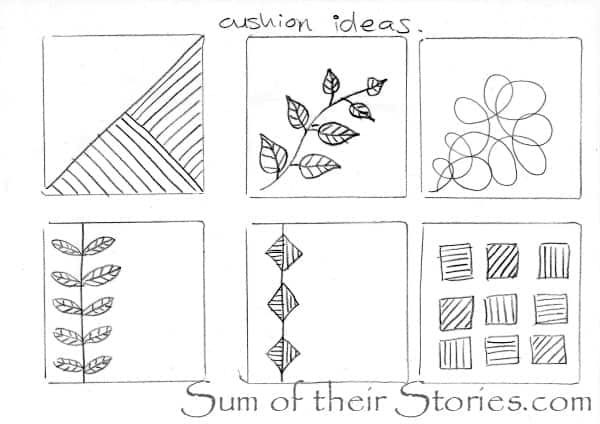
To make your own Easy Embroidered Pillow you will need:
- A plain pillow cover (you can make your own if you like, I have a tutorial to make a simple envelope cover here)
- Multicoloured pearl embroidery thread – I used Anchor 1335 and used about 1/2 a skein on this design
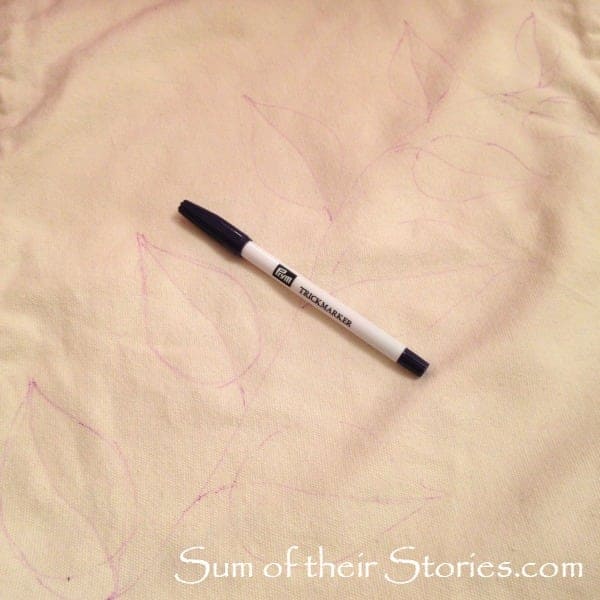
- An air or water erasable fabric pen – I used a Prym trickmarker
- Embroidery needle (they have nice long eyes to make threading easier), scissors
Using the air/water erasable fabric pen draw your simple design onto the pillow cover. I recommend making most of the design near the opening, it is much harder to reach in and stitch into the corners.
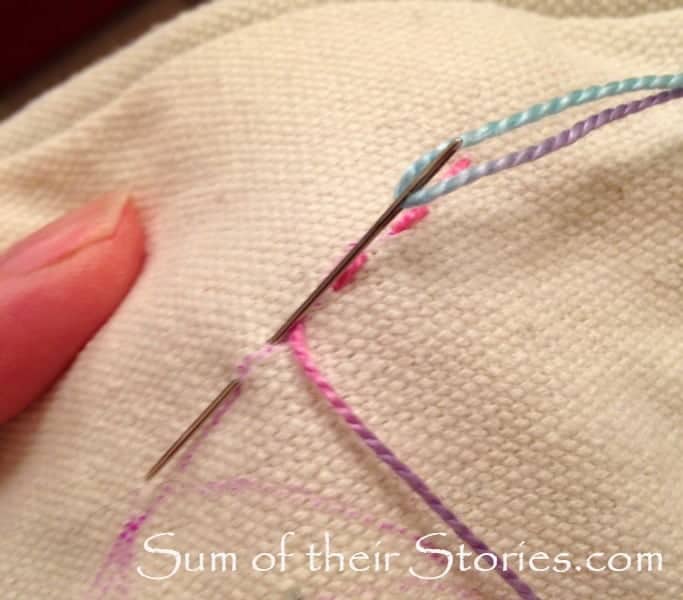
Take a length of embroidery thread. It’s easier to work with a length of about 28″ maximum, any longer than that and it will keep tangling.
Knot one end thread onto an embroidery needle and then using a simple running stitch just stitch over your design. You could use an embroidery hoop if you like, I didn’t as my cover is pretty thick fabric. Just be super careful not to pull the stitches too tight.
When your nearing the end of your length of thread you need to fasten it off so your stitches don’t all come undone. On the back of the fabric, go into the last stitch to make a loop, thread through that and pull tight (but not so tight as to pucker your stitching all up) repeat a couple of times, then trim the thread leaving about a 1/2 inch tail. Now just start a new length and carry on.
About half was through I noticed some of the leaves were starting to fade, my air erasable pen was erasing too quickly! I just went over the design again and it was fine.
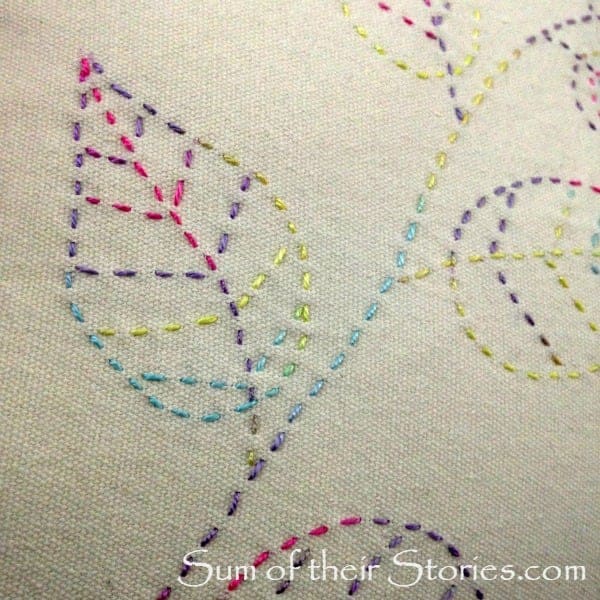
The multicoloured thread changes beautifully as you stitch, I love the effect. You can also get multicoloured thread like this in stranded cotton too, personally I like the slight thicker raised effect this pearl thread gives.
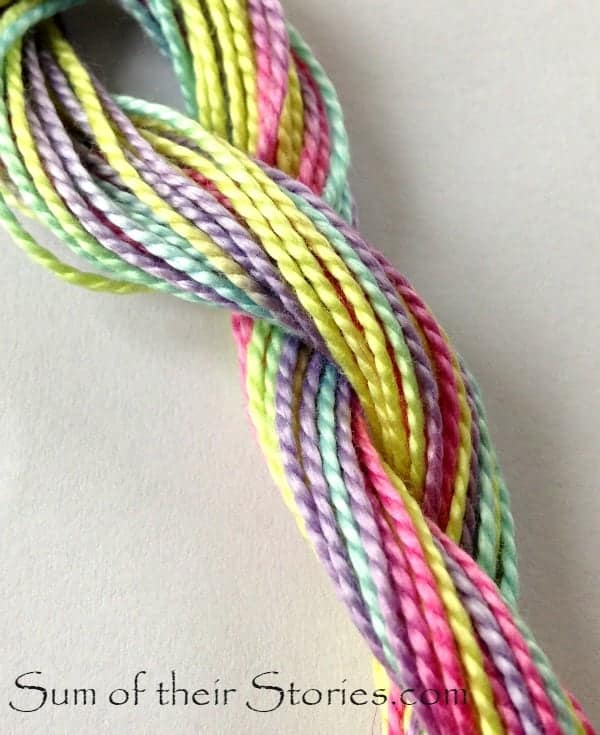
You can find multicoloured embroidery thread in all sorts of different colour combinations, I chose this as it goes rather nicely with our living room rug.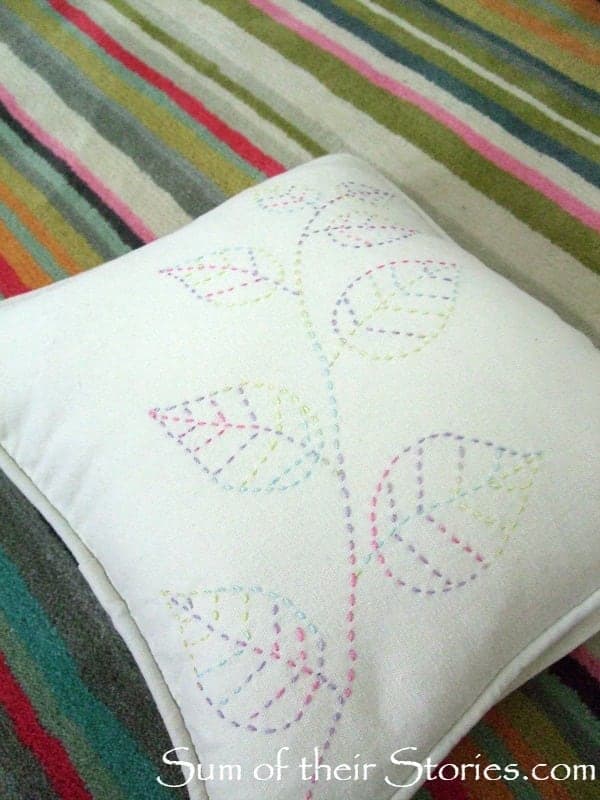
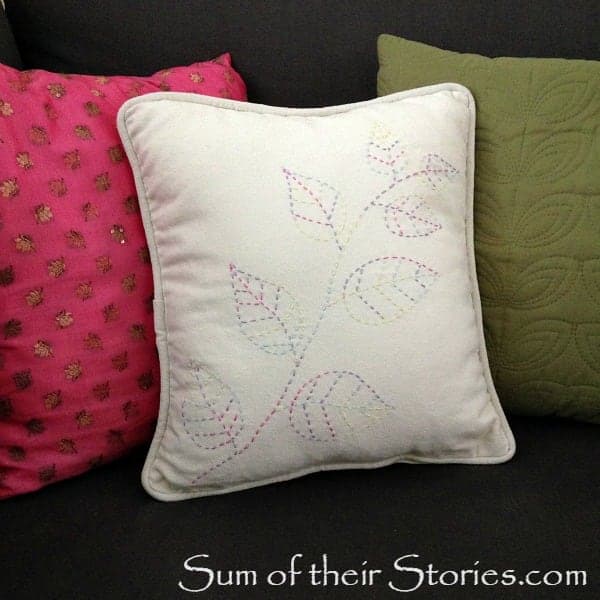
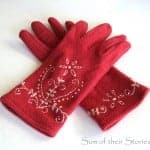
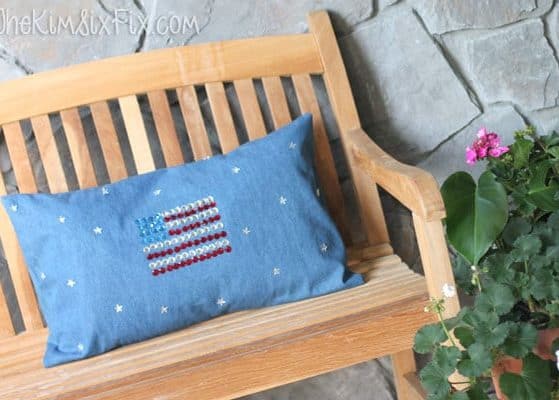
This is actually a project which came out better in real life that I had imagined in my head, normally it’s the other way round. I’m now thinking this multicoloured thread and running stitch idea would work beautifully on a shopping bag, t-shirt or the back of a denim jacket (do people even wear denim jackets any more or am I showing my age?)
I’ve really enjoyed stopping by to share this cushion cover (sorry I couldn’t resist) with you today, I have a few more simple embroidery ideas over on Sum of their Stories which you might like to check out too.


Leave a Comment