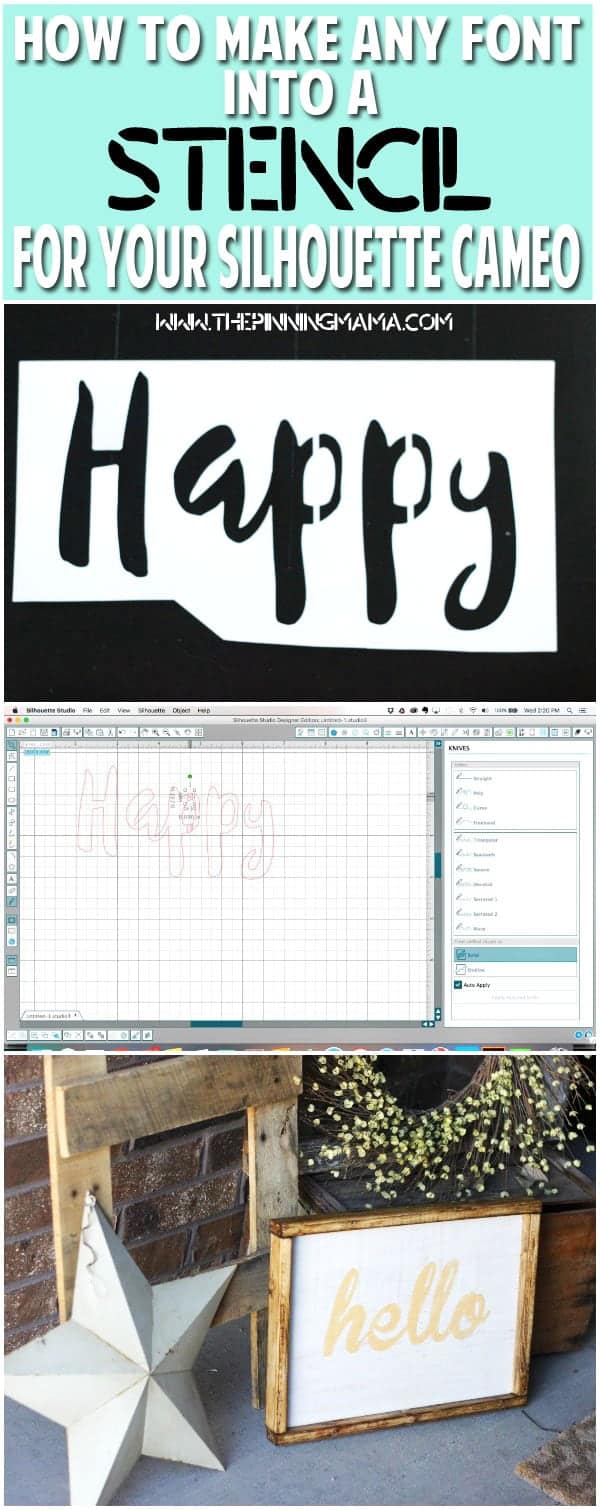
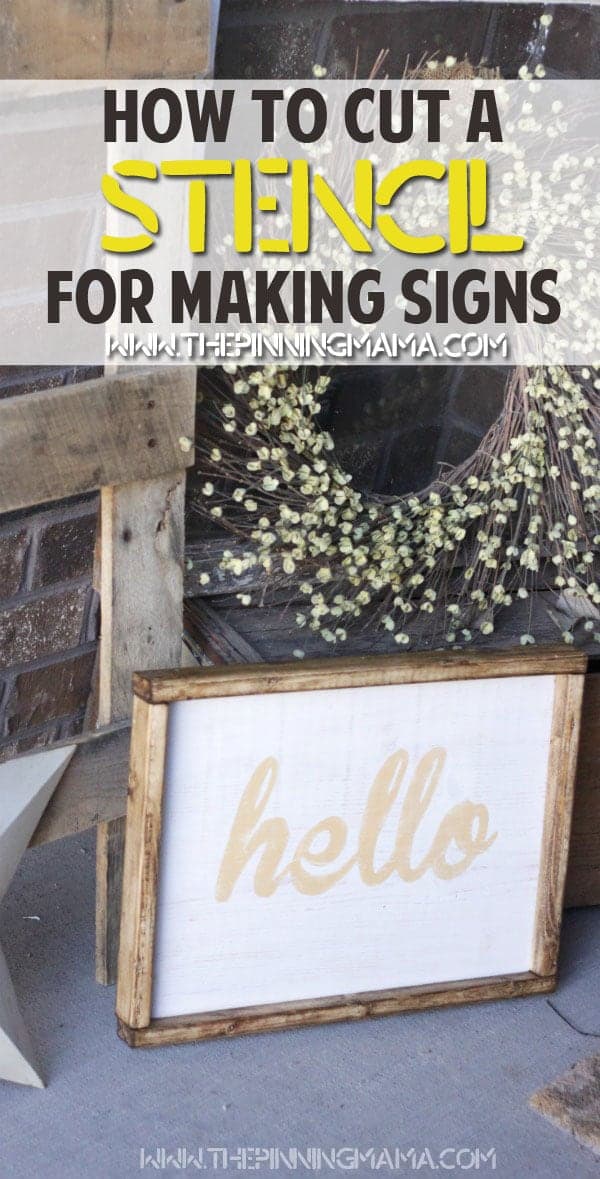
A simple way to make any font into a stencil for use with your Silhouette CAMEO. There are just a few easy steps in the Silhouette Studio Software to turn the words you want to cut into a stencil for your craft project.
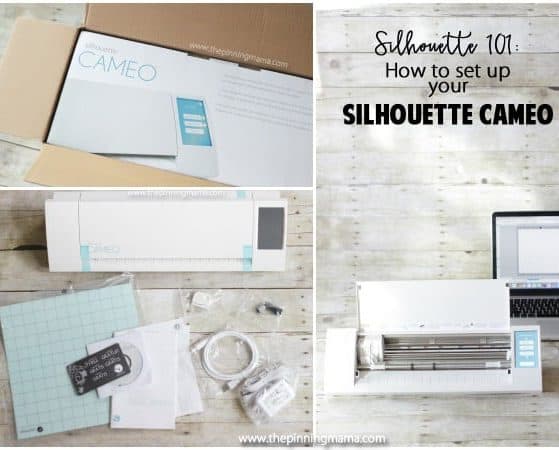
Most of the tutorials I do are based on things that I had a hard time figuring out how to do when I was new to my Silhouette CAMEO. So if you are a seasoned user this tutorial might seem a little silly to you, but if you are like me and beating your head agianst a wall trying to figure out something that should be so simple, then hopefully you will love this! I am including both a written and video tutorial to help you best understand what I am doing. I would love to hear in the comments if the video is extra helpful for you. Since I am new to it, it will help me know if I should do more.
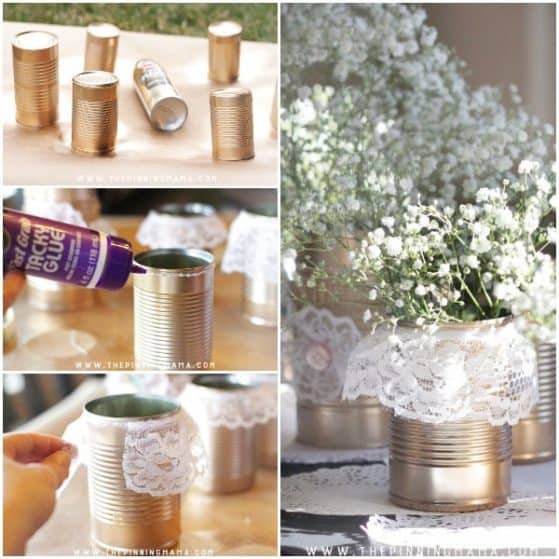
I like to use stencils for many things when I am crafting. I have used them from everything to stenciling my daughters monogram on a stool to customizing binders for school. I love to do paint projects and stencils are exactly what you need for those!
One of the very first projects I did with my machine (and a big reason I wanted one!) was to make a wooden sign. I don’t love to use vinyl on wood signs because I always get super frustrated trying to get it to stick, so my preferred method is cutting a cardstock stencil and using that to paint on the wording or design. {If you don’t have a Silhouette CAMEO , check out the most recent deals here!}
The problem is that I want to use a particular font and it doesn’t cut as a stencil. When I cut a font normally I will lose the middles of the e’s, a’s, o’s etc, and the loopy parts of y’s j’s and more. I figured there had to be a way to get any given font to cut more like a stencil and it turns out there is, and it is super simple.
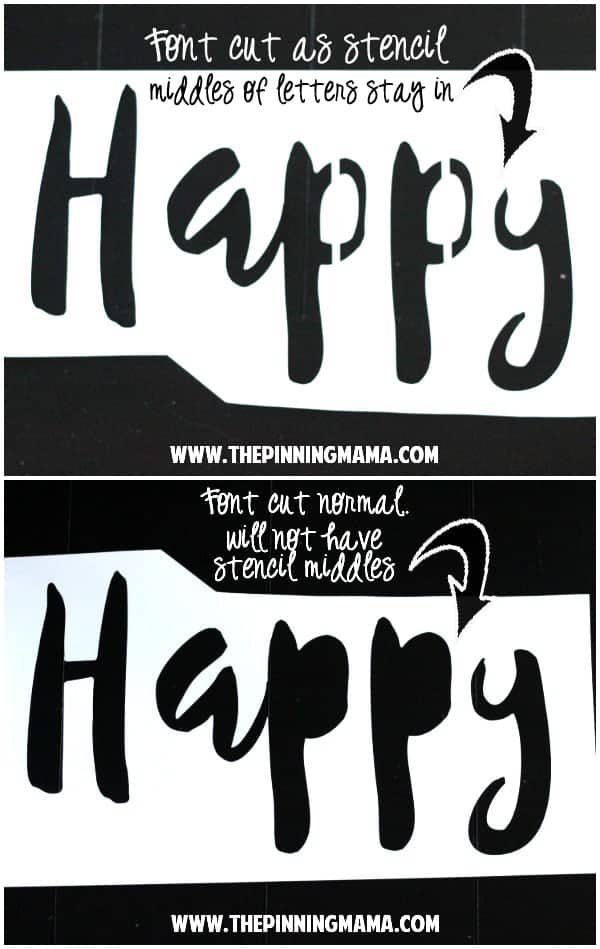
The illustration above shows the difference between cutting a font normally, where you would lose the middles of the enclosed letters and not be able to just paint over it as a stencil. Where as in the top example above, you can see that it is cut stencil style where it retains the middles so that you can easily paint wording onto a project.
So let’s get started!
How to Turn a Font into a Stencil in Silhouette Studio
- Select the text tool and choose the font you want to use.
- Type your word in Silhouette Studio
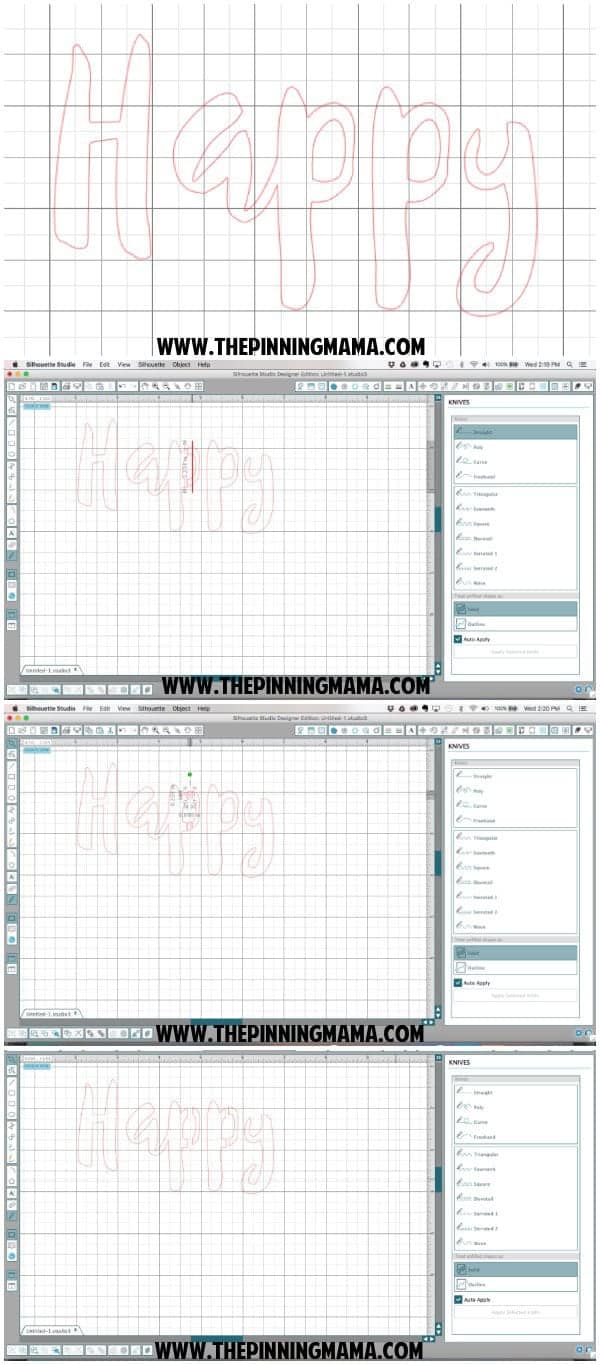
- Select the knife tool from the tool bar (you want the straight one)
- With the knife tool, draw a straight line all the way through the first letter that is enclosed.
- NOTE: If you are zoomed out, you might not be able to tell that the knife tool cut the letter since the knife tool cuts so finely. Zoom in and you will see the cute much better.
- Draw a second line parallel to the first and very close to it.
- Use the select tool (looks like an arrow) to select the small piece left between your two cuts then use the delete button on your keyboard to remove it.
This will give you a piece of paper that will connect the outside to the inside of the letter and produce a stencil effect for any font! Now take a look at the short video to see exactly how I do this in action.
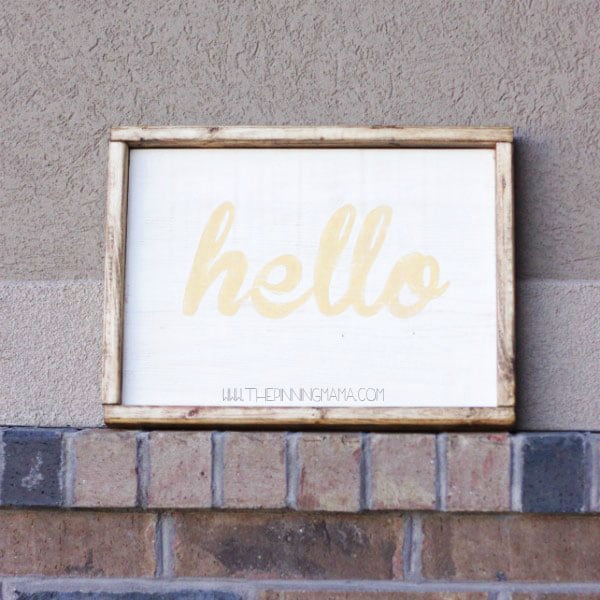
Pretty simple, huh?! I apologize for the lack of consistency on the words and fonts used in the tutorial on this post. I have actuall been trying to get this put together and out since 2015!! I know, I know! I am sorry for keeping it from you so long, but it finally got done! And how cute is this handmade wooden sign me and my neighbors made with the stencils I cut on my Sihouette CAMEO?
Please leave a note in the comments if this was helpful, or letting me know other skills you would love tutorials on or things you want to learn! Your comments are a great source of inspiration for my upcoming posts!


Margot says
Your tutorial was so helpful is making the stencil, I am having issues cutting it with my cameo. When I cut it not cutting where I made my knife cuts, i tried CUT and CUT EDGES and it isn’t working. any suggestions?
Kimber says
You don’t want to select cut edges, you just want to select cut, which is under cut edge. That will probably fix the problem!
Lori says
Thank you for your tutorial…I have watched a few and yours is the easiest to understand!
Paz Galey says
Thank you! Thank you! I just bought a Cameo 3 specifically for making cardstock stencils for wooden plaques I make and sell. Staring at this intimidating machine was getting me nowhere fast until I found your post! It shortened the learning curve dramatically!
lindsay says
Just stumbled across your page as I’m searching for an answer on how to cut a stencil using font that has shading in it. I’ve used both CUT and CUT EDGE and my silhouette is cutting out the shading only. I want the shape of the letters cut out and NOT the shading. Does this make sense? Any tips? Thanks 🙂
Julie Scates says
Hi there, thank you for tutorial. I haven’t tried yet, but I’m going to cut it out on Hobby Lobby blank stencil. What # should I use for cutting?
Also, how can you make Hungry JPEG pictures into stencils, thank you, Julie.
Julie says
Great tutorial. Much quicker than trying to figure it out myself and getting frustrated. Thank you.
Ellen Darby says
Thanks so much — you sure saved the day for a newbie. Never saw anywhere else your awesome tip!!!
Danielle says
Thanks for the tutorial – it was super simple to follow! I stumbled upon it trying to make a stencil to paint a scripty font on wood. The problem I am having is that the card stock is bubbling and not staying flush to the wood, so when I go to paint, it is going to run past the letters. Any advice on how to make that not happen would be much appreciated!
Laura says
Hi, after I select the little piece and delete it, the cut side doesnt “close” back up. Any ideas?
Leslie says
Thank you so much for this tutorial! I will be able to finish my bridesmaids boxes now!