You know when you’re in that phase of life when everyone is getting married? Then you get married and figure out the perfect gift for everyone and it’s your go to for every wedding from that point forward? Well, we’re finally out of that phase of attending a wedding every other weekend. What comes after marriage? Baby! Now that I have littles of my own I definitely have my go to gifts that I like to give. I always search for specific items when looking at a friends baby registry. I still want to get something off their registry, but I get excited when there is something on it that I already love as a parent. It’s not that I am lazy and give everyone the same gift because I don’t actually do that. It’s kind of like a good bra – once you find one you like, you keep buying it in all colors! Ya know?
Shortly after a baby is born a lot of parents have their babies blessed, baptized or christened. I have always struggled with what to get. Do I give money, something sentimental or something more “gifty”? After going to a few of these events and having a couple myself, I finally have my go to gifts. If I am doing “gifty” I love giving this crib cross. I actually just bought a couple for two special little twinkies. Benny boo boo was given one as a gift too and I really, really love it. I also love this cross for a girl. I tend to give money along with these crosses.
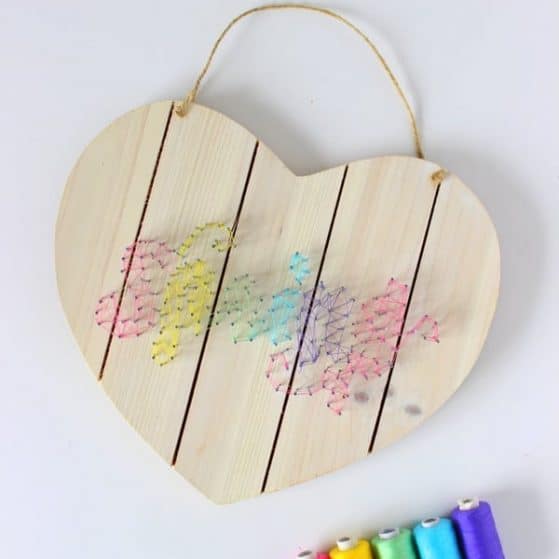
Then one day I decided I wanted to make something a little more sentimental. I couldn’t find anything personalized that I liked online, so I decided to make my own. That’s when the wooden sign with baby stats was born. Megan, if you’re reading this don’t look further unless you want to know what I am mailing you. ha!
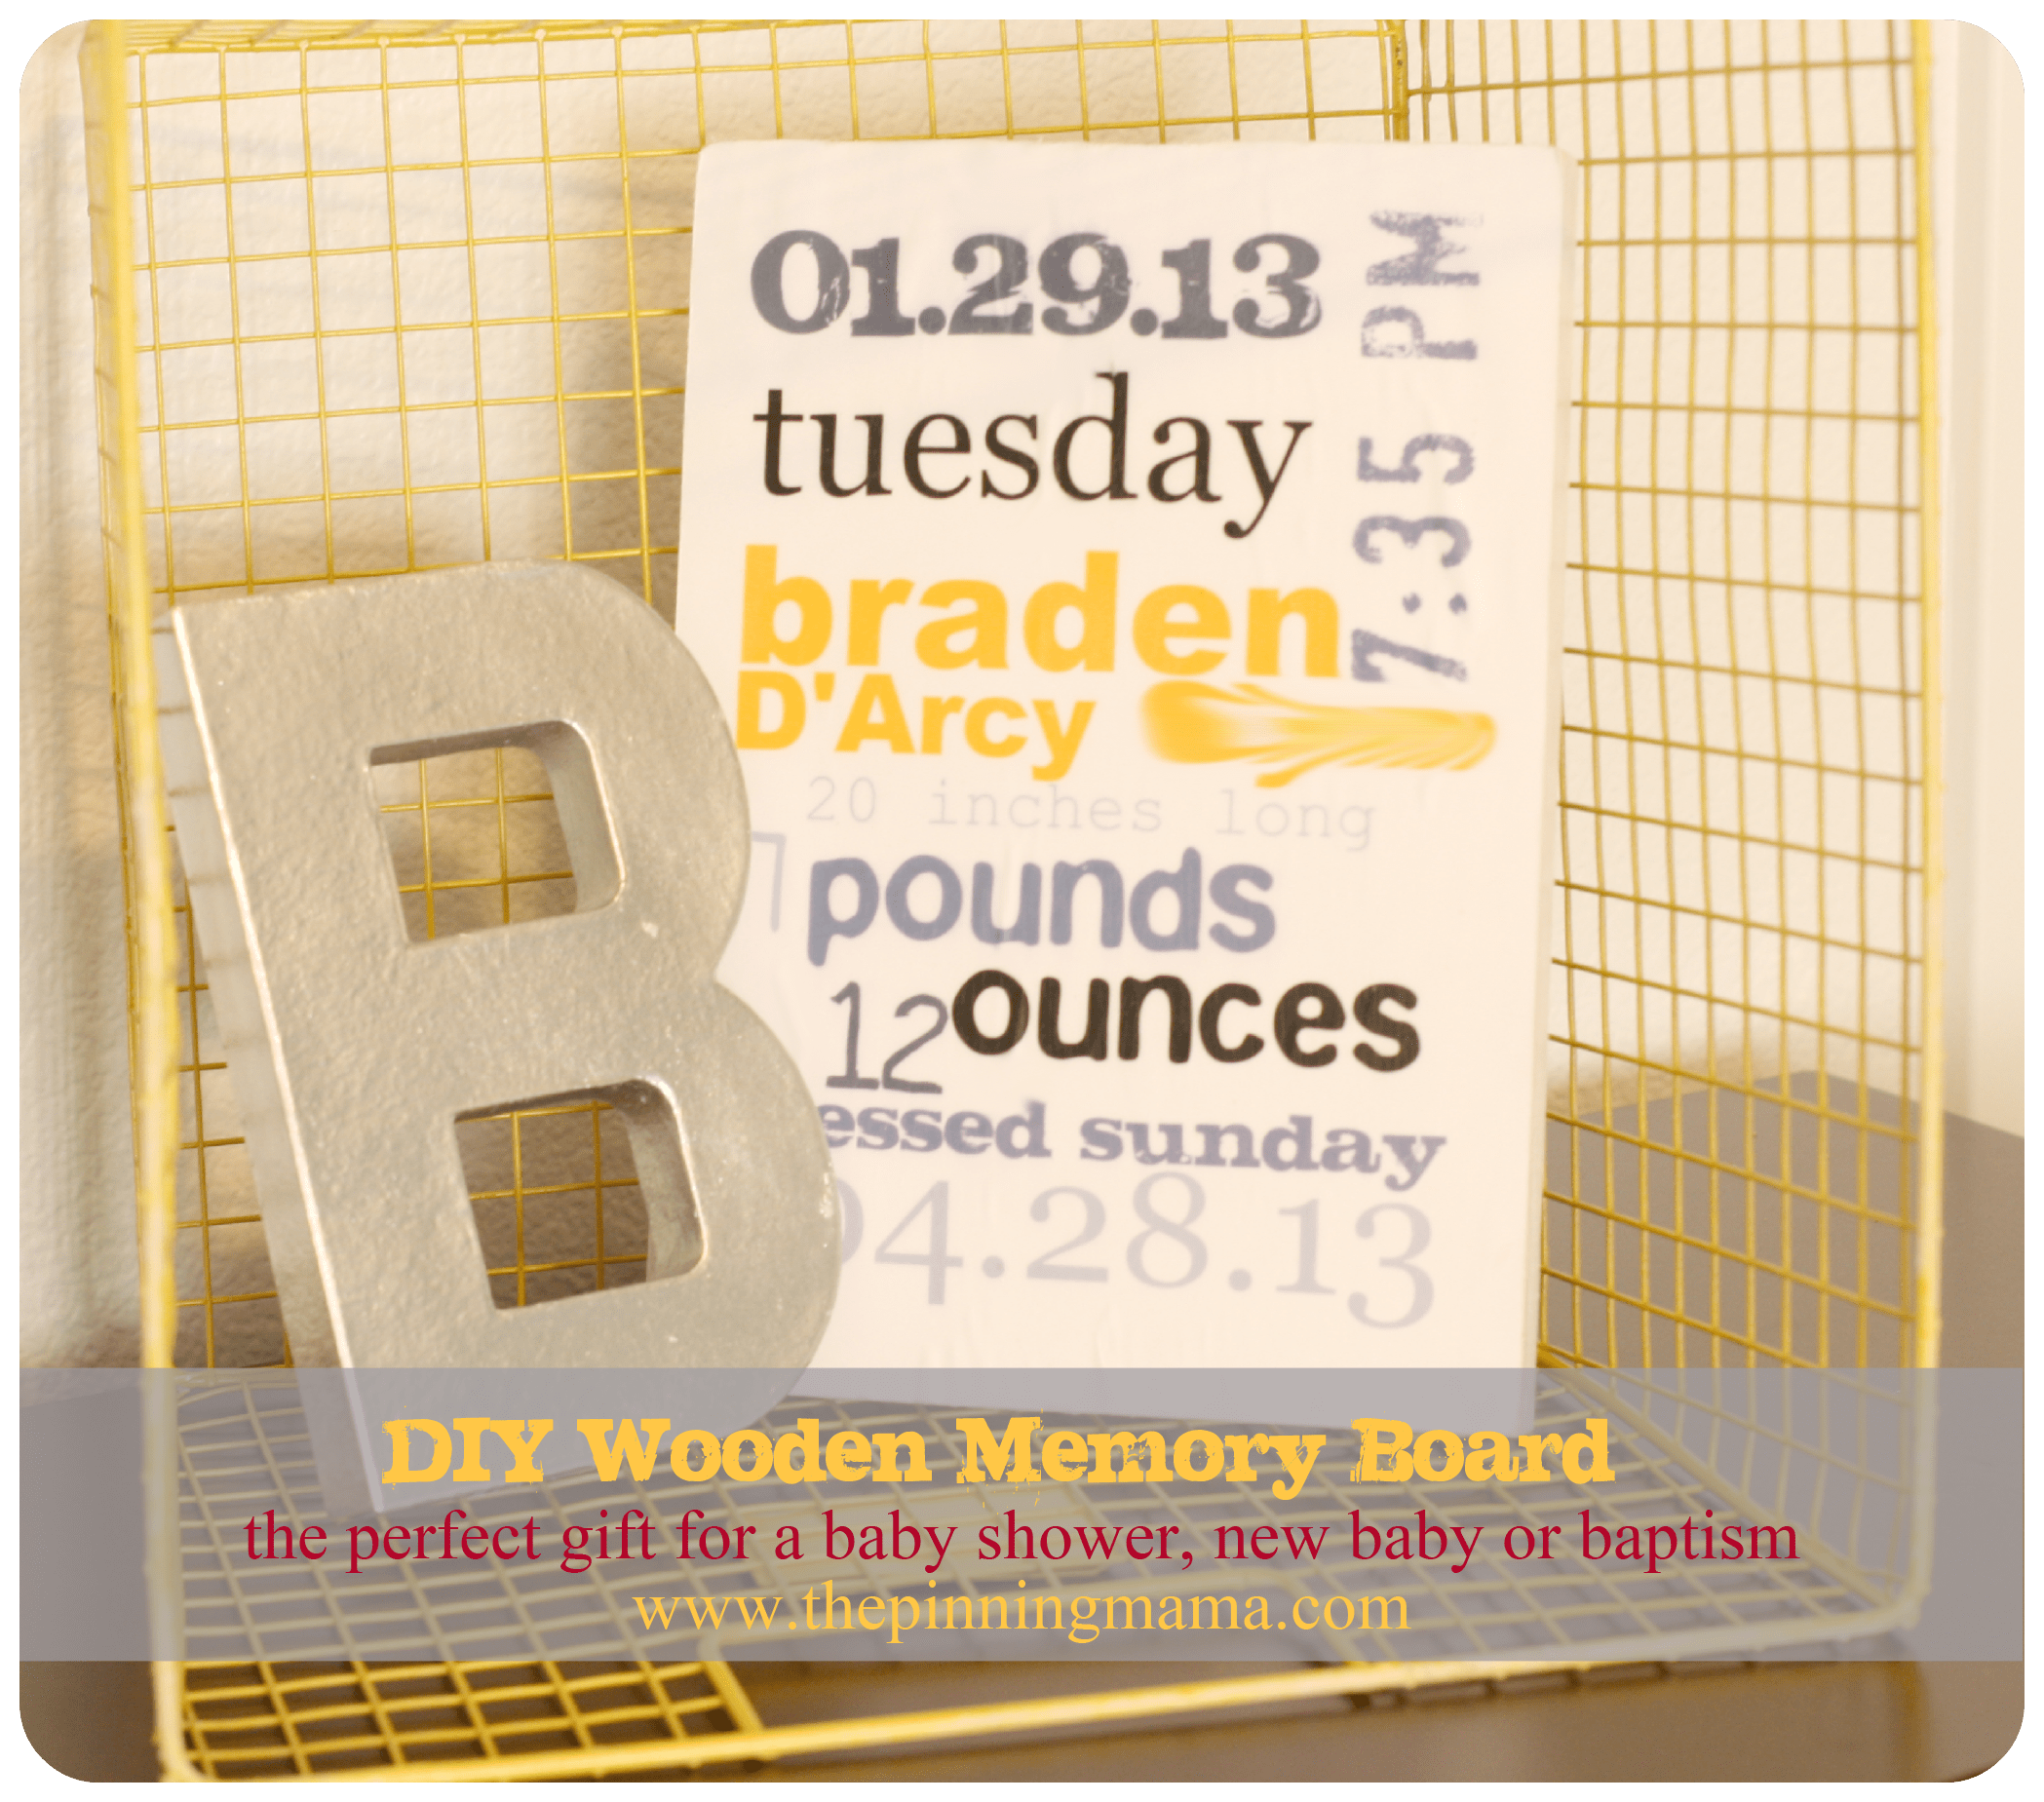
These signs are the perfect gift for a baby shower, new baby, a birthday or a baptism. Or you could print a pretty quote for Mother’s Day and put it on a board. So many possibilities! And the good news is that you really don’t have to be super crafty. All you need is a piece of wood cut to the size of paper that you are using. I suggest 8.5 x 11 so that you can just print onto letter sized cardstock. The thickness doesn’t really matter. I suggest thick enough so that you can either put a saw tooth bracket on it to hang on a wall or thick enough so that it can lean against a wall. The smudge in the above pic was on purpose so the last name isn’t revealed. 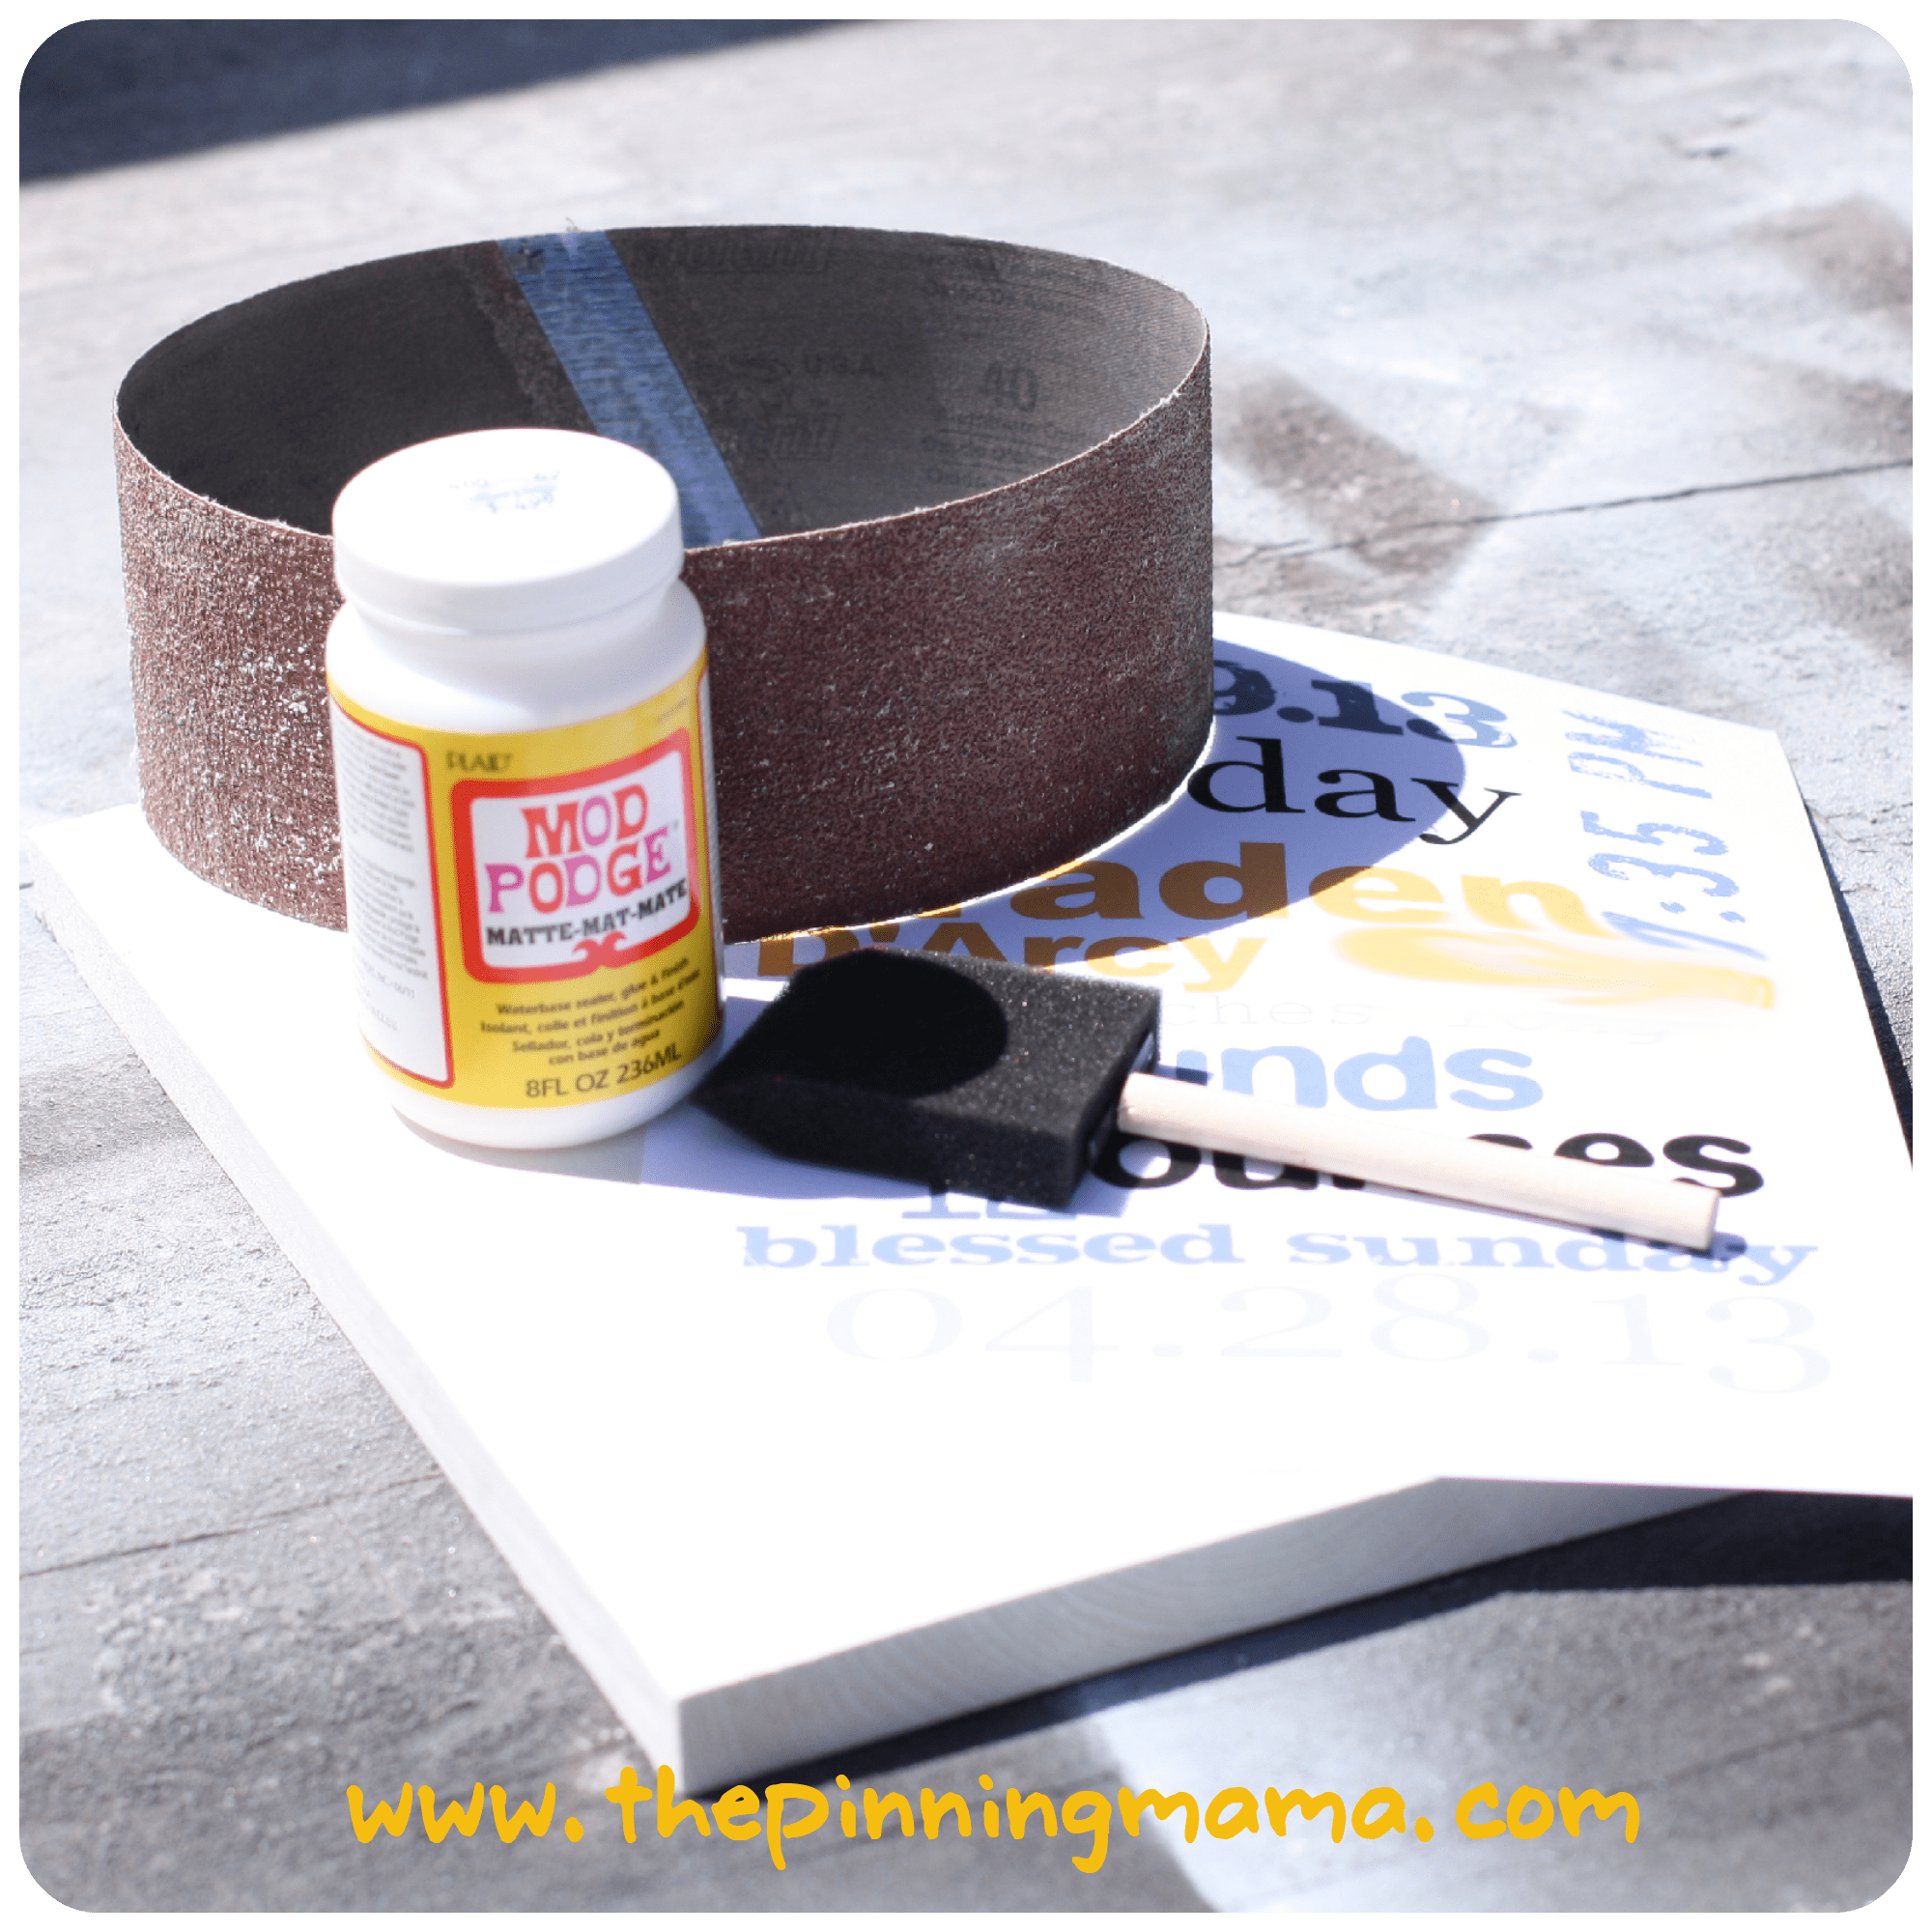 Supplies:
- Piece of wood cut to size
- Medium Weight Cardstock – I use 165.
- Microsoft Word, Photoshop Elements (only $59.99 on amazon right now!) or any program that allows for multiple fonts to be used.
- Spray paint or regular paint in a can
- Mod Podge
- Foam brush
- *You can probably use regular printer paper, but the paper might tear when you mod podge.
Instructions:
Once you have your wood cut down, paint it with the color of your choice. I chose to do white because my paper background is white and I want it to blend with the board. I used sprayed paint primer because that’s what I had on hand and it worked fine. If you are going out to buy spray paint for this, get regular spray paint or paint in a can.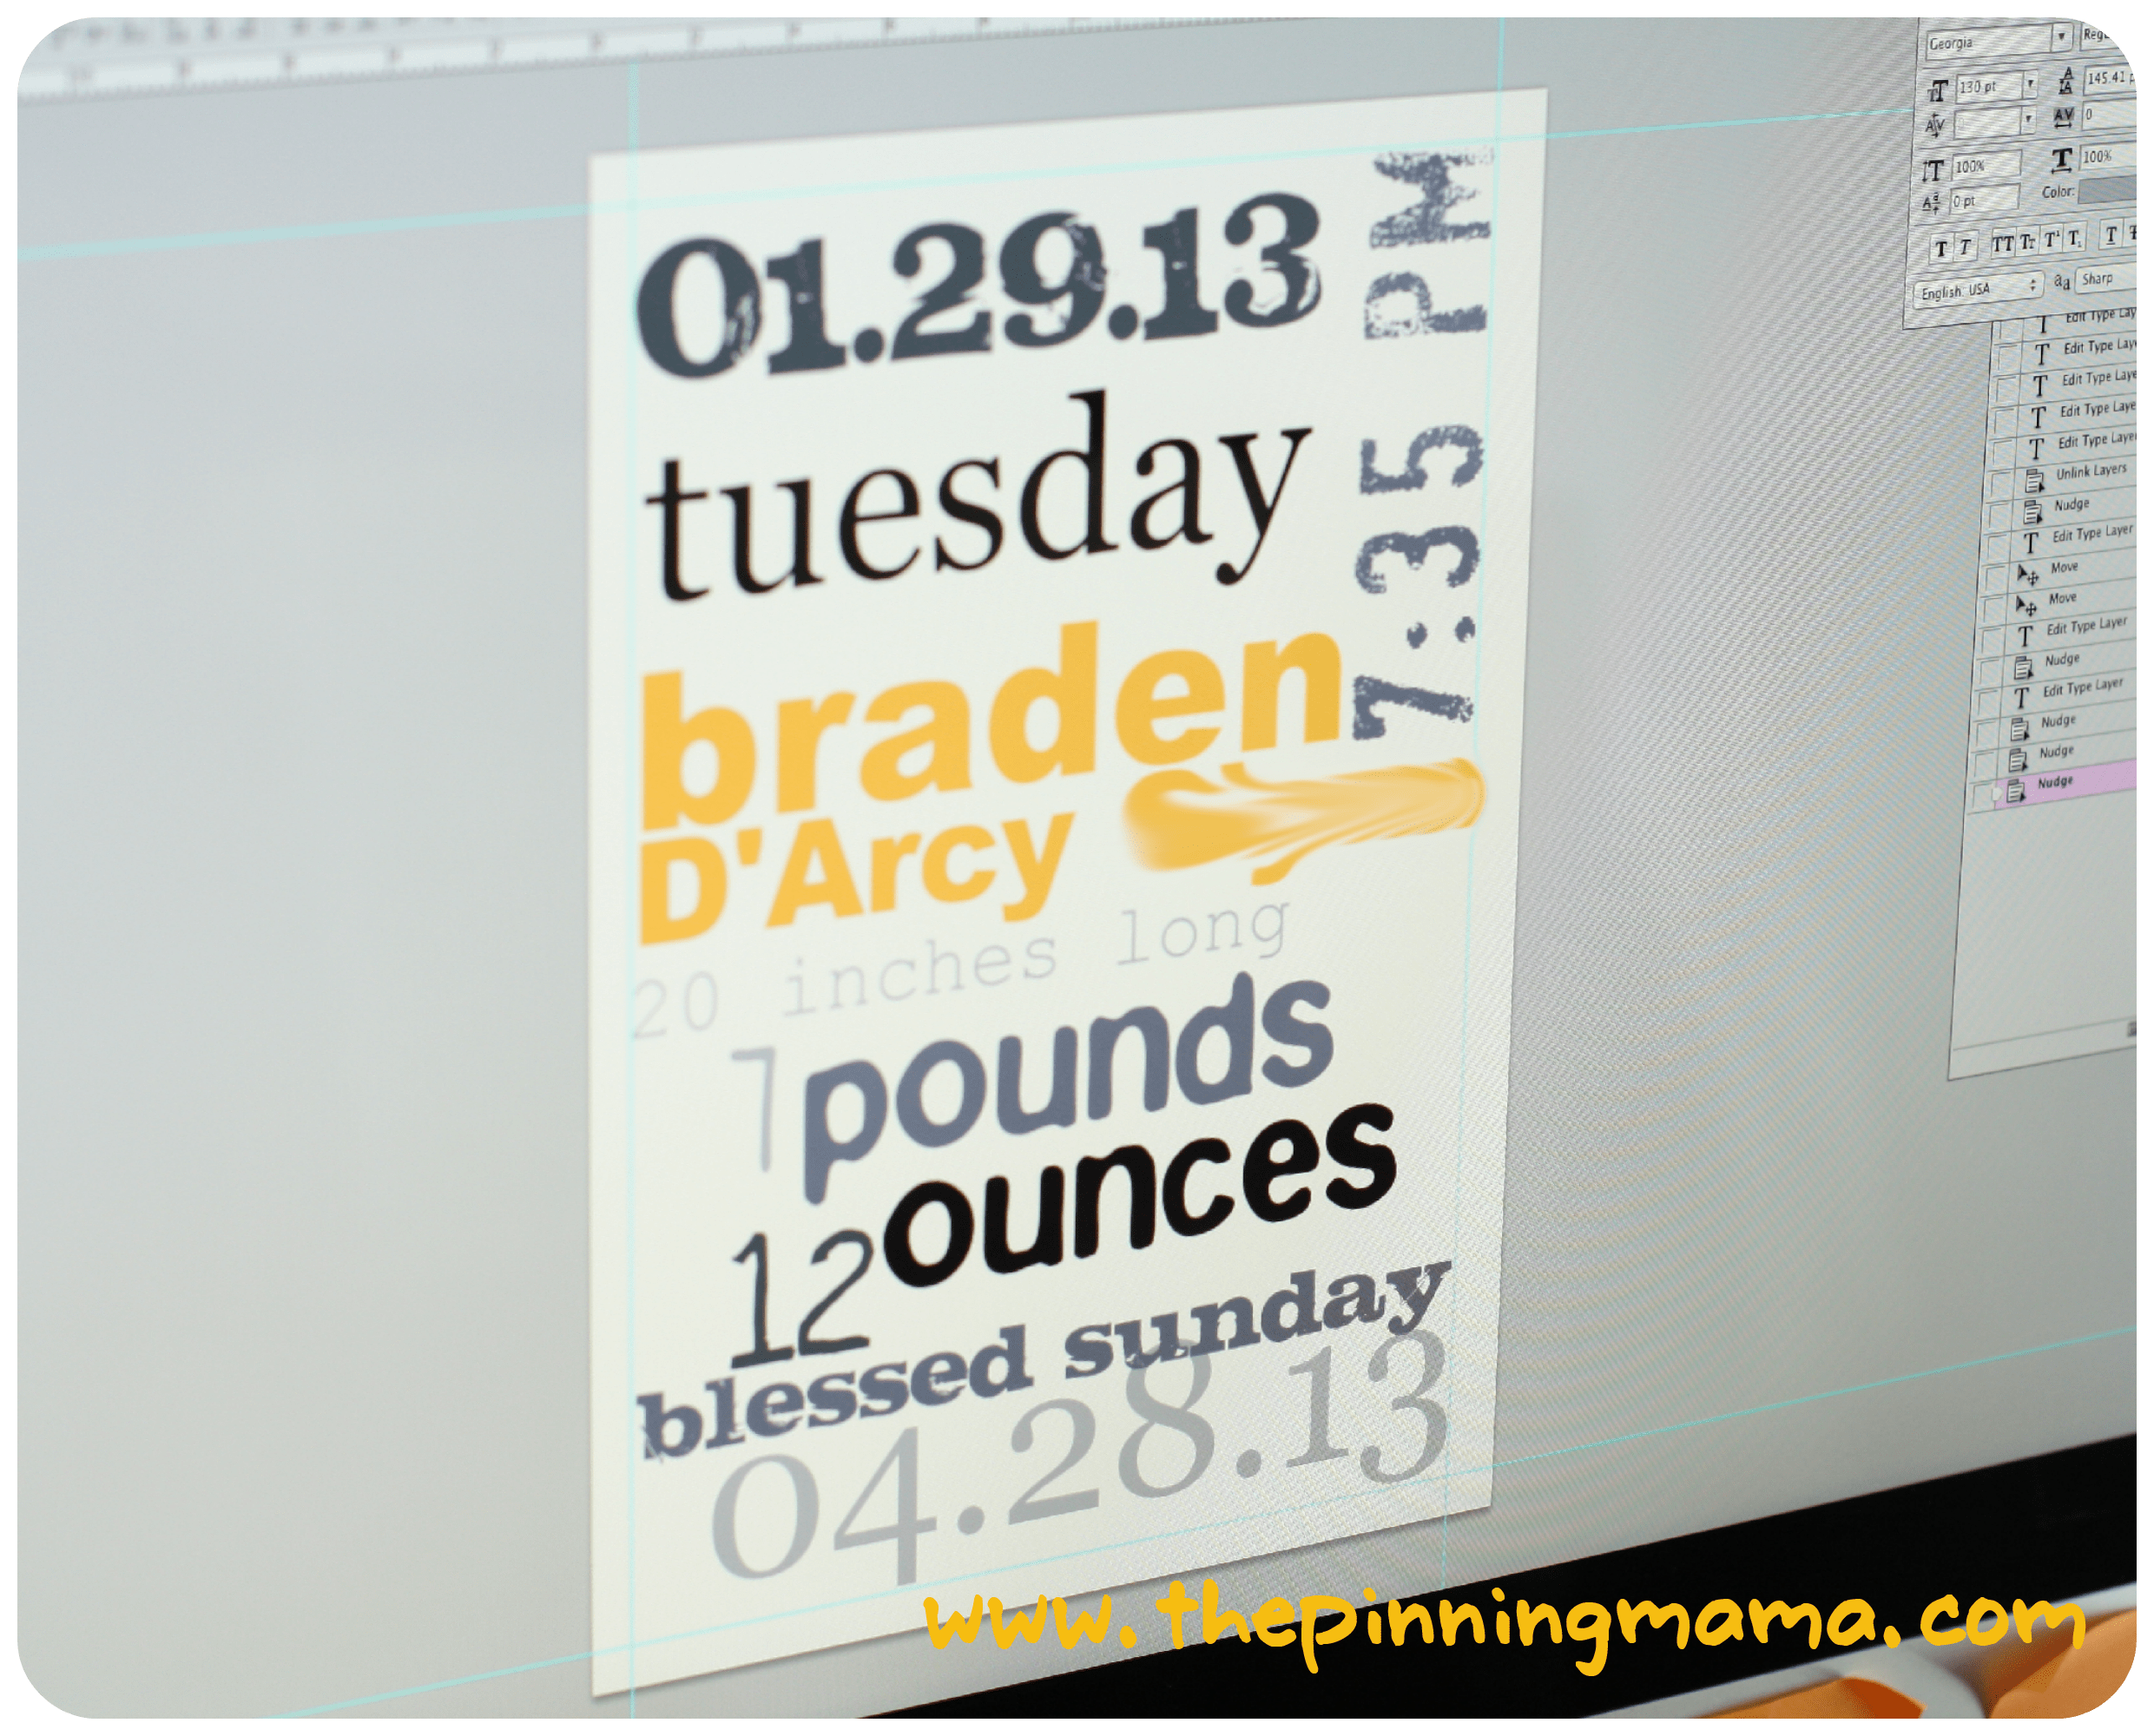 While your wood is drying, pick your fonts and design your stats board in whatever program you choose. The fonts I used were – Steak, Georgia, Social Animal, Arial Black, Courier New, Epilog, and King Cool. Dafont.com is a great place to find free fonts.
After you print your design and your wood is dried, spread mod podge (or watered down glue) on the top of the board.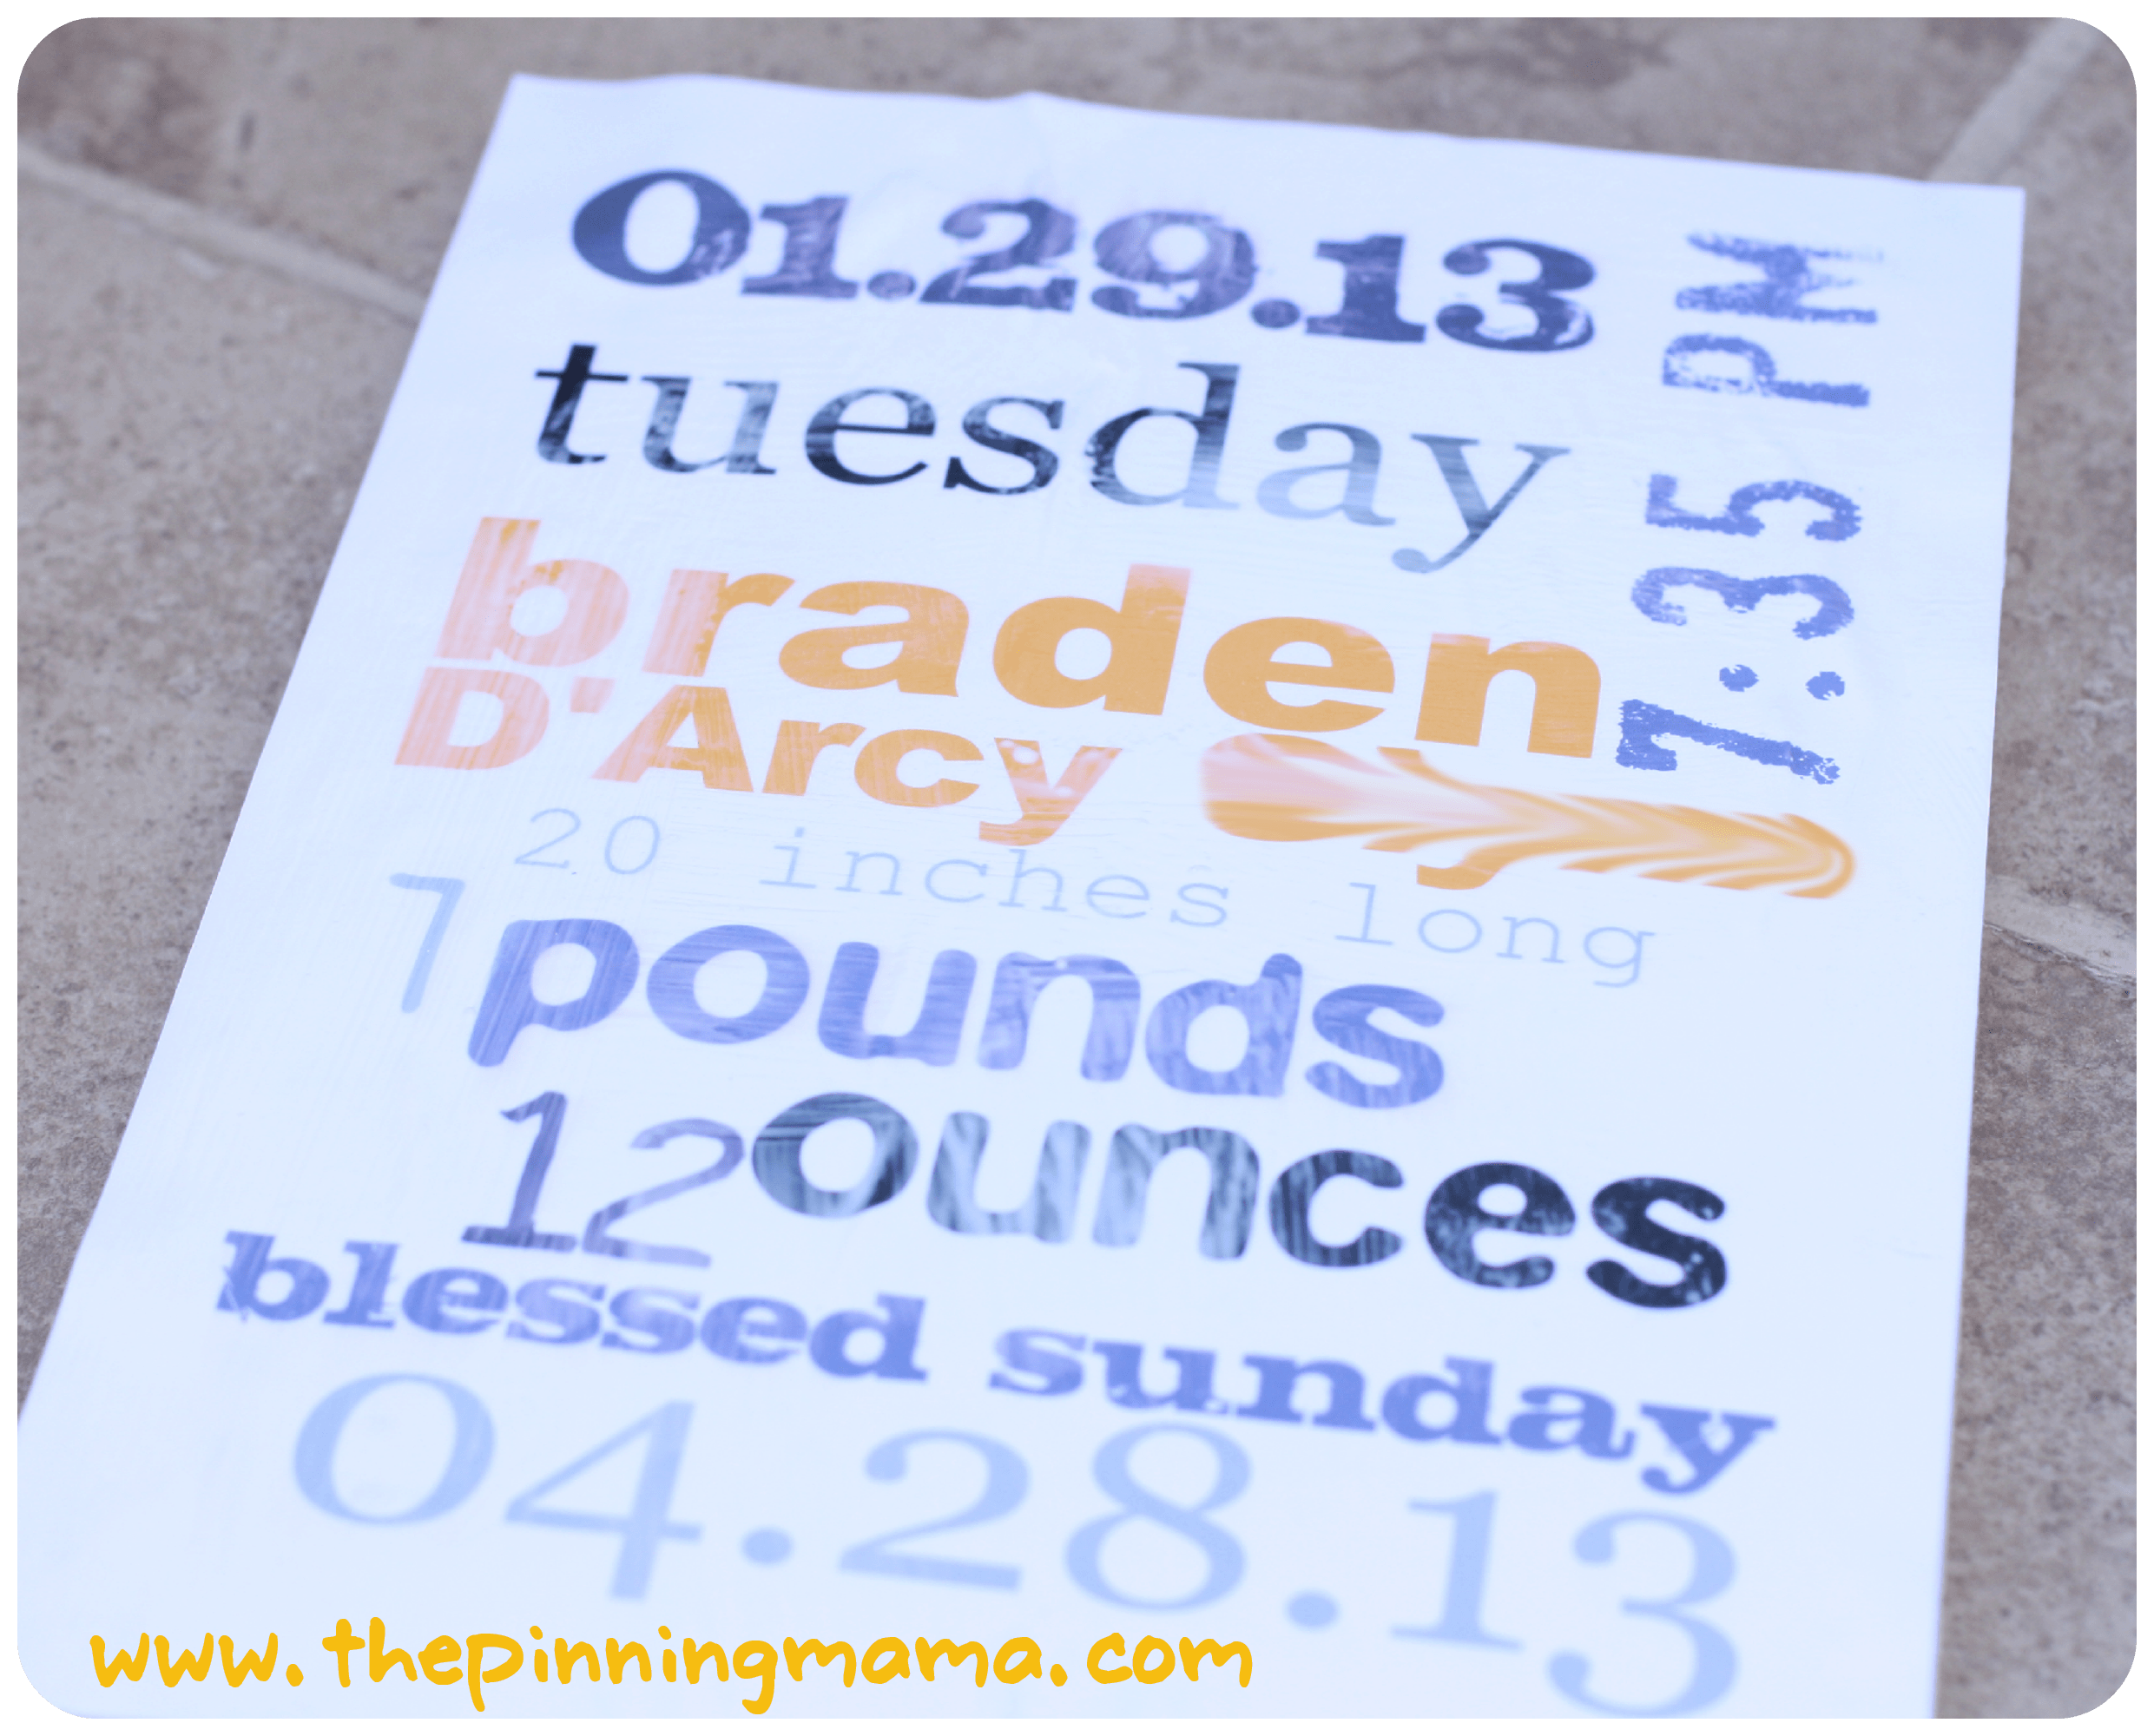 Then lay your cardstock on top. Try to make sure there aren’t any bubbles. You could use a rolling pin or drinking glass to get them out if you want. Even when I use a rolling pin I always end up with a bubble or two. I try to kind of mush it down with my finger and the end result is still great! Then apply a coat of mod podge on top. Let dry, and apply one more coat.
Now that you have your board all mod podged up you can leave it as is or you can sand the corners down to make it look a little worn.
And there you have it, a personalized gift for that special baby in your life. It didn’t take long, but I promise it will be a gift to be remembered! I wish I could make these for all of my friends kids, but unfortunately I don’t always have the time.
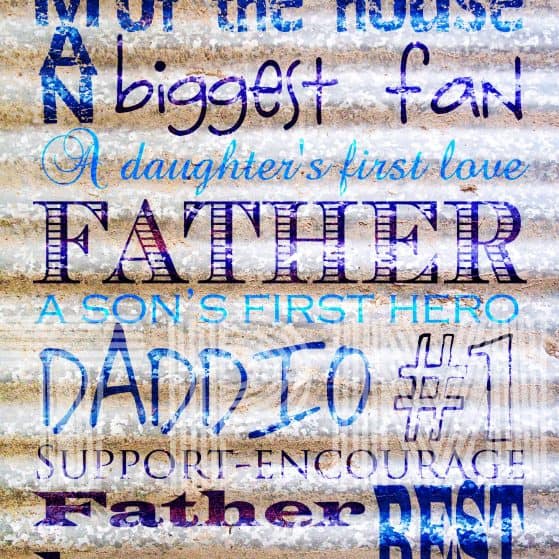
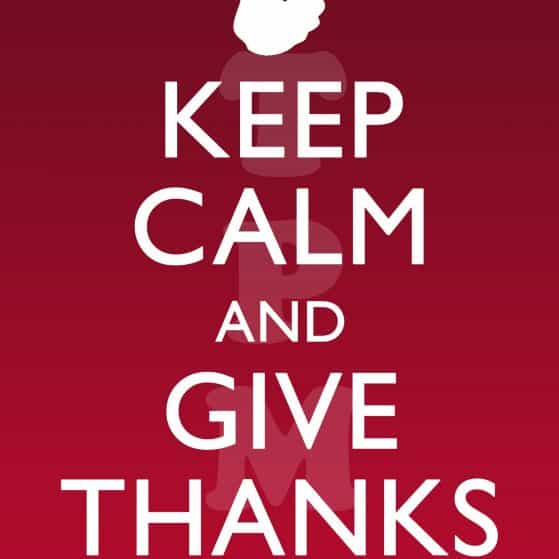
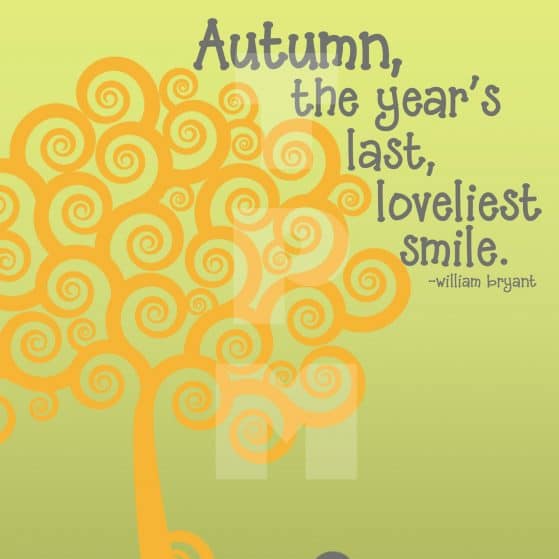
One of the best thing about this craft is that you can do it for any occasion! And if you don’t want to create the text page yourself you could use our FREE printables to create a sign for seasonal or holiday gift!
Did you enjoy this tutorial? Maybe you should share it with all of the pinners in the world and PIN IT! hehe To make sure you see all of our great tutorials follow us on Pinterest or Facebook!
This post contains affiliate links. For more information see our Disclosure Policy.

Lisa says
Cute! Do you have any tips for creating subway art? I love the look, but haven’t been able to figure out how to do it myself. How do you get the typing multi-directional? Do you do yours just in Word or do you use Publisher? I’d love some tips (or maybe a tutorial 😉 ) on doing them at home since I like the idea of personalizing them!
Ashley says
I think I smell a tutorial!
If you want traditional, one font subway art you can use http://www.wordle.net It’s fun to play around with! I framed one for my mother-in-law for Mother’s Day a couple years ago. I use Photoshop for my subway art usually, but you can definitely use Word, Publisher or Powerpoint. I’d prb use Word or Powerpoint if I didnt have PS. I’d lay out your list of words first in different text boxes. Then, change their fonts and move the text boxes around until you like your format. Make sure you download or have your list of fonts ready to go because that seems to take the most amount of time!
Angela - My Personal Accent says
I love the site wordle.net! Thank you so much for this tutorial. I have been wanting to make some subway art but was a bit hesitant. I wonder if I could use my Silhouette Cameo to cut out the words and mod podge them on? Love idea of a memory sign.
Kimber says
You definitely could! I bet it would look super cute but be significantly more time consuming. You could also stain the wood and cut the words with the cameo on vinyl stick them on the wood and peel off or use canvas for the same thing! There are really so many ways to do this project and having a cameo makes it virtually limitless! And by the way, we love wordle too! Thanks for stopping in!
Susan says
Wordle is great — I recently discovered Tagxedo which is even better http://www.tagxedo.com/
Ashley says
That site looks really cool. Thanks for sharing!
Lisa says
Love this idea. Just a side note, I saw that you said you smudged his last name in the picture so people wouldn’t see it. Did you notice that three of the five pictures you posted, his last name isn’t smudged?
Ashley says
Ha! NO! Im glad you noticed that. I will have to go back through and fix all of these! Thank you. 🙂
Steph @ Crafting in the Rain says
Really cute, and great colors!
Ashley says
Thanks, Steph! I love these because you can customize with whatever colors you want!
Lauren says
Ok I bought the PE because you have texted me 100 times telling me I can do crafty stuff with it. So can I do the multi-directional lettering in it? Like I will get to this anytime soon with the new little one coming! ha! Thanks crafty Momma friend!
Lauren says
I downloaded it, opened it and got overwhelmed! haha. I will need to read a tutorial on how to use photoshop elements now. I ain’t got time for that right now! 😉
Ashley says
YES, you can!!!! We are going to work up a tutorial, but I am sure you can find one faster online. 🙂
Cori says
Super Cute! Did Home Depot or Lowes cut the wood down to size for you? Or did the hubs do it?
Ashley says
Thanks, Cori! Hubs cut it, but I’ve made some before this and Lowes did the cutting. 🙂 Its nice being a girl bc I didn’t even feel bad asking!
Krista @thehappyhousie says
So adorable! Great tip on using cardstock…. I have tried this with regular paper but it got all bubbly… you know how mod podge can get. Yours looks amazing, I will definitely be trying this with some cardstock instead. Thanks!!
Krista
http://alargamiento-del-pene.es says
Hi there! This is my first comment here so I just wanted to give
a quick shout out and tell you I genuinely enjoy reading through your articles.
Can you suggest any other blogs/websites/forums that deal with the same topics?
Appreciate it!
Ashley says
You are so sweet! Thanks for the comment. There are so many wonderful blogs out there – if you surf pinterest and click through things you like, you’re bound to find an amazing one. Two that come to my mind right away for crafting and recipes are http://www.pinkwhen.com/ and http://www.iheartnaptime.net/ Hope you enjoy them as much as we do!