One simple trick we used with our preschooler to help him learn left & right.
This post is brought to you as a part of the Silhouette Affiliate Program. The creative ideas and projects are all cooked up right here at The Pinning Mama! For more info see our Disclosure Policy. See the Silhouette May Promotion Details here. Remember to use promo code PINNING at checkout!
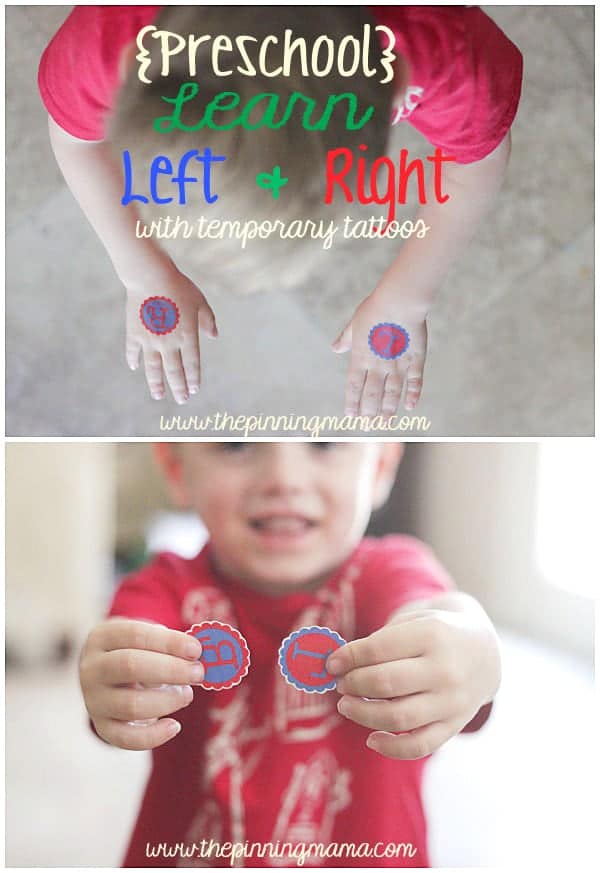
Life is busy and we always have a lot on the calendar, but between the chaos I do occasionally try to work with my preschool aged son on learning some of the important things in life. You know… Letters… Numbers… or this week we worked on learning left and right.
This was a hard on both of us! Left and right are such abstract concepts. You can’t write them, and they can change depending on perspective so I was left racking my brain on how to make this concept concrete for my preschooler. After long hours spent thinking, I came up with the conclusion that labeling things had worked well for us in the past, so why not just try it with left and right too?!
After thinking through this option a little bit more, I decided it was probably not the best idea to start going Picasso on my little guy with permanent markers. Something a little bit less permanent and a little easier to remove without hours of scrubbing because we all know that preschool boys don’t do hours of scrubbing!
Temporary Tattoos! The perfect solution! They are easy on- easy off. They are colorful, fun and my little guy thinks they are a special treat, not a school lesson in disguise. The best part is that I can whip them up in just a few minutes using my Silhouette CAMEO.
You can download my design for free by scrolling down to the bottom of this page and clicking the link.
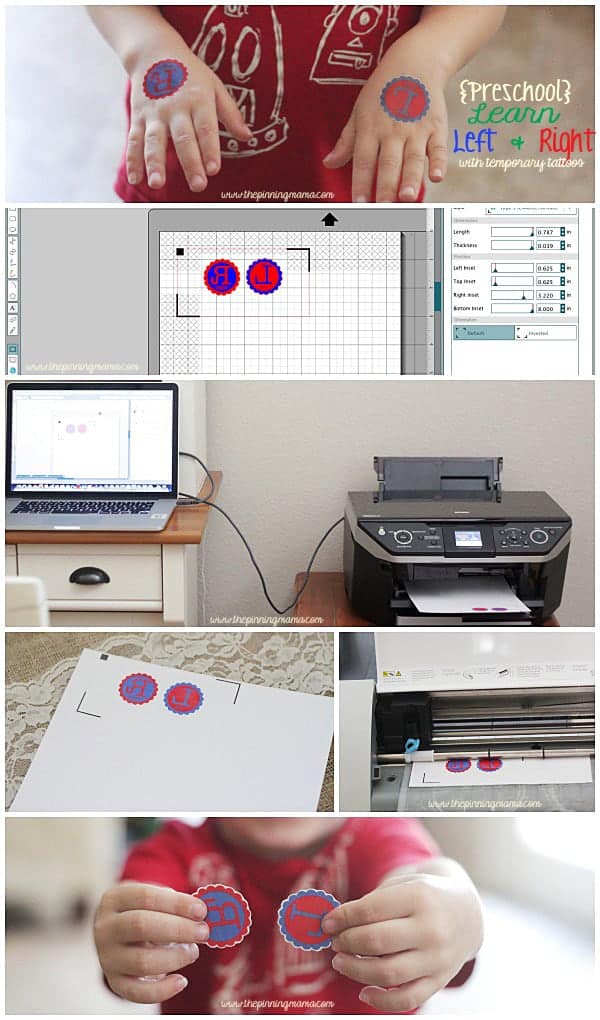
To make these I used Silhouette Temporary Tattoo Paper and the Print & Cut feature on my Silhouette CAMEO. Once you bring up the design you want to use, make sure that is is mirror image to what you want to appear on the hand. If you are using my design it will already be flipped for you.
Next add the registration marks to the page using the registration marks window found in the menu in the upper right hand corner of your screen. I am kind of crazy about saving every little bit of paper I can so I used the sliders on the registration menu to move the registration marks in close to the image I am cutting. The left and top were left as is and the right was moved to 3.22 inches and the bottom was moved up to 8 inches.
Once that is set, print your image on the white paper included in the tattoo paper set with the shiny side up. Once it i printed make sure and let the ink dry fully before doing anything else with it. Smudging the ink can mess up the registration marks and cause issues with the cutting. I might know this from experience…
Next cut the paper down equally with the second green sheet that comes in your temporary tattoo kit. These sheets work together as a set so cut them together so they match up equally. Once they are cut you can match up the green piece to the tattoo paper, peel off the backing and stick it on. Use your scrapper to make sure that it is adhered well.
Put the tattoo paper on your Silhouette Cutting Mat and load the mat into your machine. Adjust the cut settings for your machine and blade to the Silhouette Brand Temporary Tattoo Paper settings.
You machine will read the registration marks then cut perfectly around your tattoos!
Now all that is left is to put them on those cute chubby little hands. Place the tattoo on the hand so that it will be right side up when your preschooler reads it and hold a wet cloth to back of the tattoo for 15-20 seconds or until the paper backing slides off.

If you think this is pretty cool, then great news… All Silhouette Specialty Media is 25% off with the coupon code PINNING on the current promotion. And if you don’t yet have a machine, even better because there is a sale on some AWESOME Silhouette CAMEO and Silhouette Portrait bundles!

Silhouette Portrait
Sale: $139.99
All Specialty Media 25% off
Download the Silhouette Left & Right Temporary Tattoo File here
This is a Silhouette Studio file. If you will have to use the Silhouette Studio Software to open it.


Leave a Comment