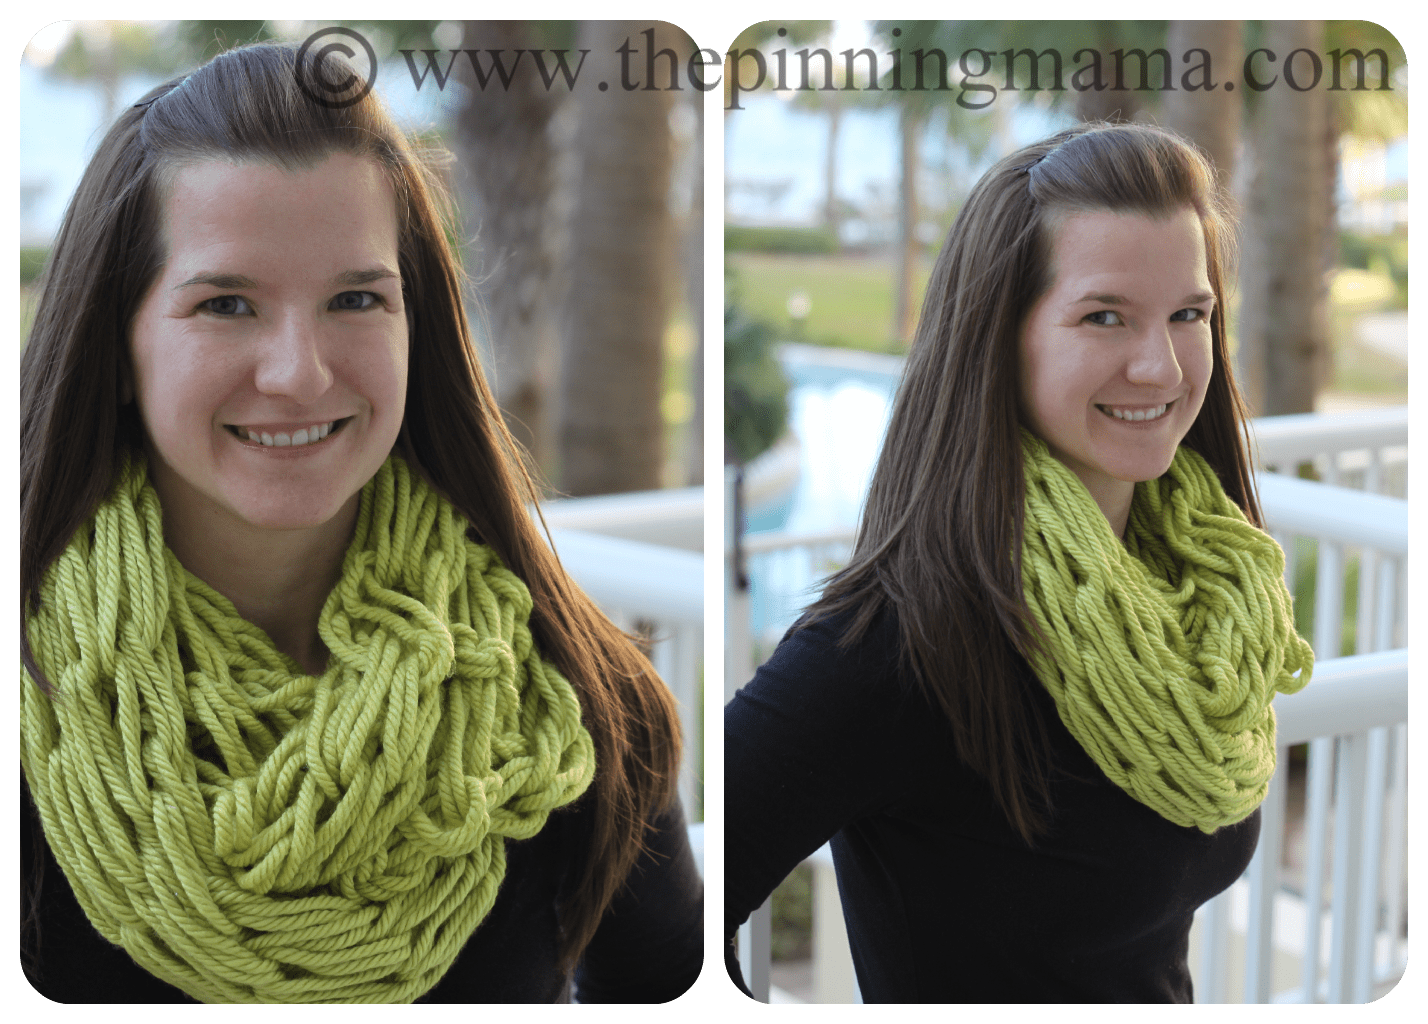
Okay, I am going to go ahead and give away the ending… BEST. PIN. EVER! If you need a confidence boost make this scarf and wear it out in public. I wore mine out for about 2 hours on a lunch trip to Chick-fil-a with the kids. I got at least 5 compliments on it and when I told them I made it people just gushed over how beautiful it was and how talented I must be. Joke’s on them though because this scarf was super quick and easy to make! Either way, it definitely made my day!
A while back I pinned this gorgeous chunky knit infinity scarf from Simply Maggie. I wasn’t too sure about this because I am not on any level a knitter or crocheter. I don’t know anything about it and even though I tried to learn once about 10 years ago, I failed miserably and admitted defeat. Not wanting to dig up those feelings of failure I didn’t click on the pin for awhile but when I was going back through my crafts board to get some ideas the other day I did it. I clicked on it and found myself at Simply Maggie. After reading through her post I was totally encouraged that I just might be able to pull it off. She explains everything so well and provided two videos to guide you through each step of arm knitting the scarf. And let me tell you, not only did I attempt it, it was easy and turned out fantastic! I love my new scarf and I love Maggie for teaching me!
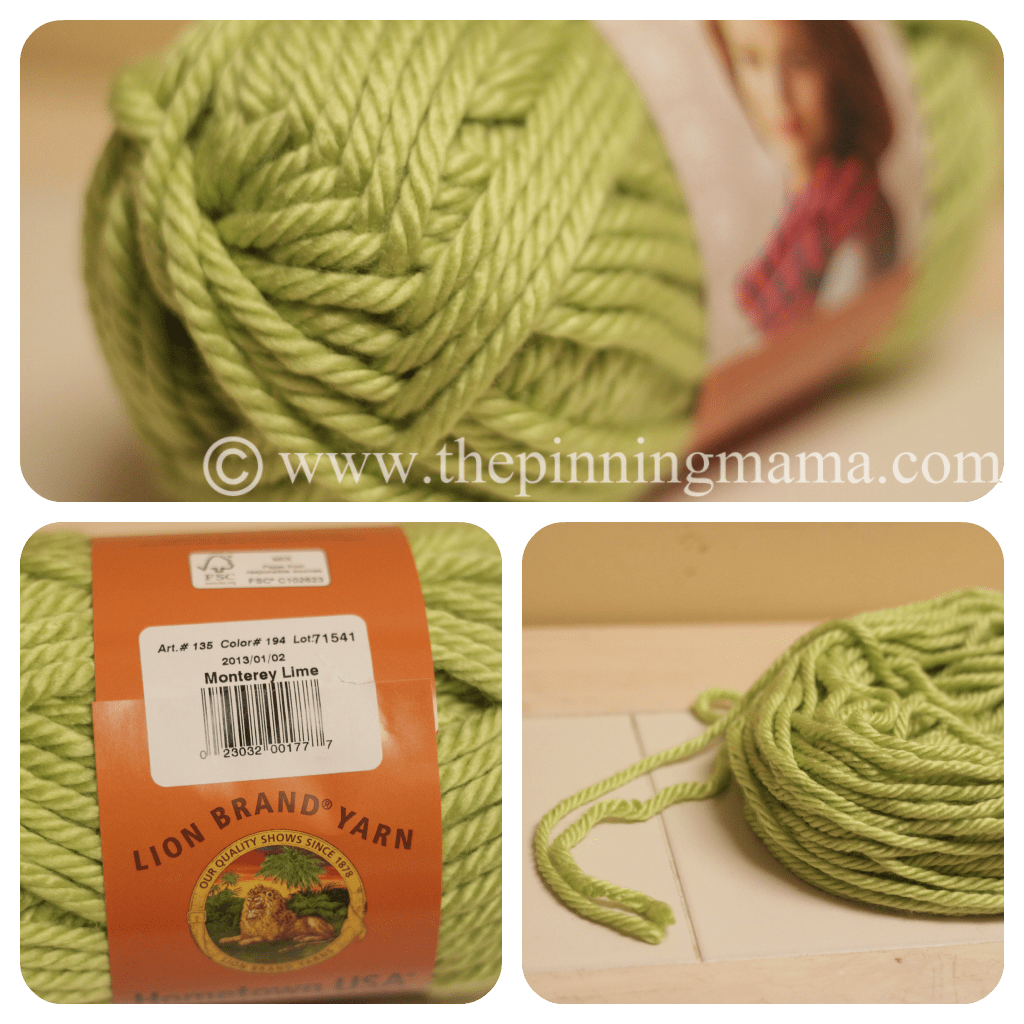
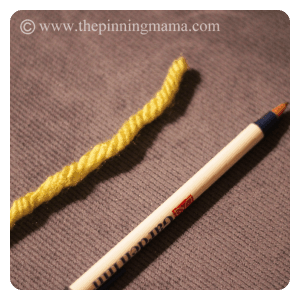
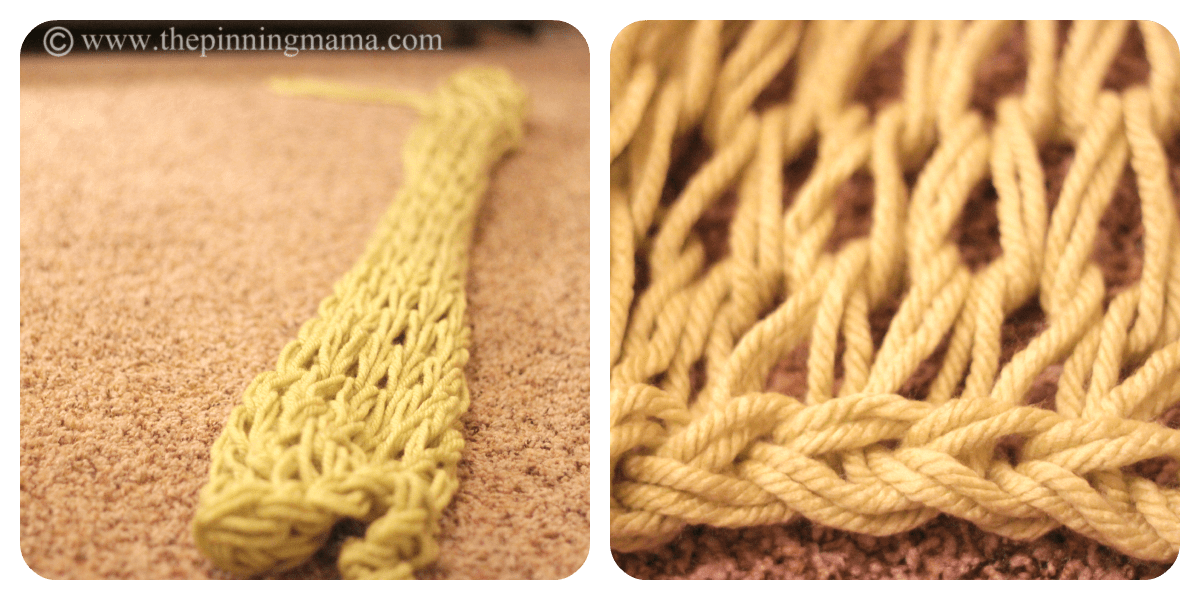
To make this you will need 2 skeins of pretty bulky yarn. You need a thick yarn to keep the shape of the scarf since the knit is so big. I used this Lion Brand Hometown USA yarn in Monterey Green. You can see the gauge of it is about the size of pen.
Once I had the yarn you will find the end of each skein and line them up together. You will knit using two strands in the place of one to give it body. The first part of the scarf was the casting on process. You decide how many rows you will want on your scarf and create that many rows casted onto your arm. I used 12 on this scarf but with the thickness of it probably could have used 10. When you watch Maggie’s video make sure to stick with it because after she shows you from the front the view will switch to behind her so you can see the knitting as you will when it is on your arms. This is very helpful. Casting on was not too difficult but definitely the hardest part of the scarf for me. My only other note here is that when she says to leave a long tail, really, leave a long tail. Mine ended up to be two arm lengths after my first was too short and I had to start over.
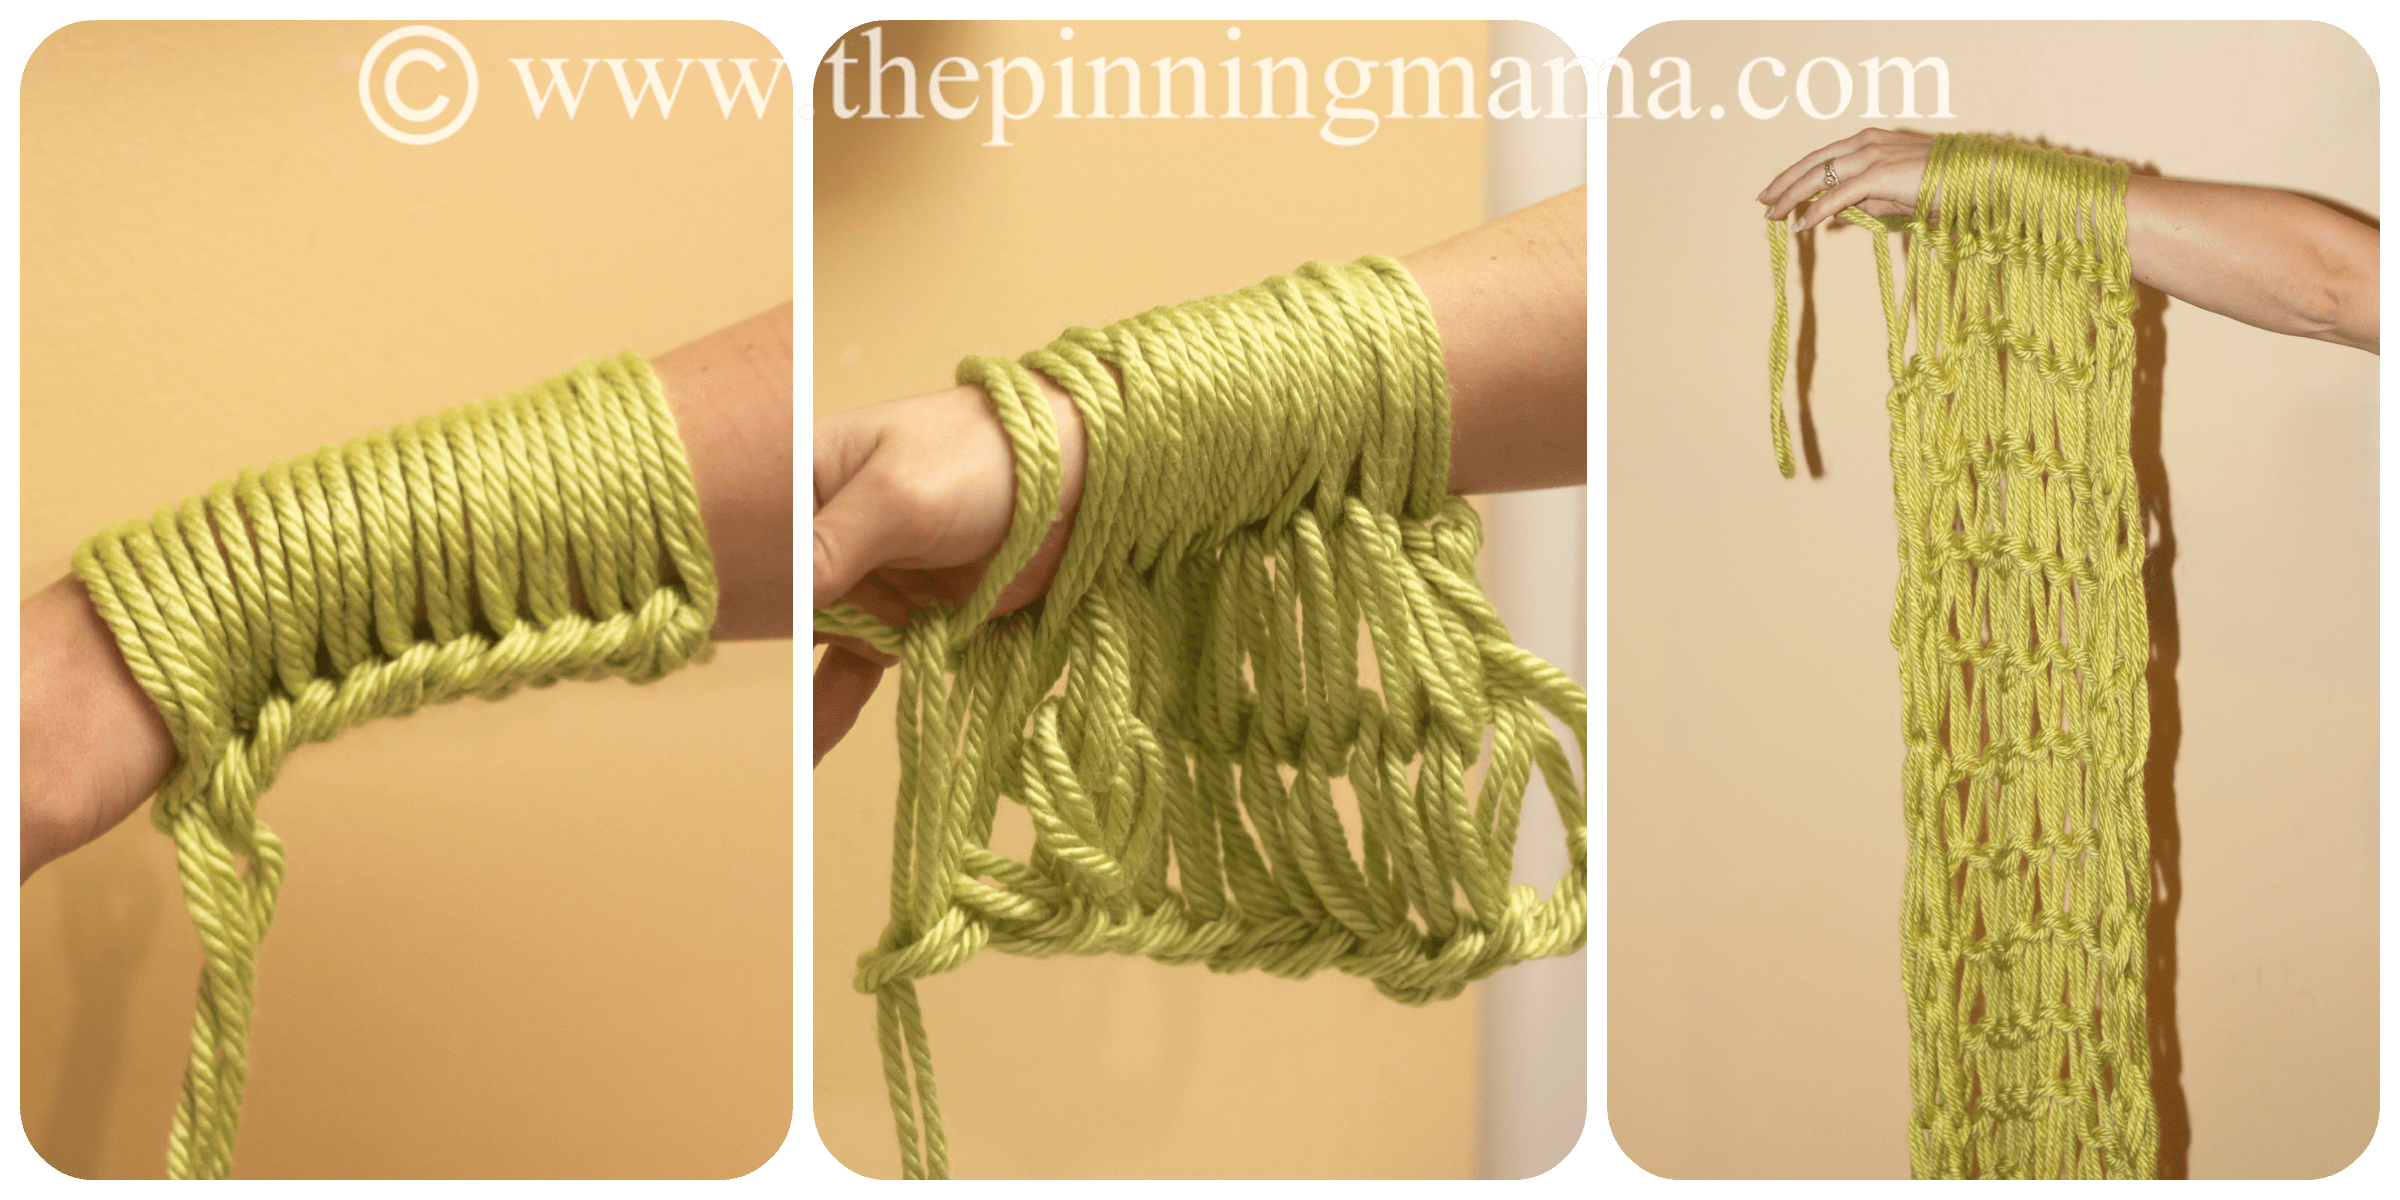
After casting on you start the knitting process which was super easy. You are basically pulling loops over your yarn and switching them from arm to arm. After about three loops you have this down pat and will be able to go lightening fast to the end of your scarf. At first it won’t look like much but after you get a few rows going you will see it all come together. Just to prove it, I made you a little video. This is me arm knitting my very first time. You can see I have to stop and think some times but all in all it goes very quickly!
Once you reach your desired length (mine was about 65”) you can finish the scarf by binding off. Again, super easy and great directions from Maggie. The video in the original pin did not include binding off and since I didn’t even know what binding off meant I read through the comments and found that Maggie had made a second arm knitting video that explained that process too, so make sure to watch it if you are a novice knitter like me. This video is also all shot from behind so I actually ended up using it more than the first.
Seriously though, look at this knit, the pattern the texture! I love it all. I would have bought this! only I didn’t because I made it for less than $6!
Once you have your scarf bound just place the ends together and weave the tail through the knit and tie off to sew the two sides together making an infinity scarf. Easy peasy. The first one probably took me an hour start to finish since I was learning but if I did another I could be done in 30 minutes easy.
I love this scarf. I would even go as far as to say it is my favorite craft I have done from Pinterest. I, the summer-loving, shivers in 70 degrees, loves the Vegas heat, person actually hope that it is cool enough to wear my scarf at least one more week. So get yourself some yarn and start arm knitting, hurry, before it warms up!
Did I enjoy this craft: Yes! Loved everything from the learning to knitting to finished product.
Did anything unexpected happen? I had to redo my first “casting on” row because I didn’t leave a long enough tail. Also, after reading the comments I decided to use 1 skein from both ends instead of two which was a mistake because I ran out of yarn and had to go back to the store in the middle of my project.
Overall Rating from 1-5: 5! I would give it a 6 if it was possible!


Amanda (Simply Maggie) says
Great post! Your scarf came out great and thank you for linking my website and videos!
Kimber says
Thanks for checking us out! I absolutely loved the scarf and look forward to seeing more great crafts on your blog!
ashley @ little miss momma says
Ok girls, GREAT idea for a blog! I am in love! I can’t tell you how many times I wonder if my pins would actually work! Now i can come to you first to see! Thanks for introducing yourself and congrats on this exciting venture! xoxo, ashley @ little miss momma.
Kimber says
Thank you so much for stopping by and checking us out! We really appreciate your kind words of encouragement. As you well know, I am sure, it is a labor of love. If you have anything in mind, we would love for you to submit a pin for us to test for you! ~Kimber
Sharon says
I am such a scarf girl! This one is lovely, not to mention interesting. My kids are always saying, “Please don’t buy another scarf!”. I think I love scarves because I have such a long neck. LOL. Definitely loving this one. And definitely following you. Found you on Bloggy Moms. Stop by if you get a chance at http://makeitorfixit.com.
Ashley says
Well, now you can tell your kids that you arent buying another scarf because you can make them 🙂 Let us know if you try this!
Stacy says
What if I paid you, sweet Kimber, to make one for me!!! I know my limitations and I am okay with it!! Lol!! But I love the scarf and love your blog!!
Kimber says
Who knows Stacy… that might could be arranged. I think you are pretty much out of scarf weather though. I will tell you I am in LOVE with that scarf though. It is gorg and always gets compliments! Thanks so much for stopping by and for your kind words.
Sandrine says
I started my own scarf but i don’t know how to end it and put it together so it makes a circle… Please help!!!!
Kimber says
Hi Sandrine! Thanks for finding us. All I did was take the tails on each side of the scarf and weave them through the knitting at the opposite end. I tied it off in a discrete location and that’s it! Super easy! Let me know if you have more specific questions! Hope I helped!
Sandrine says
Thank you!!! 🙂
Carol Shanks says
I’d pay you to make me one in that same color. It’s a great idea – now just to find the hour to do it!!!!! LOL
Ashley says
You’re a very busy woman! Since we are the craft ladies for MOPs next year maybe we will have the scarf be one of the activities. 🙂 Then you’ll have the whole hour to make your scarf!
Jess says
Very cute!
Thanks for joining the Link Up this week!
Claire says
Could you tell me what size ball of wool if roughly required for entire scarf. Thank you.
lynn says
I have tried and failed I keep having more than 12 rows on my arm after couple of times switching arms and cannot figure out why already took two apart getting frustrated especially when supposed to be easy .Any ideas?
Kimber says
Hmmmm… maybe you aren’t picking up both of the loops together. If you are knitting with two strands of yarn like I did you will have to pick up two loops for each time you pull a loop over the yarn that feeds into the scarf. If you only picked up one loop sometimes you would create additional rows. Does that make any sense?